How to Create a RetroPie on Raspberry Pi – Graphical Guide
![]()
Today we get to play amazing games on our super powered game consoles, PCs, VR headsets, and even mobile devices. While I enjoy playing new games these days, I do long for the retro gaming systems I had when I was a kid: the original Nintendo (NES), Nintendo 64, Sega, and so on. Games like Mario 64, GoldenEye, Mario Kart 64, and Ocarina of Time were incredible. They didn't have the graphics but the gameplay was outstanding.
To enjoy these games today I must dust off my original Nintendo 64 (20 years old now!), fight asthma to blow into each cartridge a dozen times, and flip the power button with the hope that the game will start. I recently decided that the effort to get my original consoles working was too much so I looked toward RetroPie: an amazing piece of software that sits on top of a Raspberry Pi that allows you to play retro gaming console games.
Grabbing a Raspberry Pi sitting around that I hadn't done anything with, I got out of my comfort zone and attempted to create a retro gaming machine with RetroPie. It was faster and easier than I thought it would be! Let me show you how you can create your own retro gaming machine so that you can relive those glory days!
Note: I'm not a Raspberry Pi or Linux expert -- I'm simply walking you through how I created my retro gaming machine. To keep the tutorial as visual and simple as possible, I've chosen to use GUI apps for flashing and interacting with the SD card, and have not enclosed my Raspberry Pi in a case. Both the RetroPie and Raspberry Pi sites have excellent install and operational documentation so please visit those if you get hung up (or ask a question in the comments below!). Lastly, I won't provide or link to ROMs; possessing ROMs for games you don't own may be illegal. A simple Google or torrent search, however, should find you every game you want.
Hardware
I prefer a wired approach for getting the RetroPie game system up and running; bluetooth and similar technologies introduce complexities and, unless you've done Raspberry Pi work before, those complexities can get in the way.
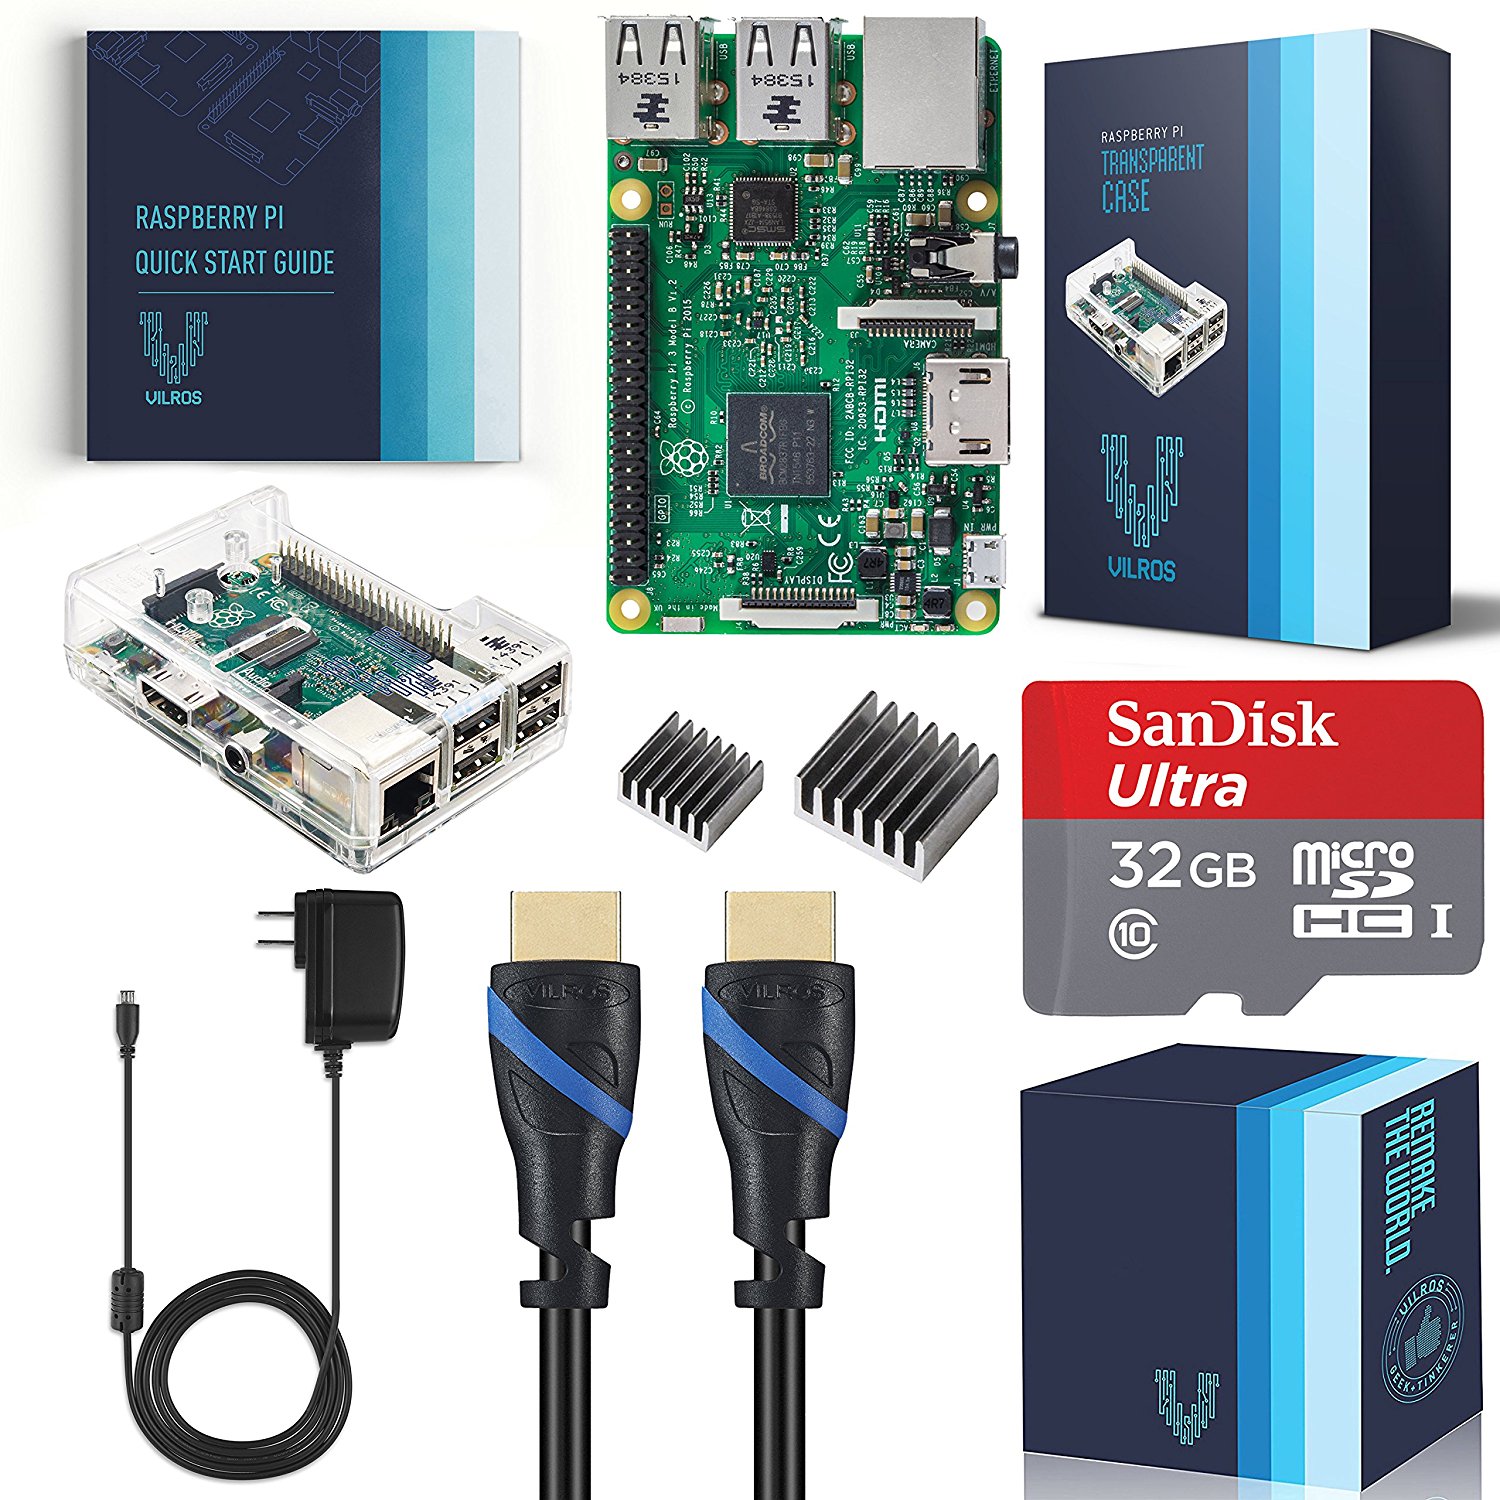
Easiest: Required Hardware Bundle
If you don't want to order a bunch of separate pieces, and prefer one kit, I recommend the Vilros Raspberry Pi 3 Complete Starter Kit with Clear Case and 32GB SD Card. This kit includes everything you need!
Required Hardware by Pieces
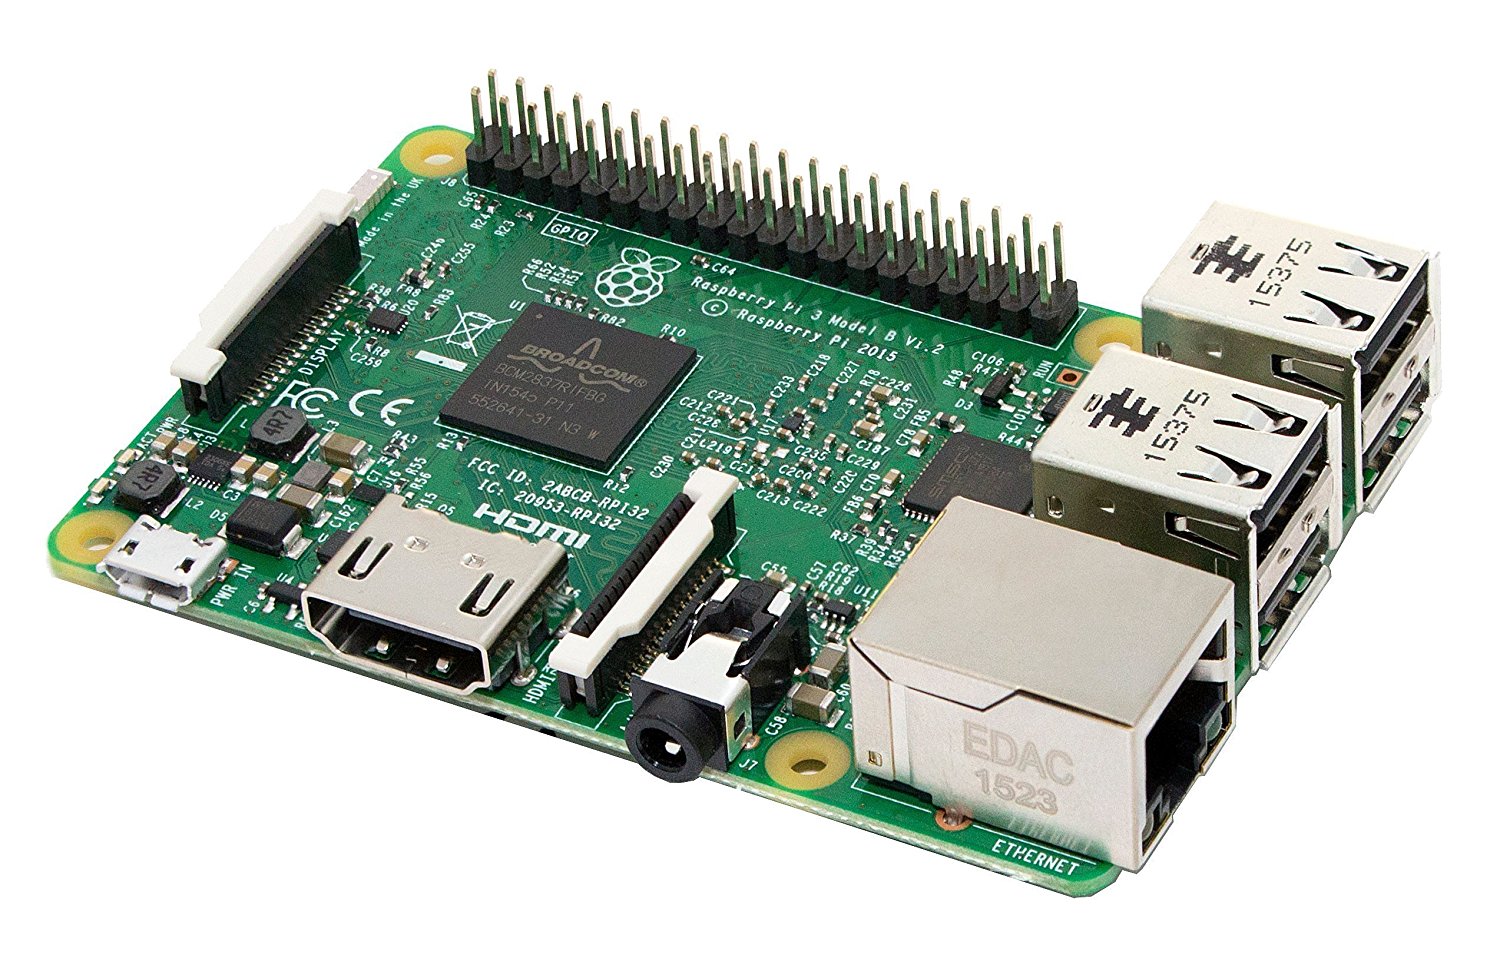
- Raspberry Pi
- I recommend a Raspberry Pi 3 or newer
- HDMI Cable
- Used to connect the Pi to the TV, monitor, or display
- SD Card
- To flash the RetroPie operating system (and games) onto
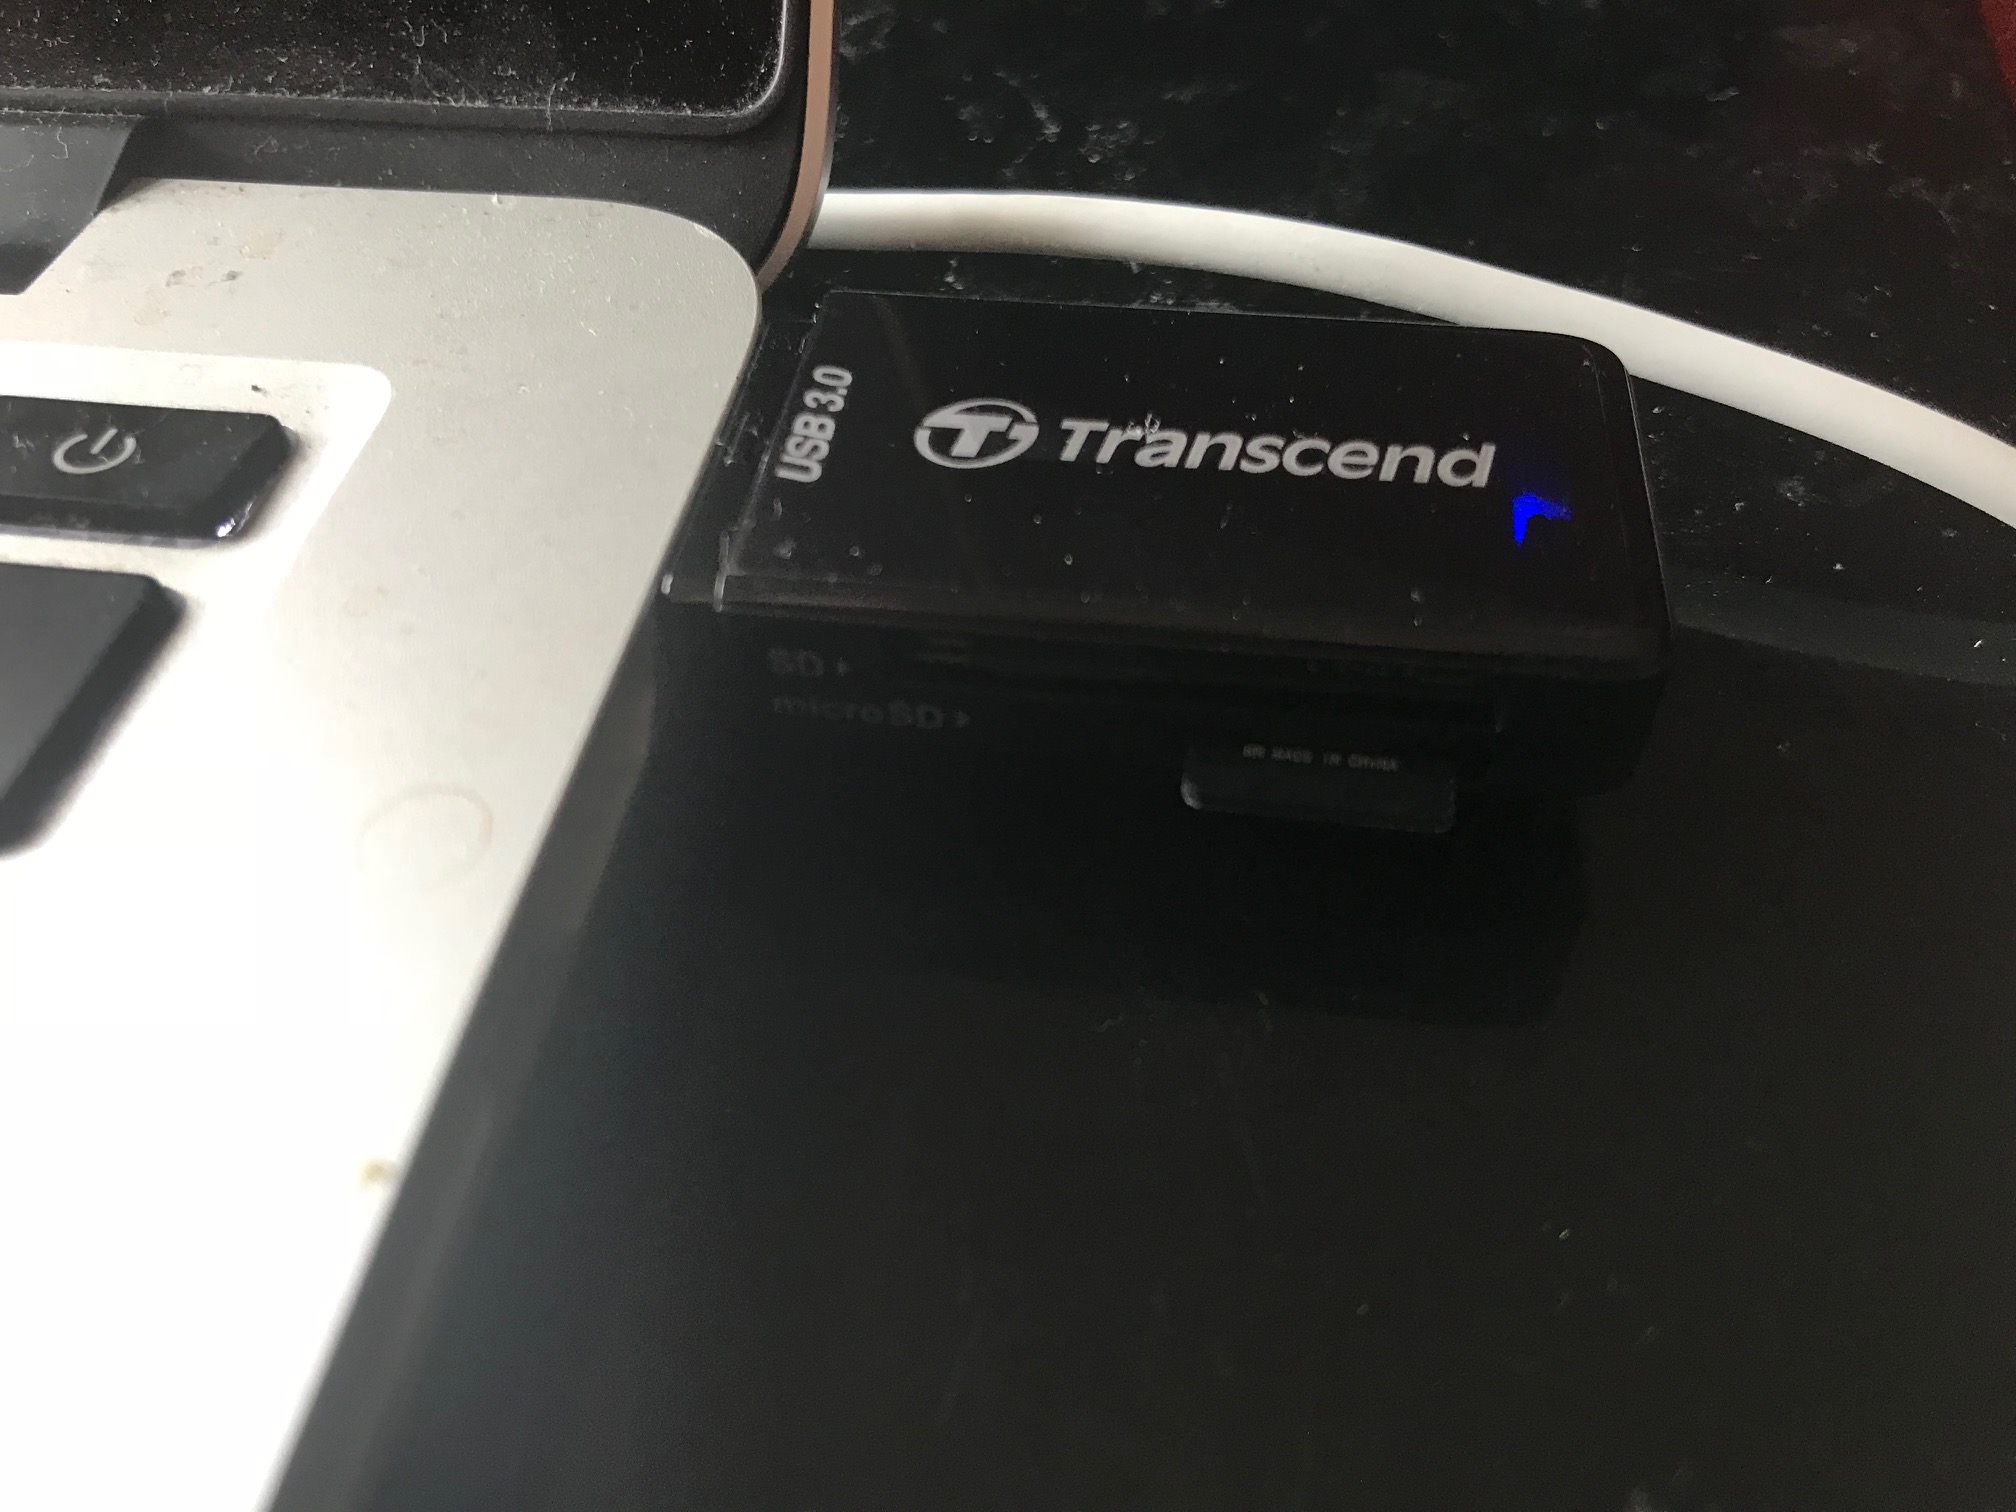
- SD Card Reader
- To interface with the SD card from your Windows, Linux, or Mac machine
- USB Controller - You can use any host of controllers that you can connect to the Pi using USB; I've chosen to use a Xbox One controller. I have, however, also ordered a USB Nintendo 64 Controller
Require Power Options
You will need one of the following options for power:
-
USB to Micro USB cable
- Used to power the Pi from the TV
-
Micro USB Power Supply
- Micro USB power supply to use instead of the USB to Micro USB for display. Some TVs don't provide enough power to the Raspberry Pi via the USB; in that case, this accessory is the next best option.
I've chose to use the Micro USB to USB cord since my TV provides the Raspberry Pi enough power to run properly.
Useful but Not Required
- Raspberry Pi case - An exposed Pi isn't ideal; I chose the Raspberry Pi NES case:
Note that you'll need wireless controllers if you want this model. If you don't plan on buying wireless controllers, opt for another case.
- USB keyboard - To hook up WiFi and change other options on the Pi and RetroPie software
Installing the RetroPie Image on the Raspberry Pi
Follow the following steps:
- Plug your SD card and reader into your desktop machine
- Download and unzip the RetroPie image
- Download and install a Raspberry Pi app for flashing the RetroPie image onto your Raspberry Pi: Win32DiskImager (Windows), ApplePi Baker (Mac), or Etcher (Linux). I flashed mine on a Mac so I downloaded ApplePi Baker.
- Open the app and flash the unzipped RetroPie image to your SD card. With ApplePi use the "Pi-Ingredients: IMG Recipe" UI to find and load the unzipped RetroPie image (current file name and version are
retropie-4.3-rpi2_rpi3.img). Click "Restore Backup" to start the flashing process.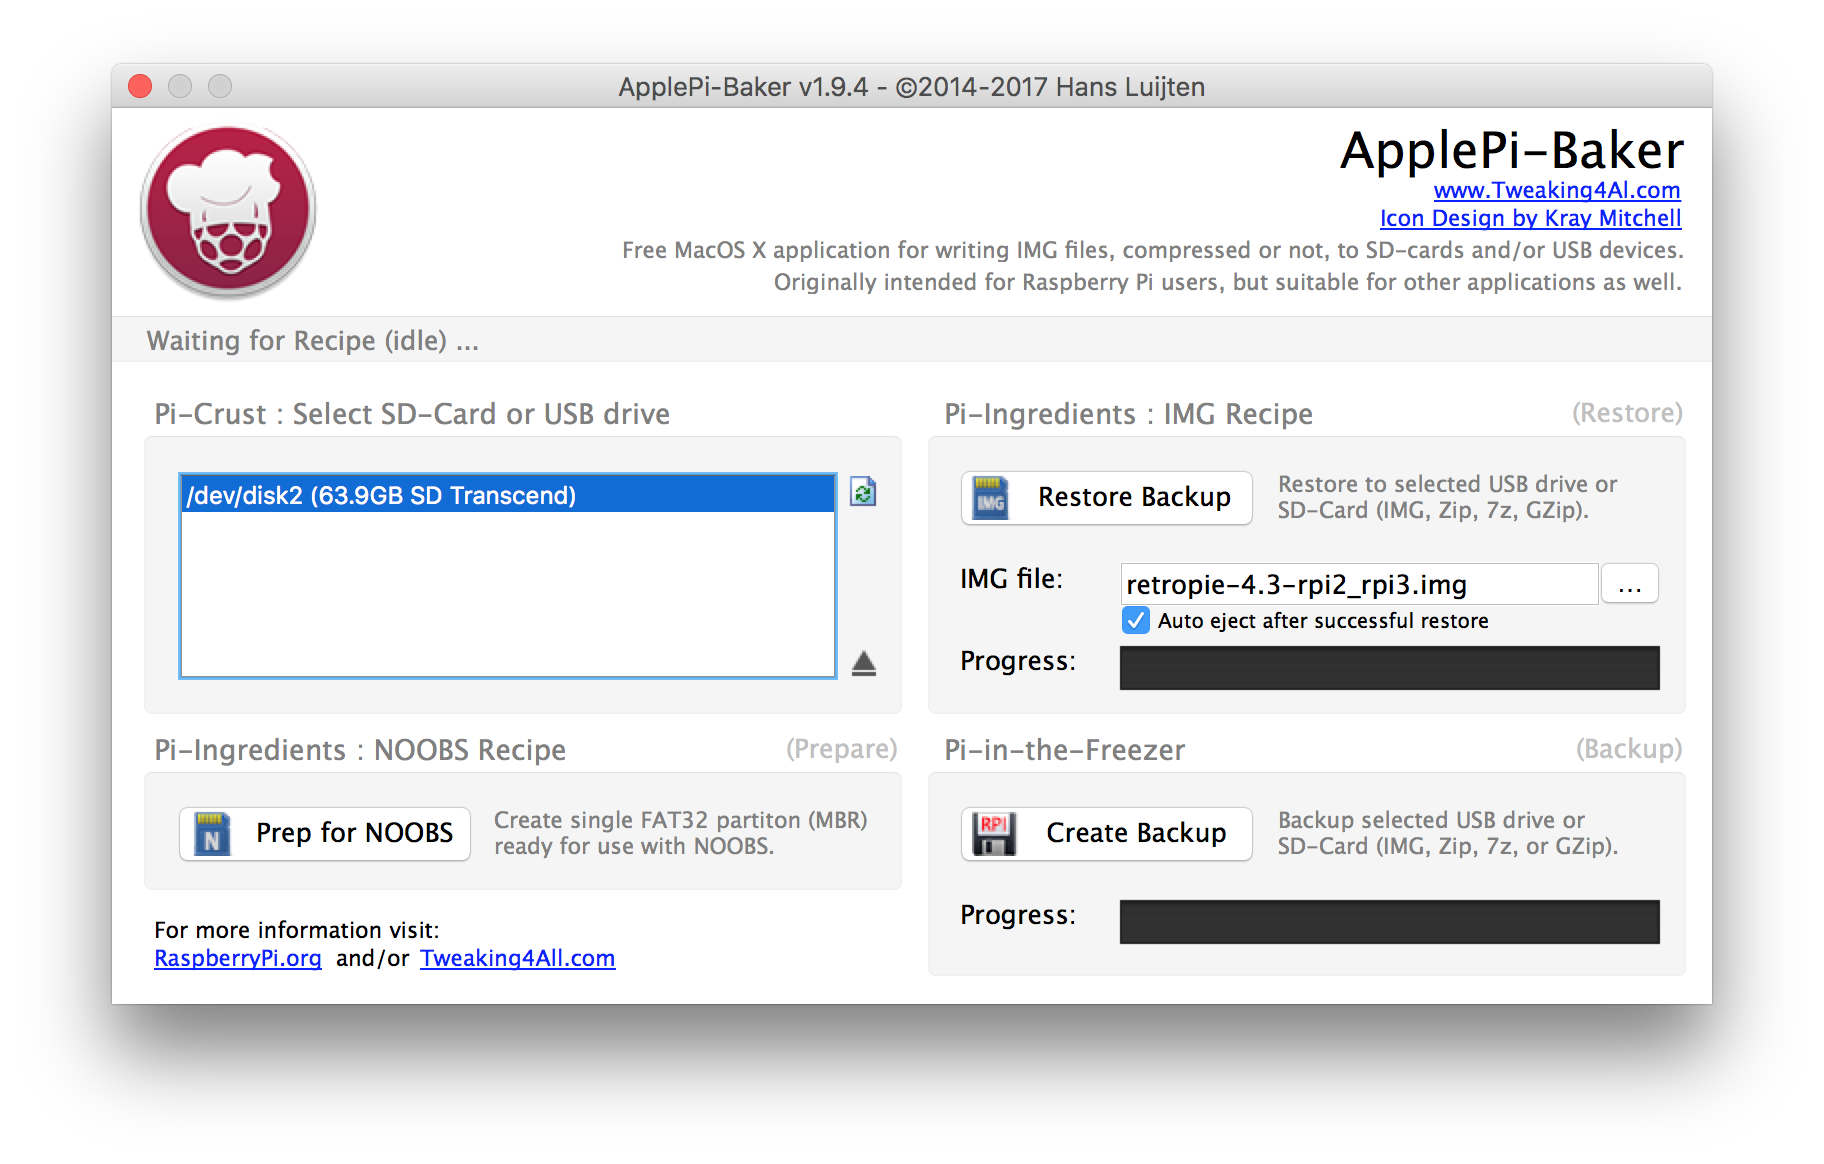
Congratulations -- your SD card has been flashed with RetroPie software and is ready to be placed in your Raspberry Pi!
Ready the Raspberry Pi
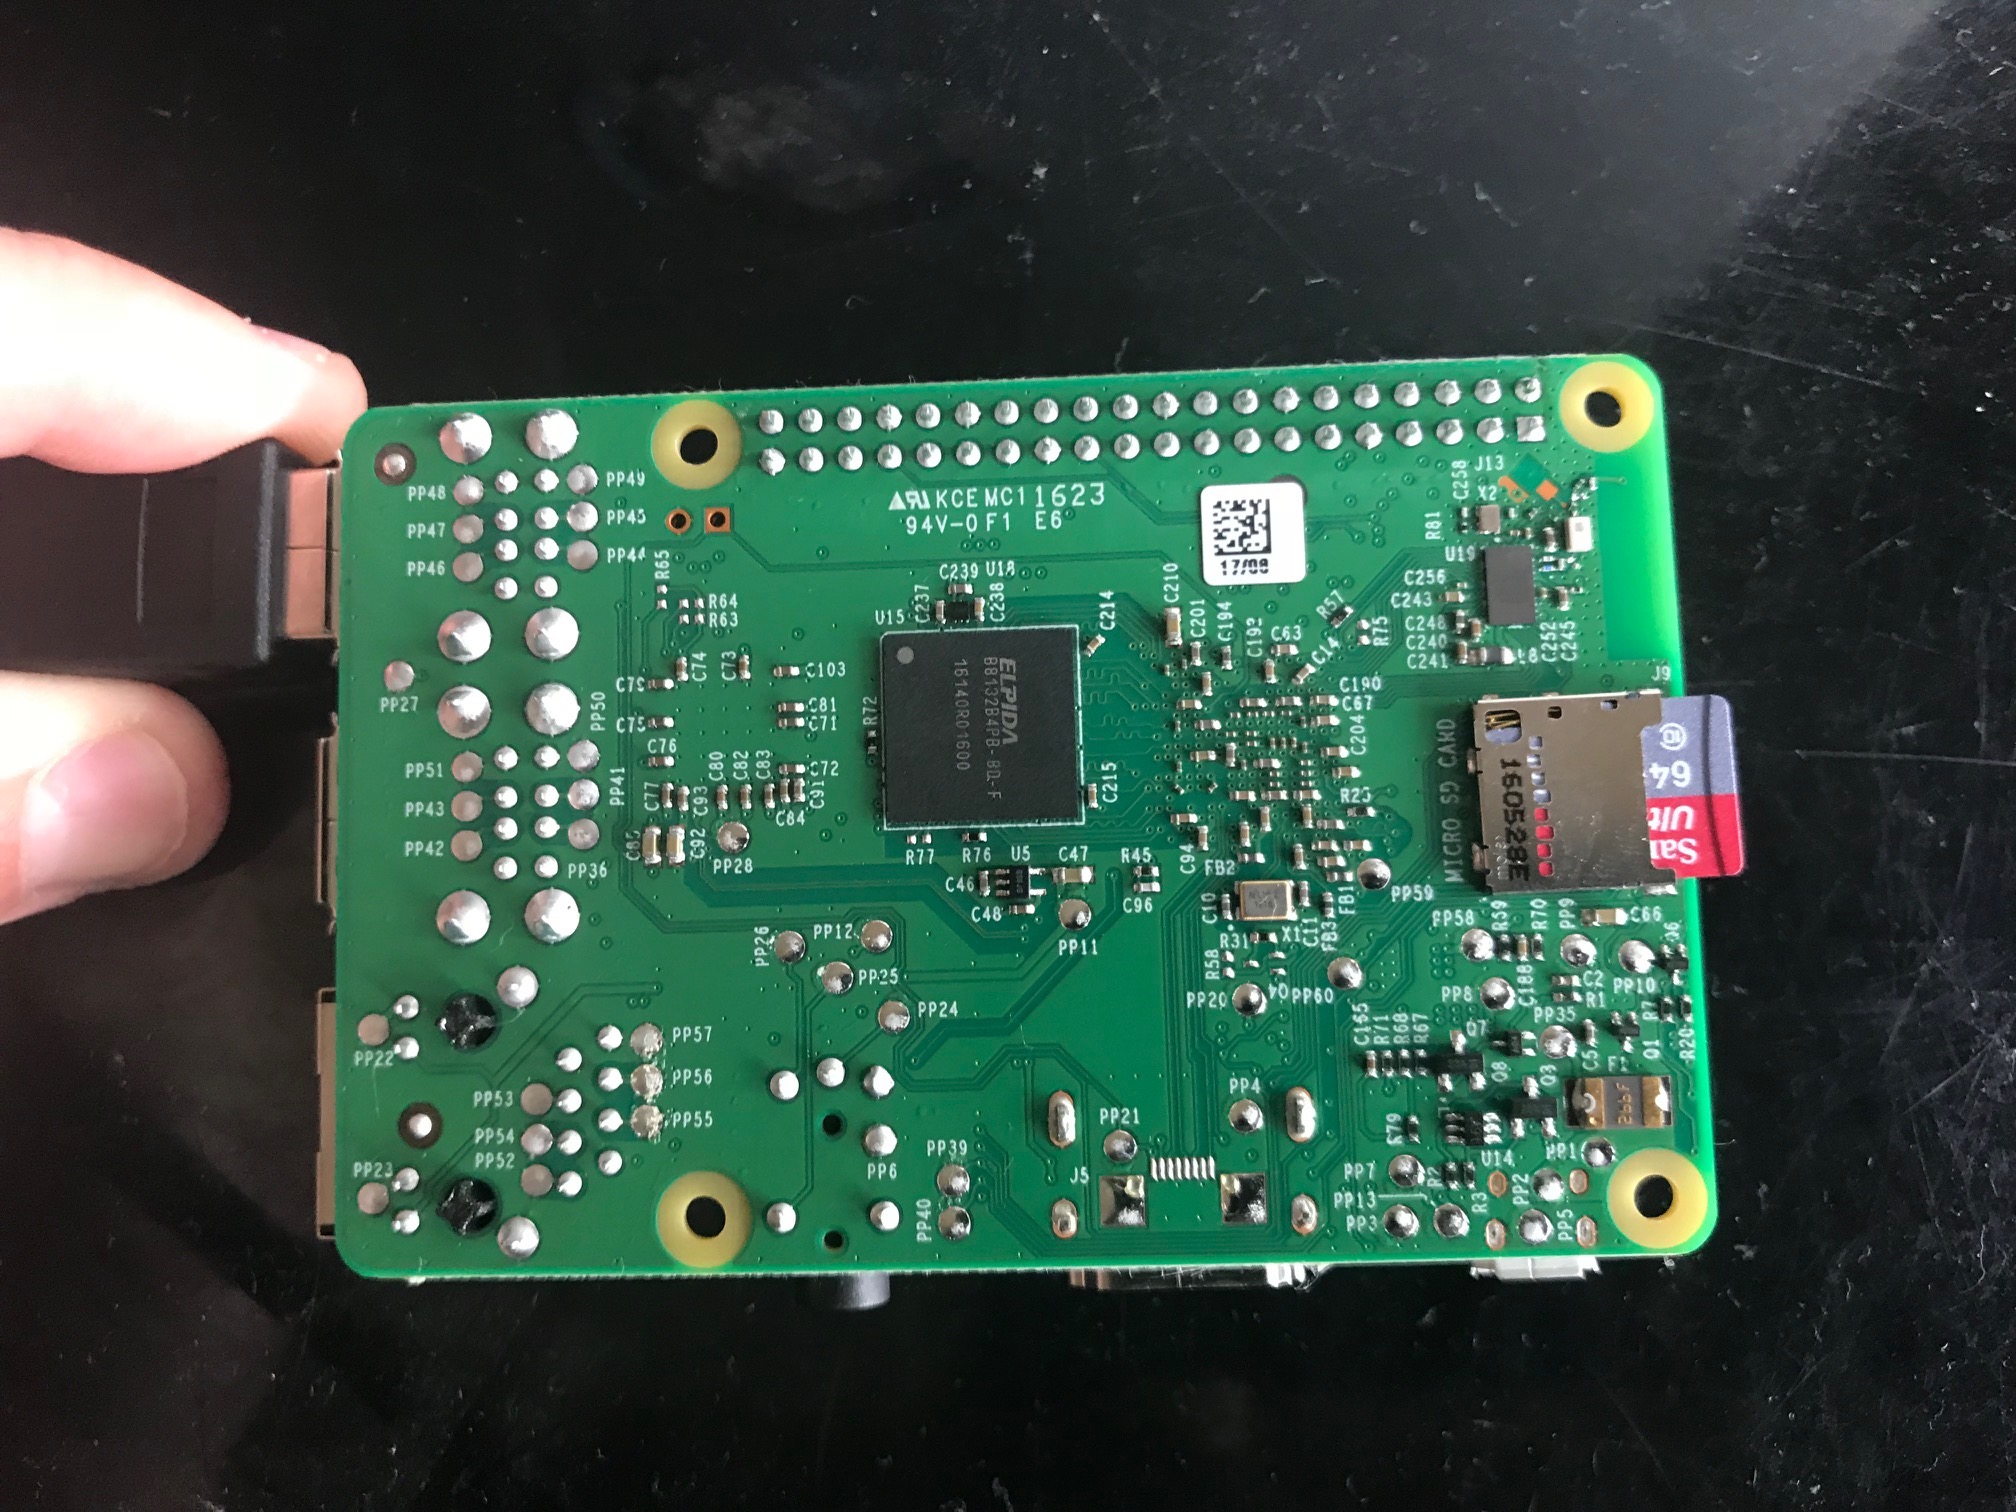
Before we can fire up the Raspberry Pi and continue setup from the TV/display, let's insert the SD card and connect all the wires to the Raspberry Pi!
- Remove the SD card from the reader and place it into its designated spot underneath the Raspberry Pi
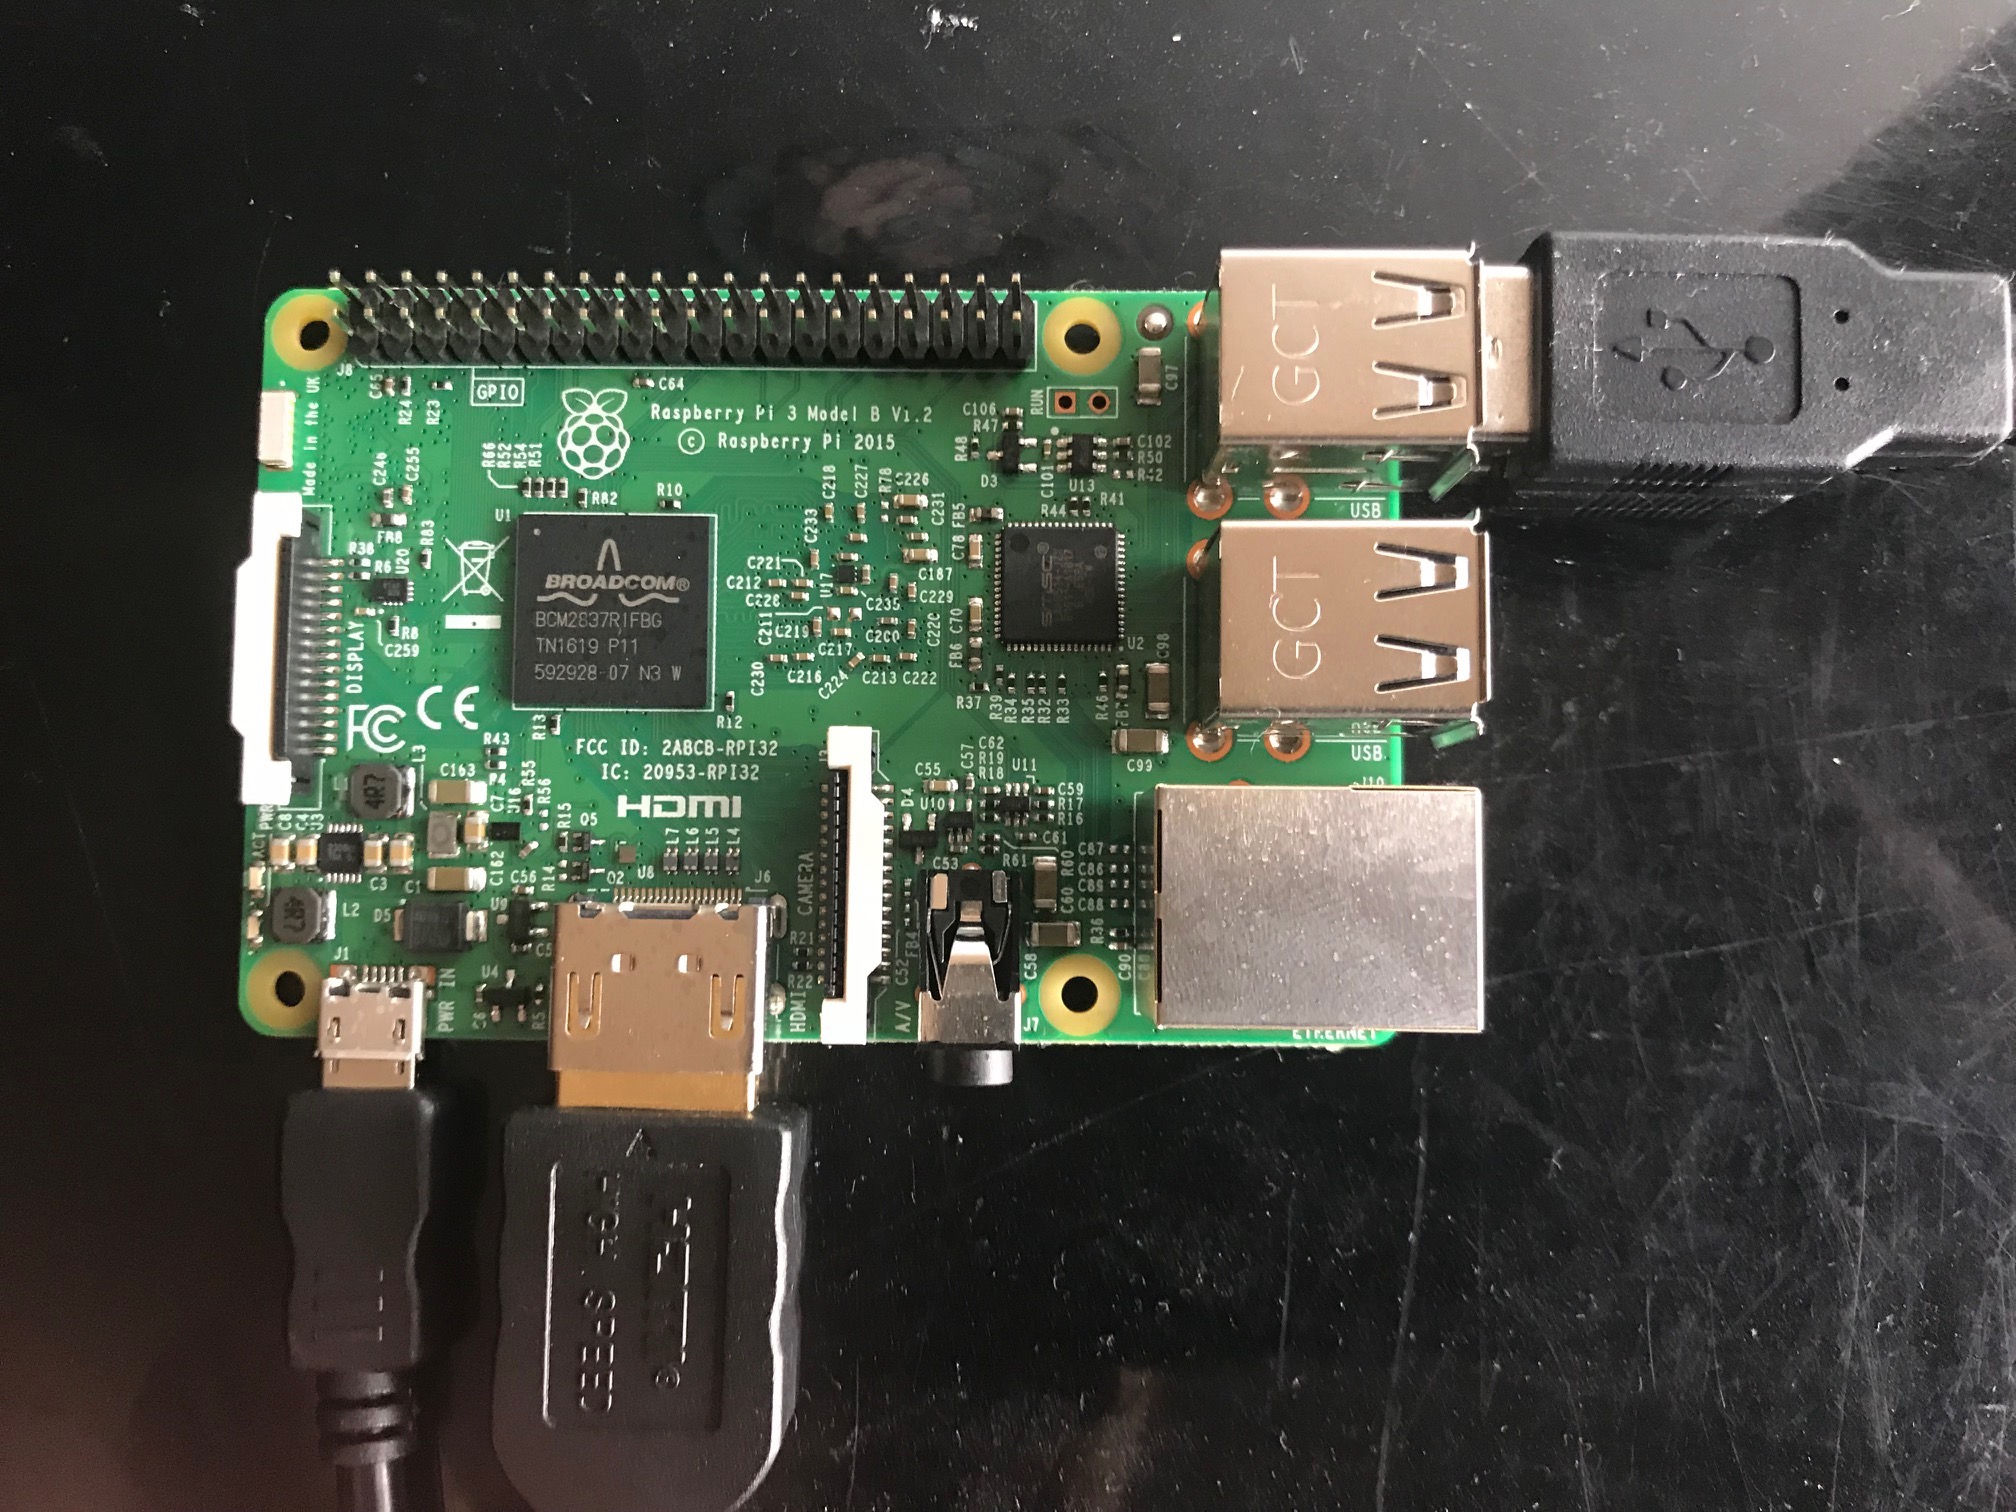
- Insert the HDMI cord into the HDMI slot
- Insert the Micro USB side of the USB to Micro USB cord into the Pi's Micro USB slot
- Insert your USB controller into one of the Pi's USB slots
- If you have a wireless keyboard, now would be a good time to insert that into one of the Pi's USB slots
Now let's get this thing connected to the display!
TV/Display Setup
With all wires connected to the Pi, it's showtime!
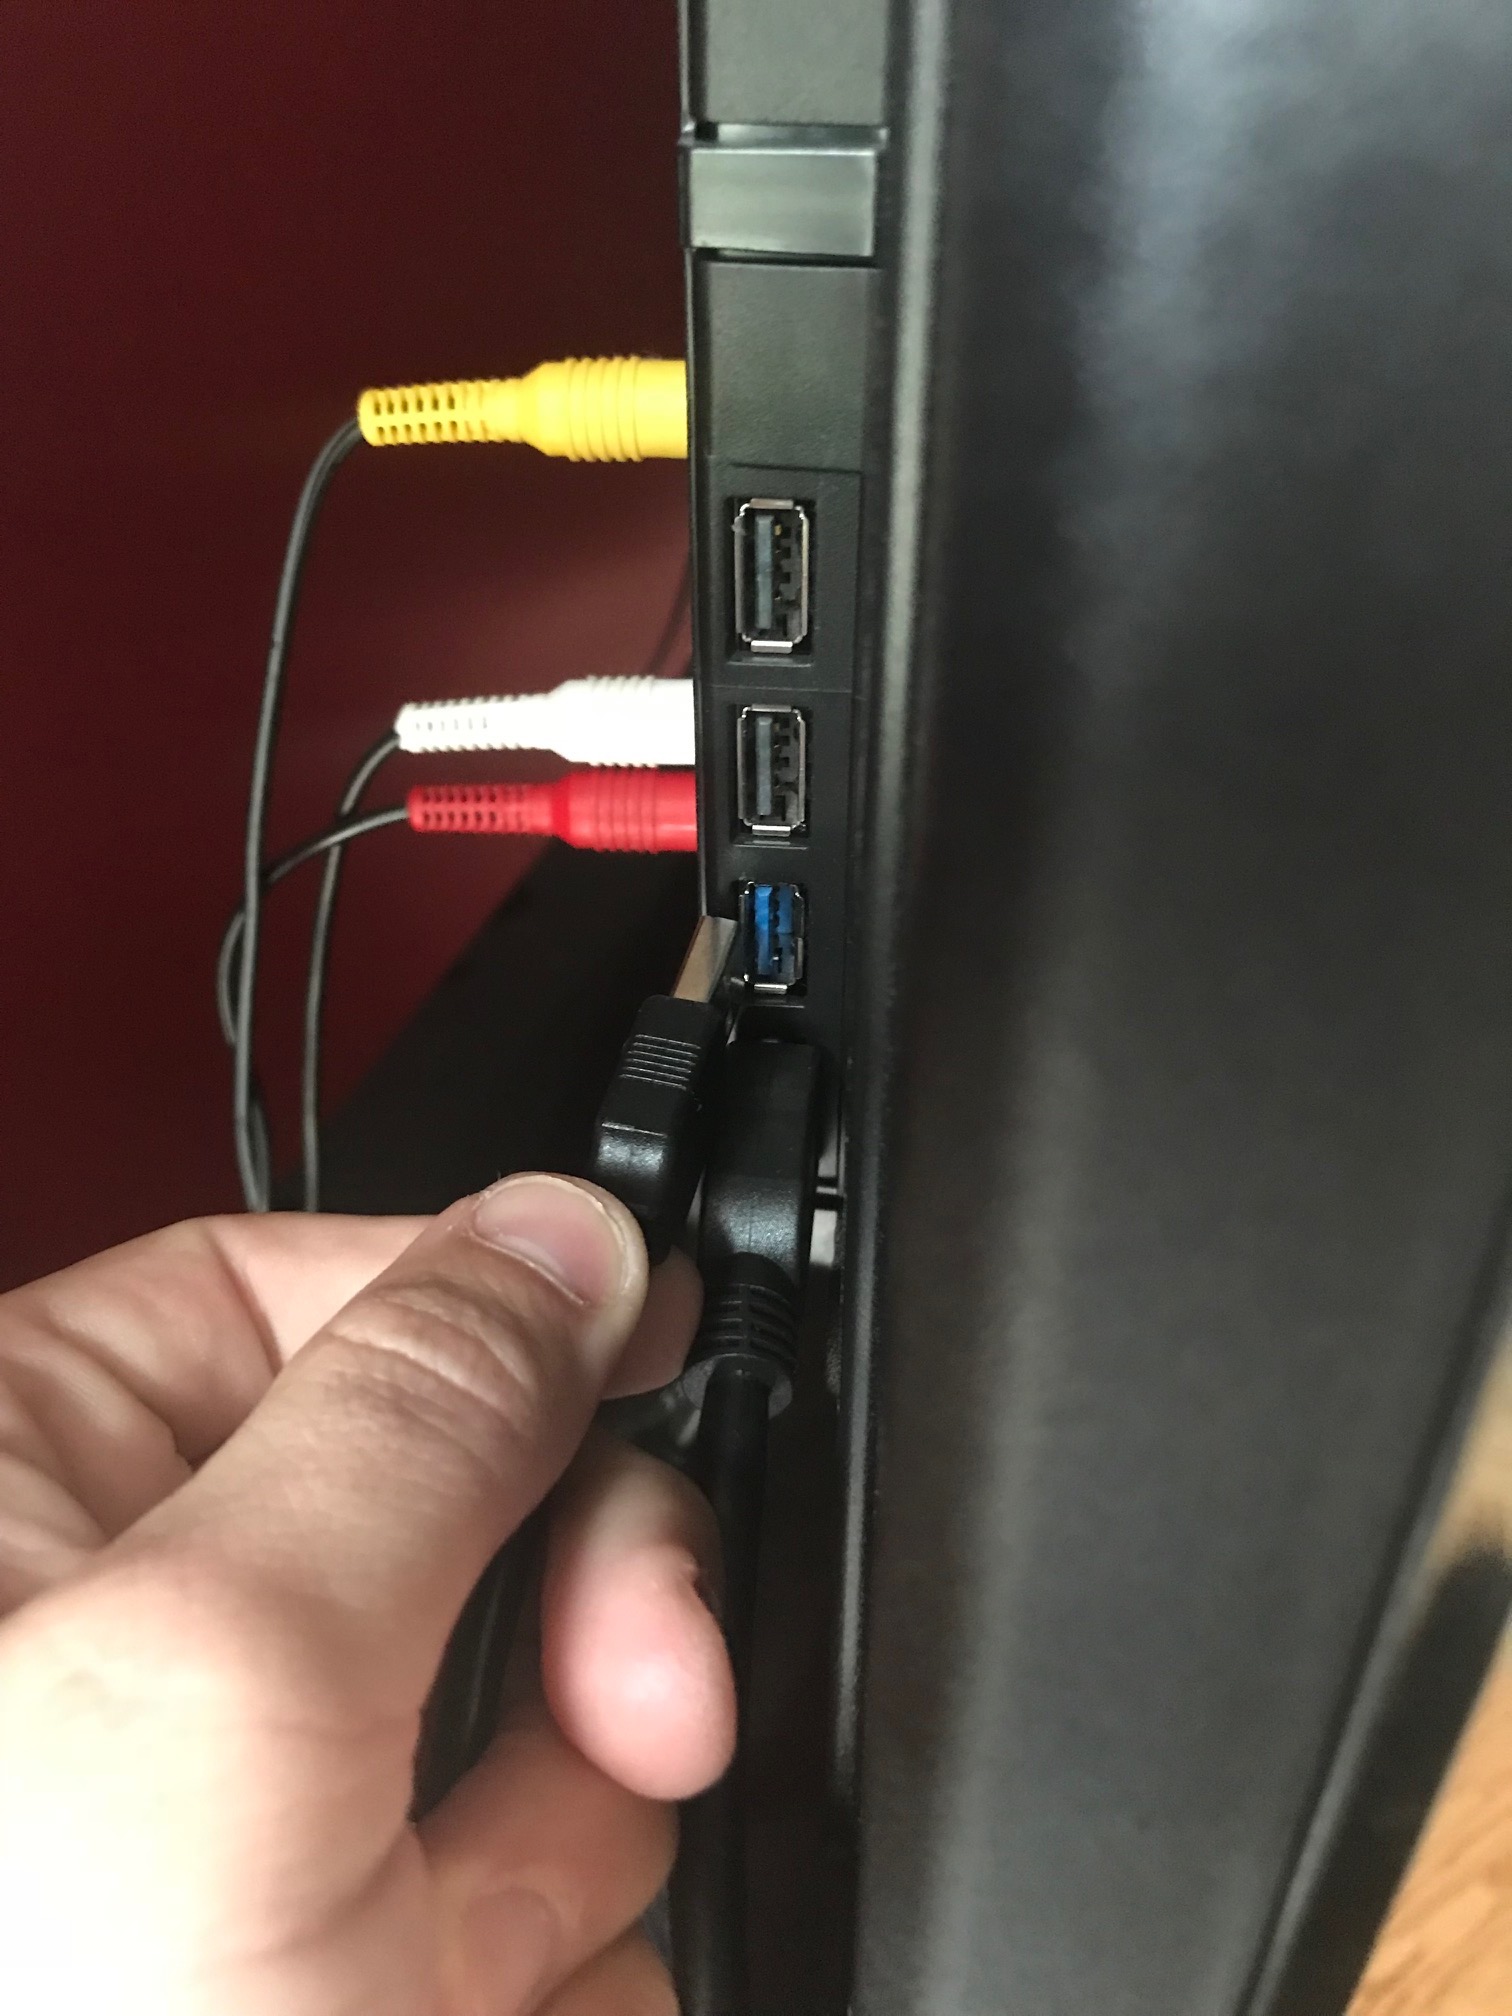
- Display: connect the HDMI cord to an open HDMI slot on your TV or other display.
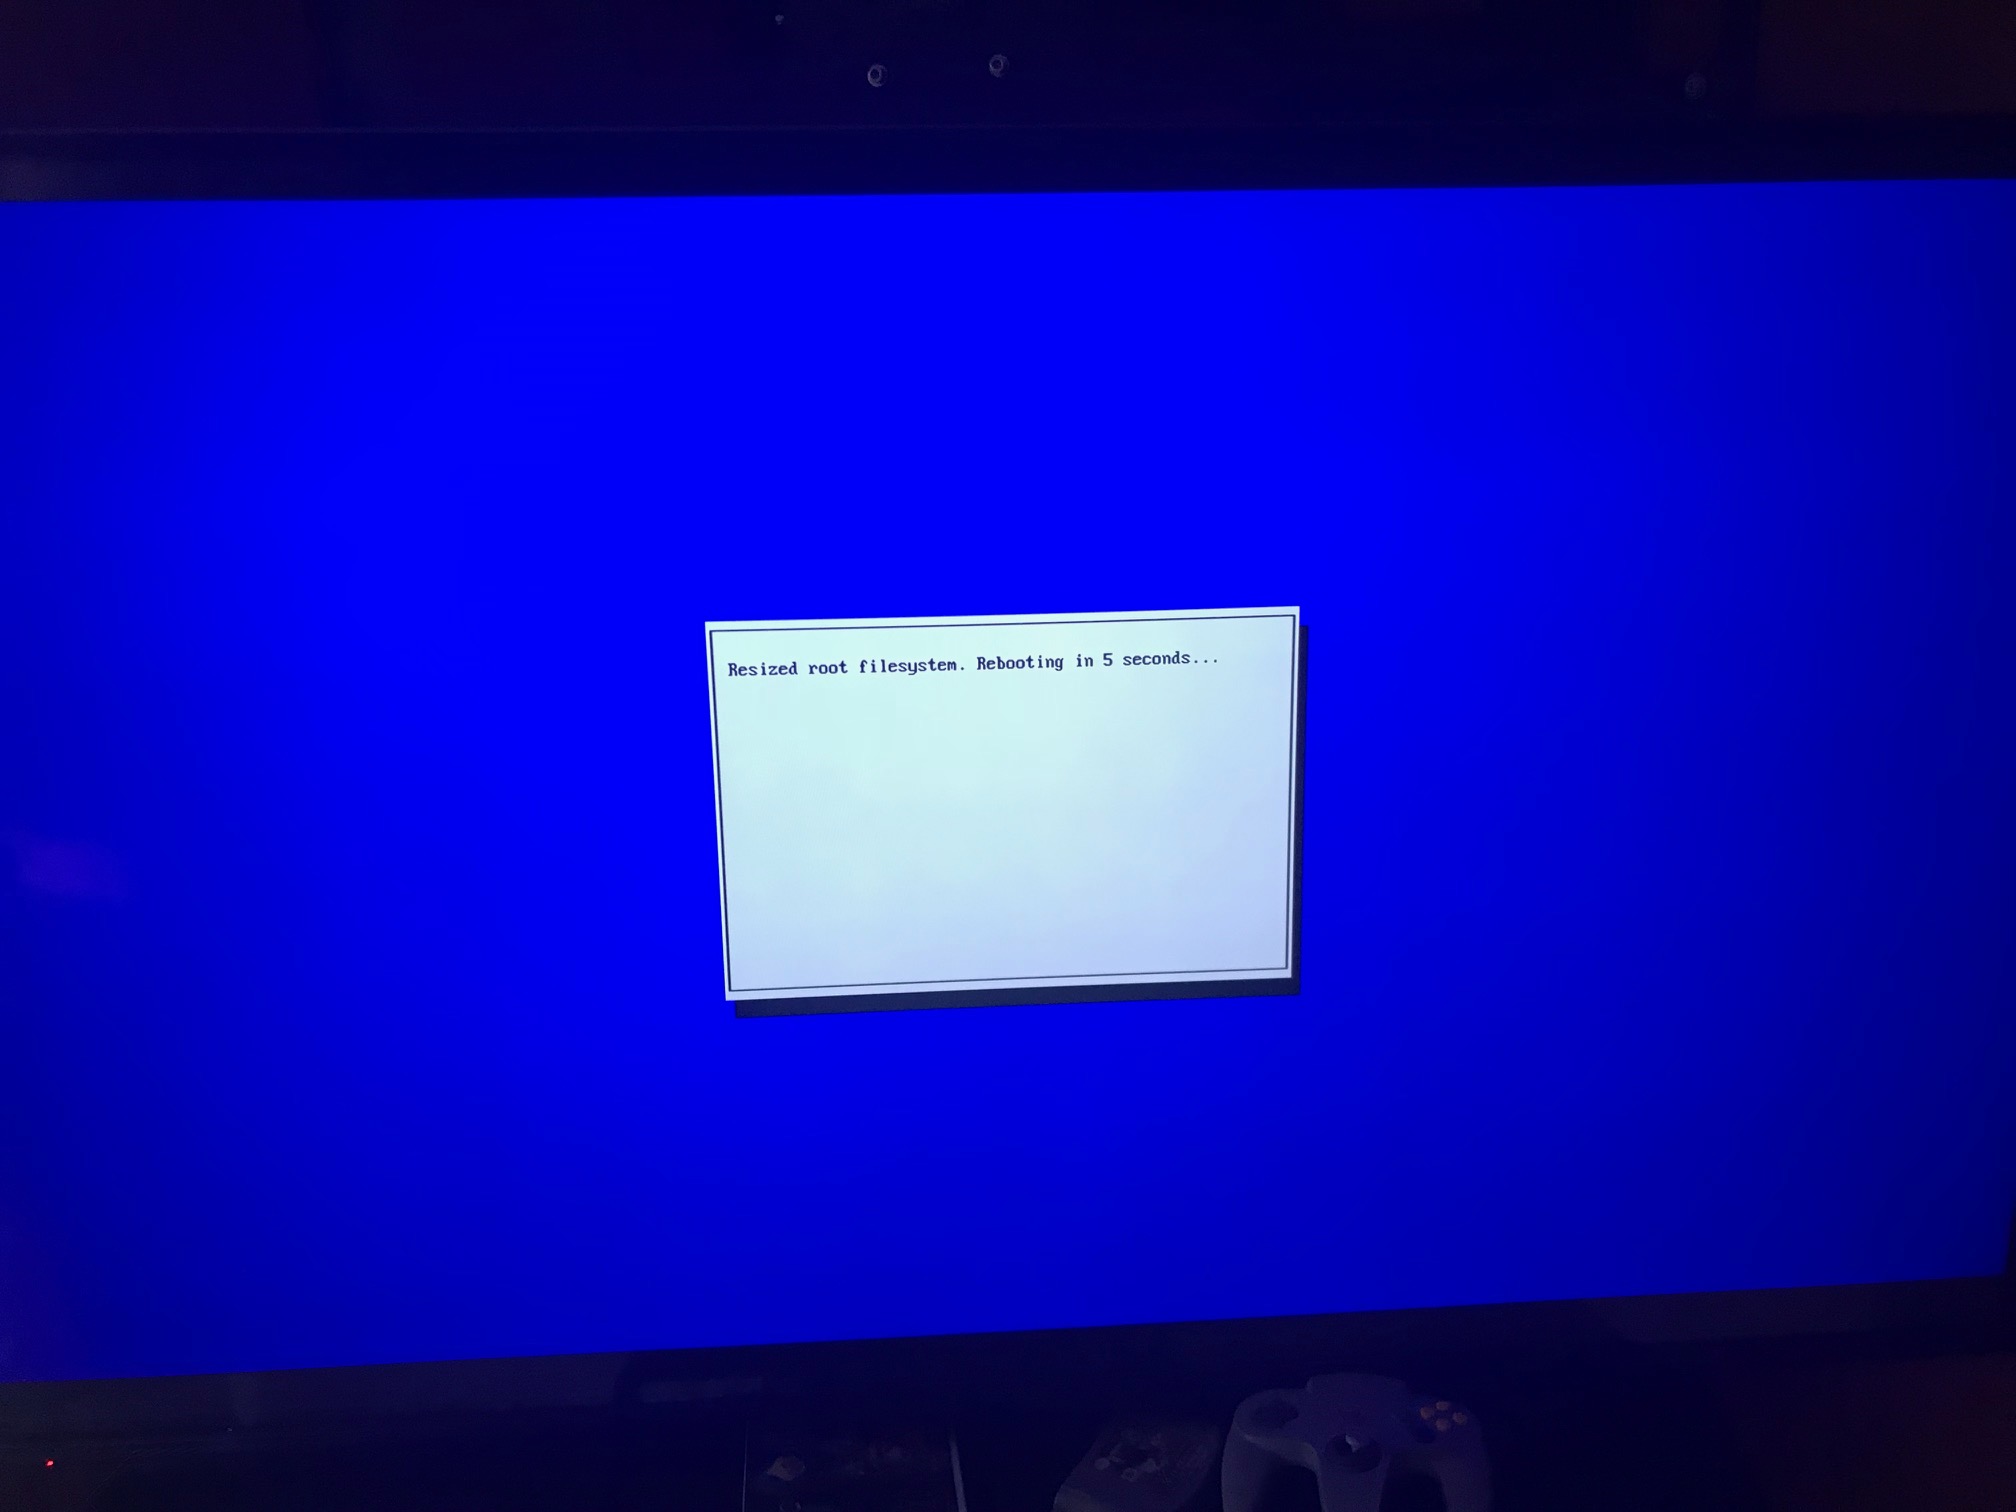
- Power: connect the USB side of the USB to Micro USB cord to an open USB slot on your TV or other display.
You should now see some command line / shell feedback output as the RetroPie software finishes install:

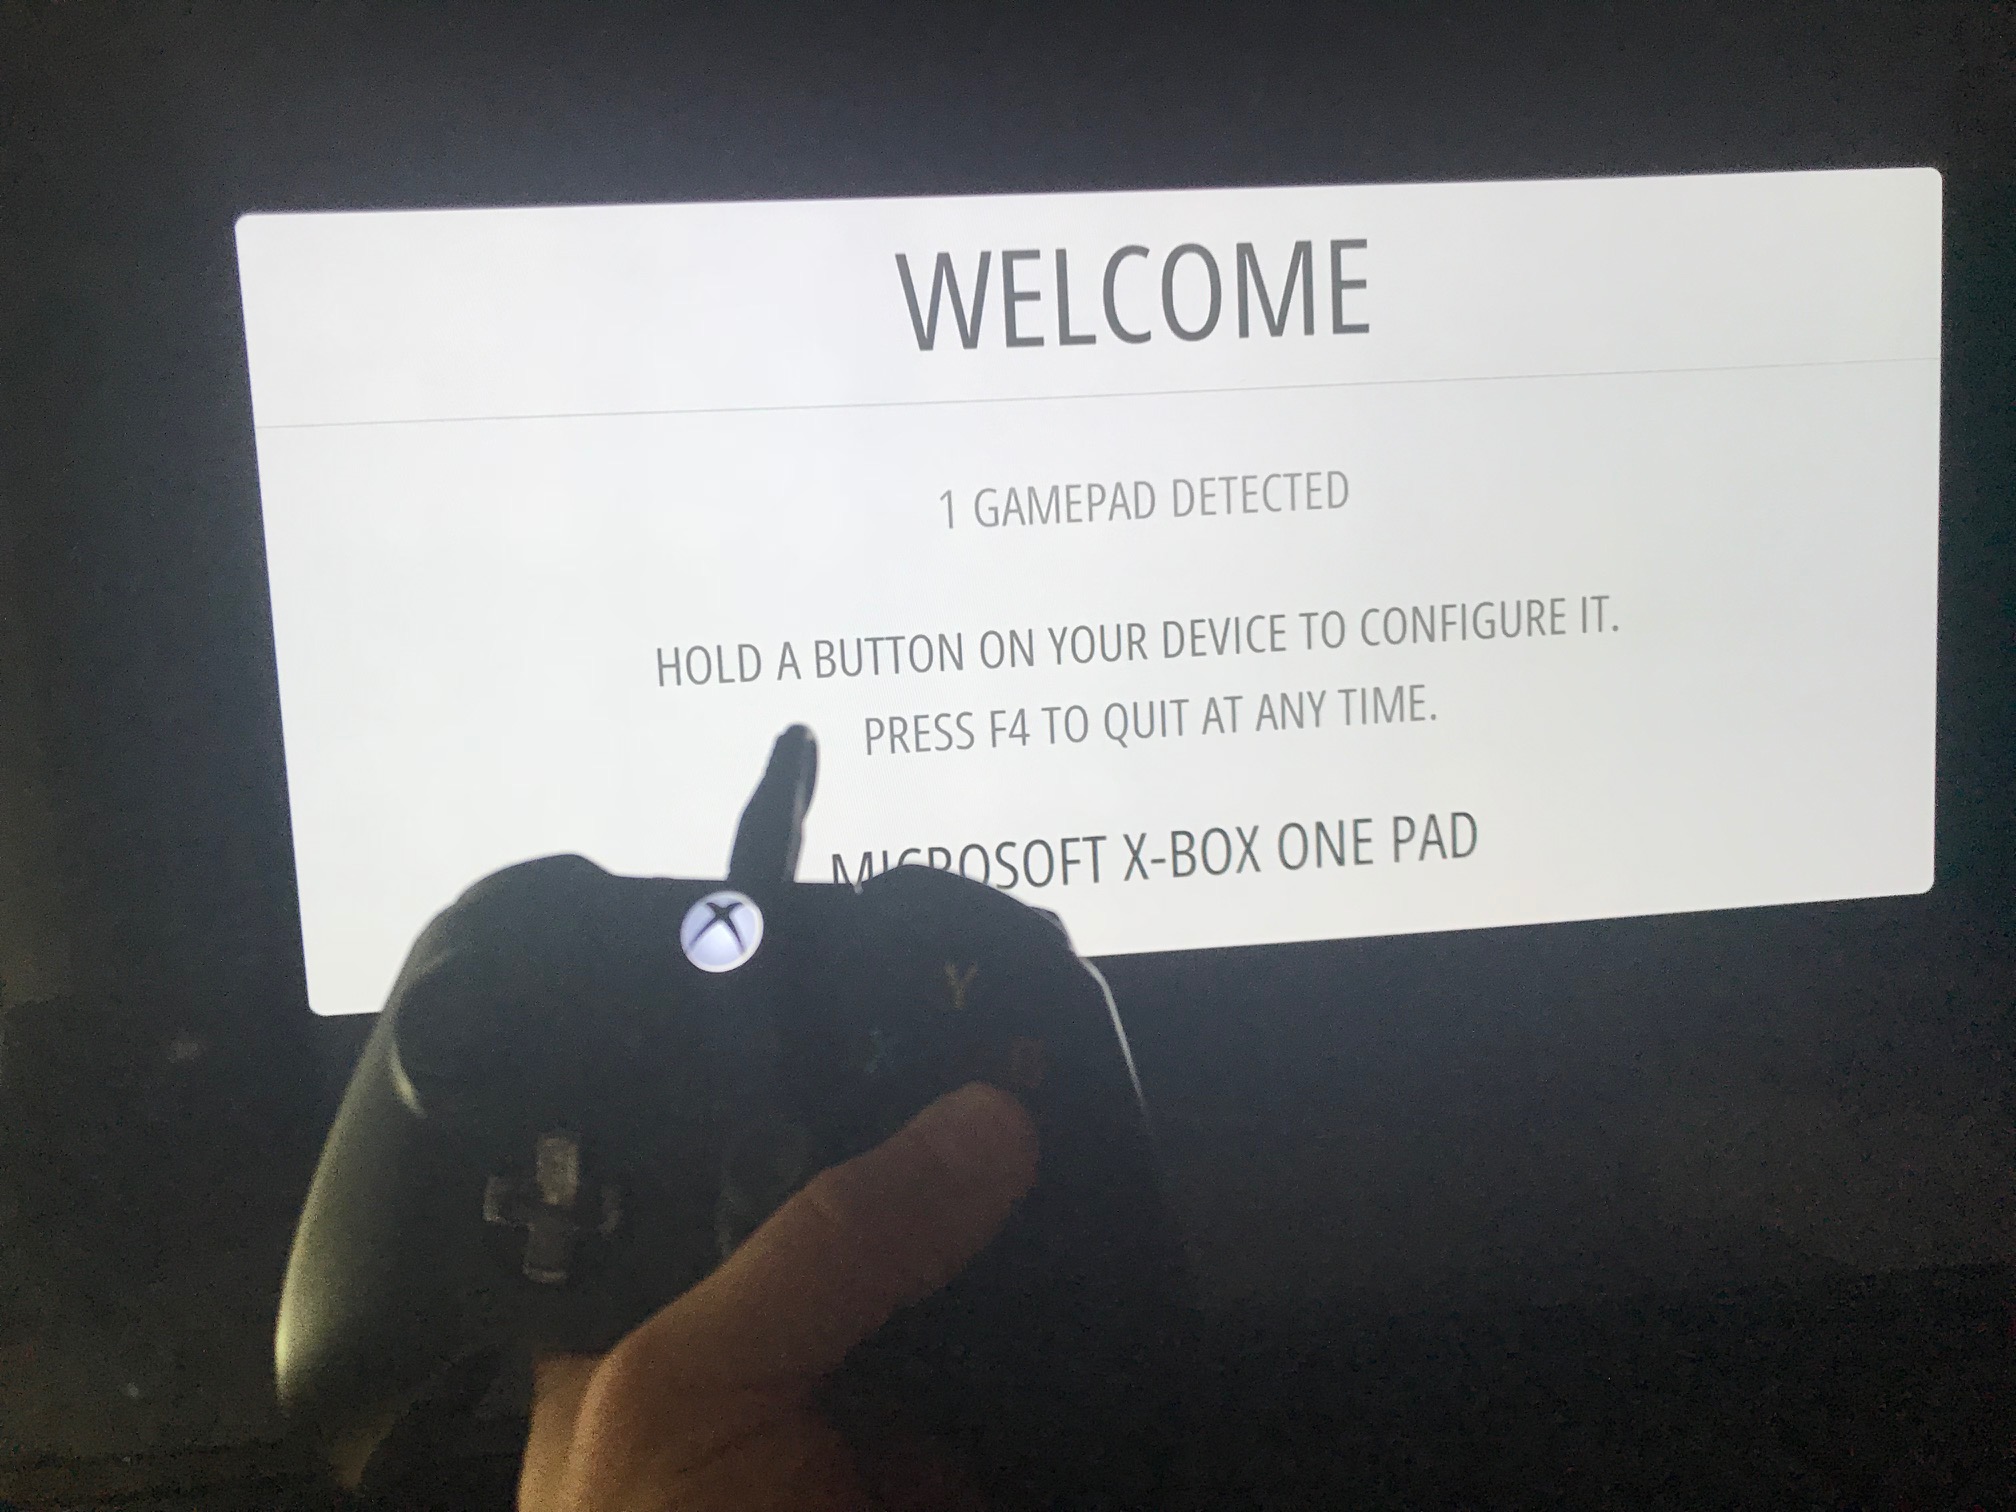
Controller Configuration
RetroPie will detect the type of controller you're using:
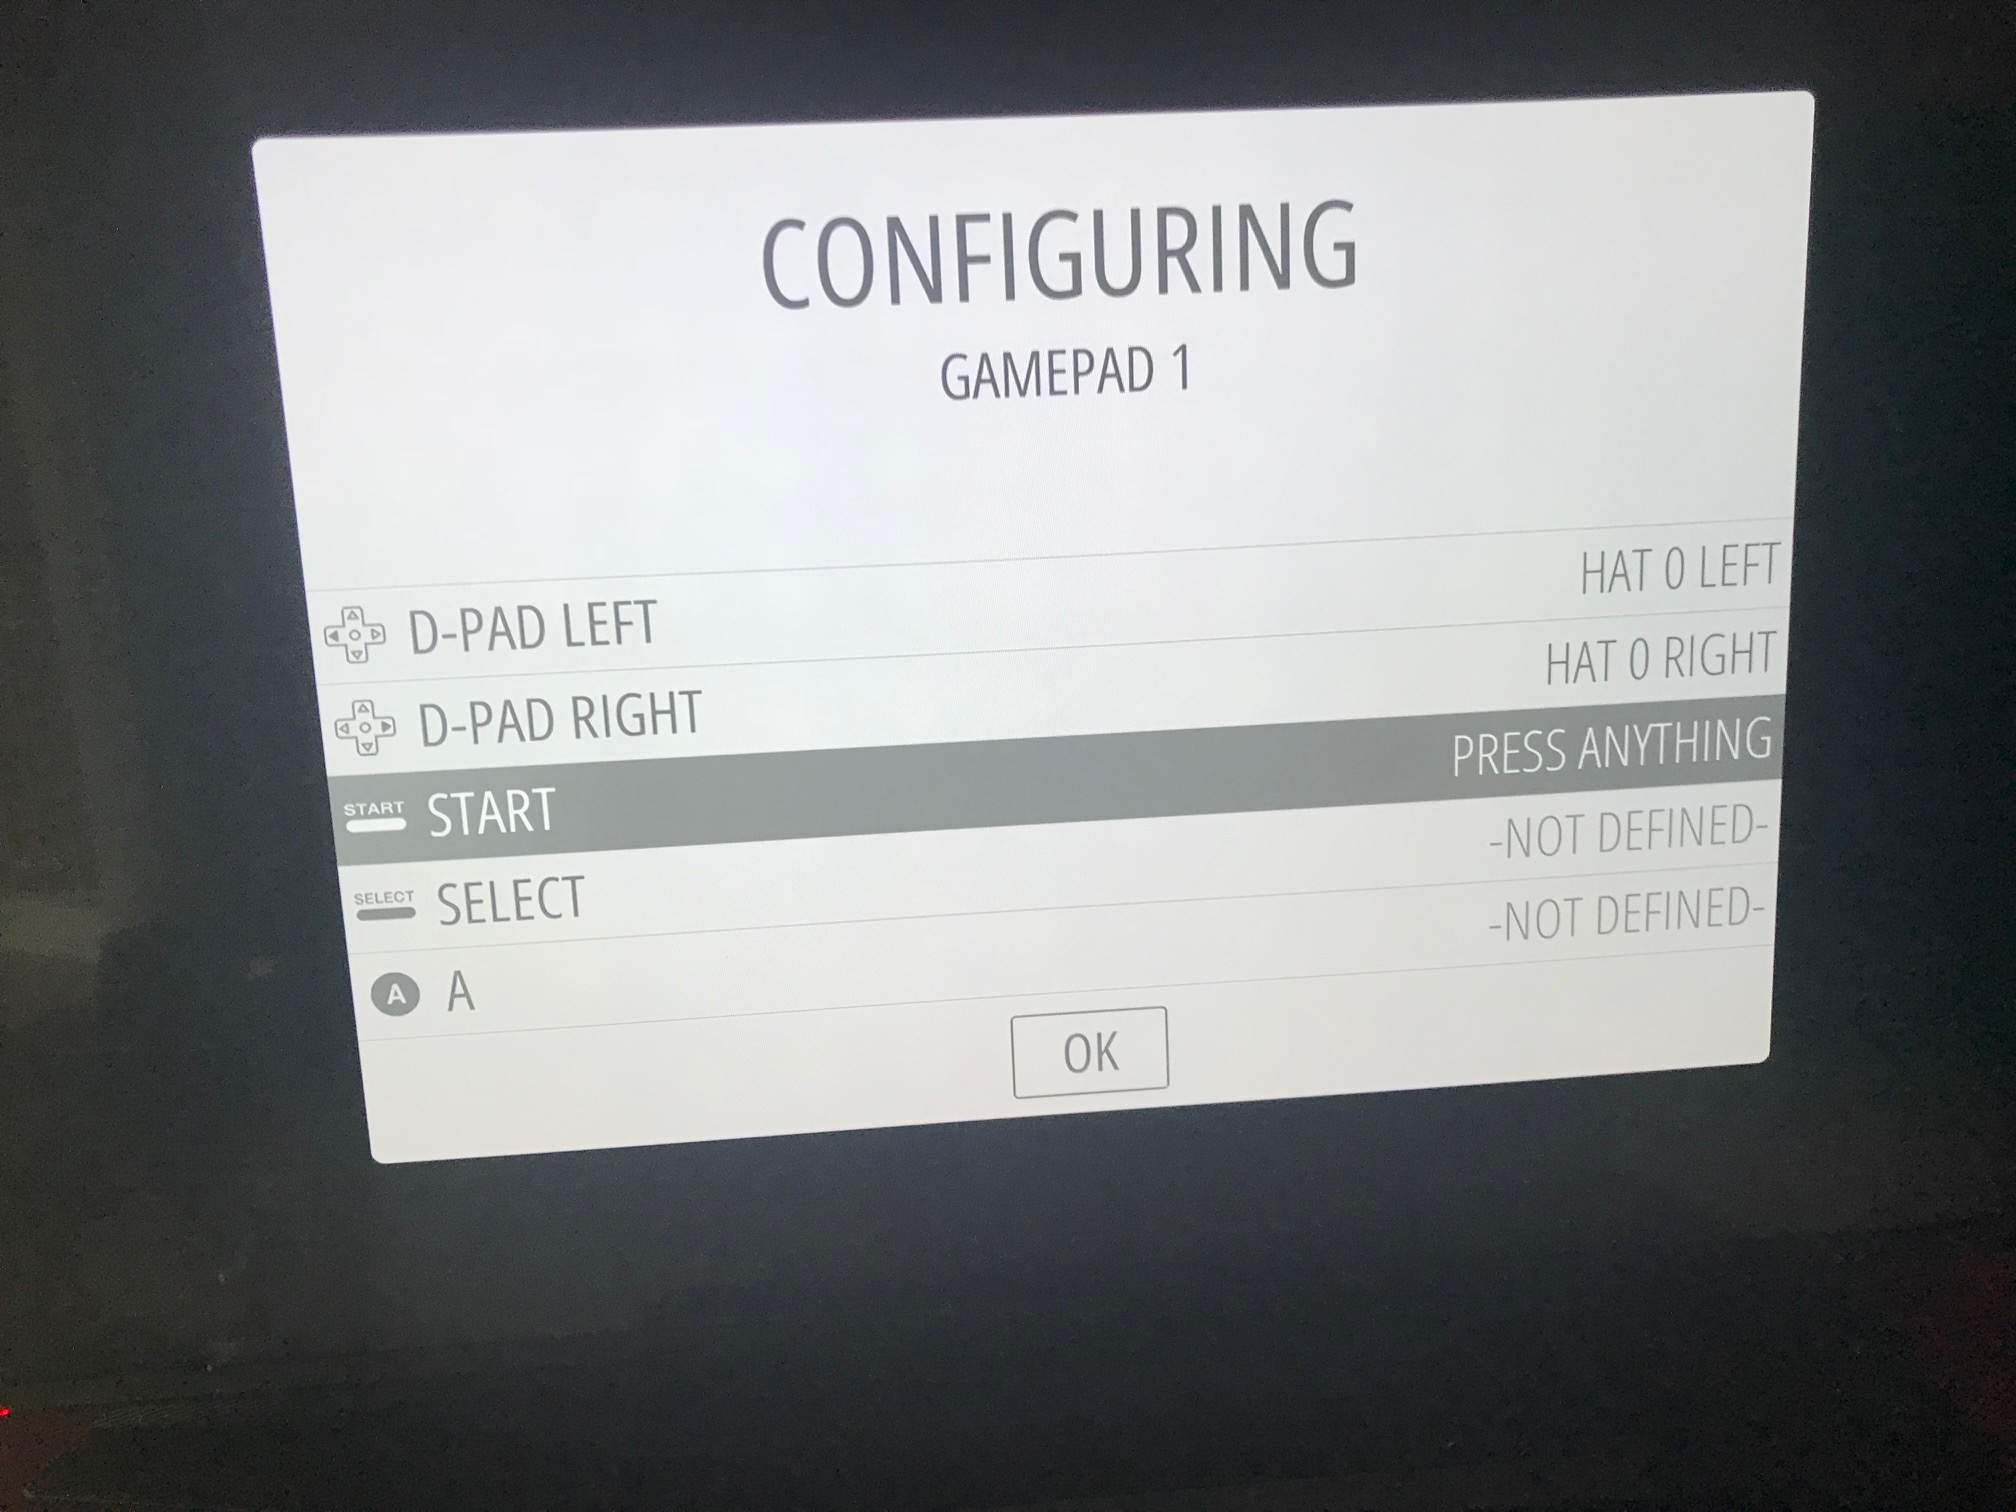
You will then be asked to press each relevant button for use in different system types (some system controllers had more buttons and joysticks than others). Press the buttons as requested to complete controller setup.
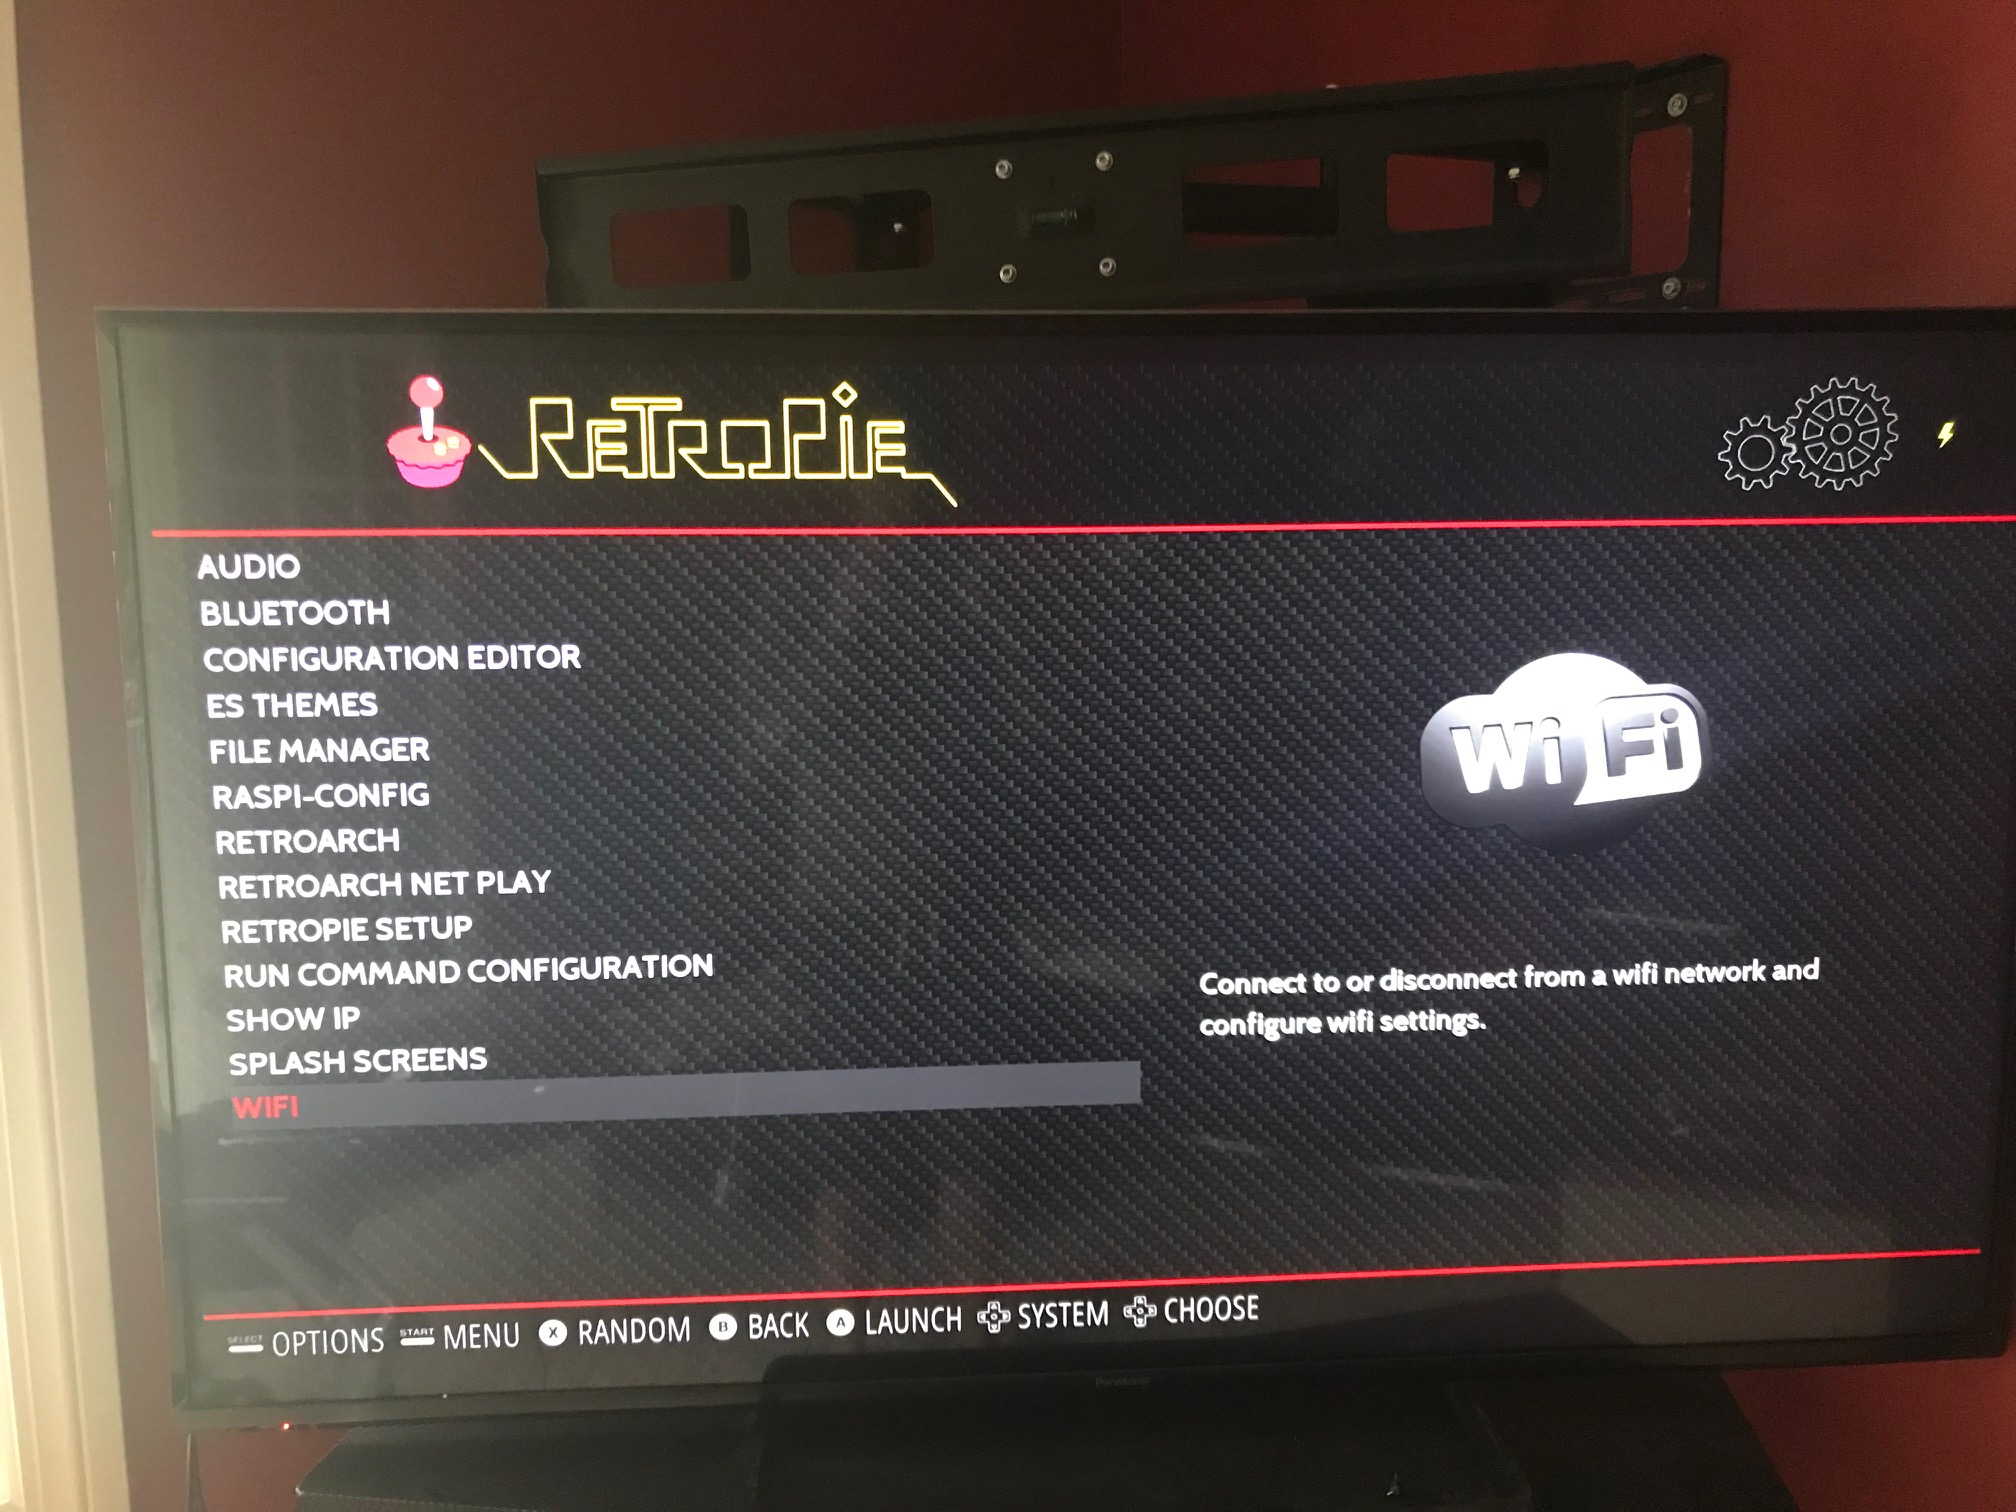
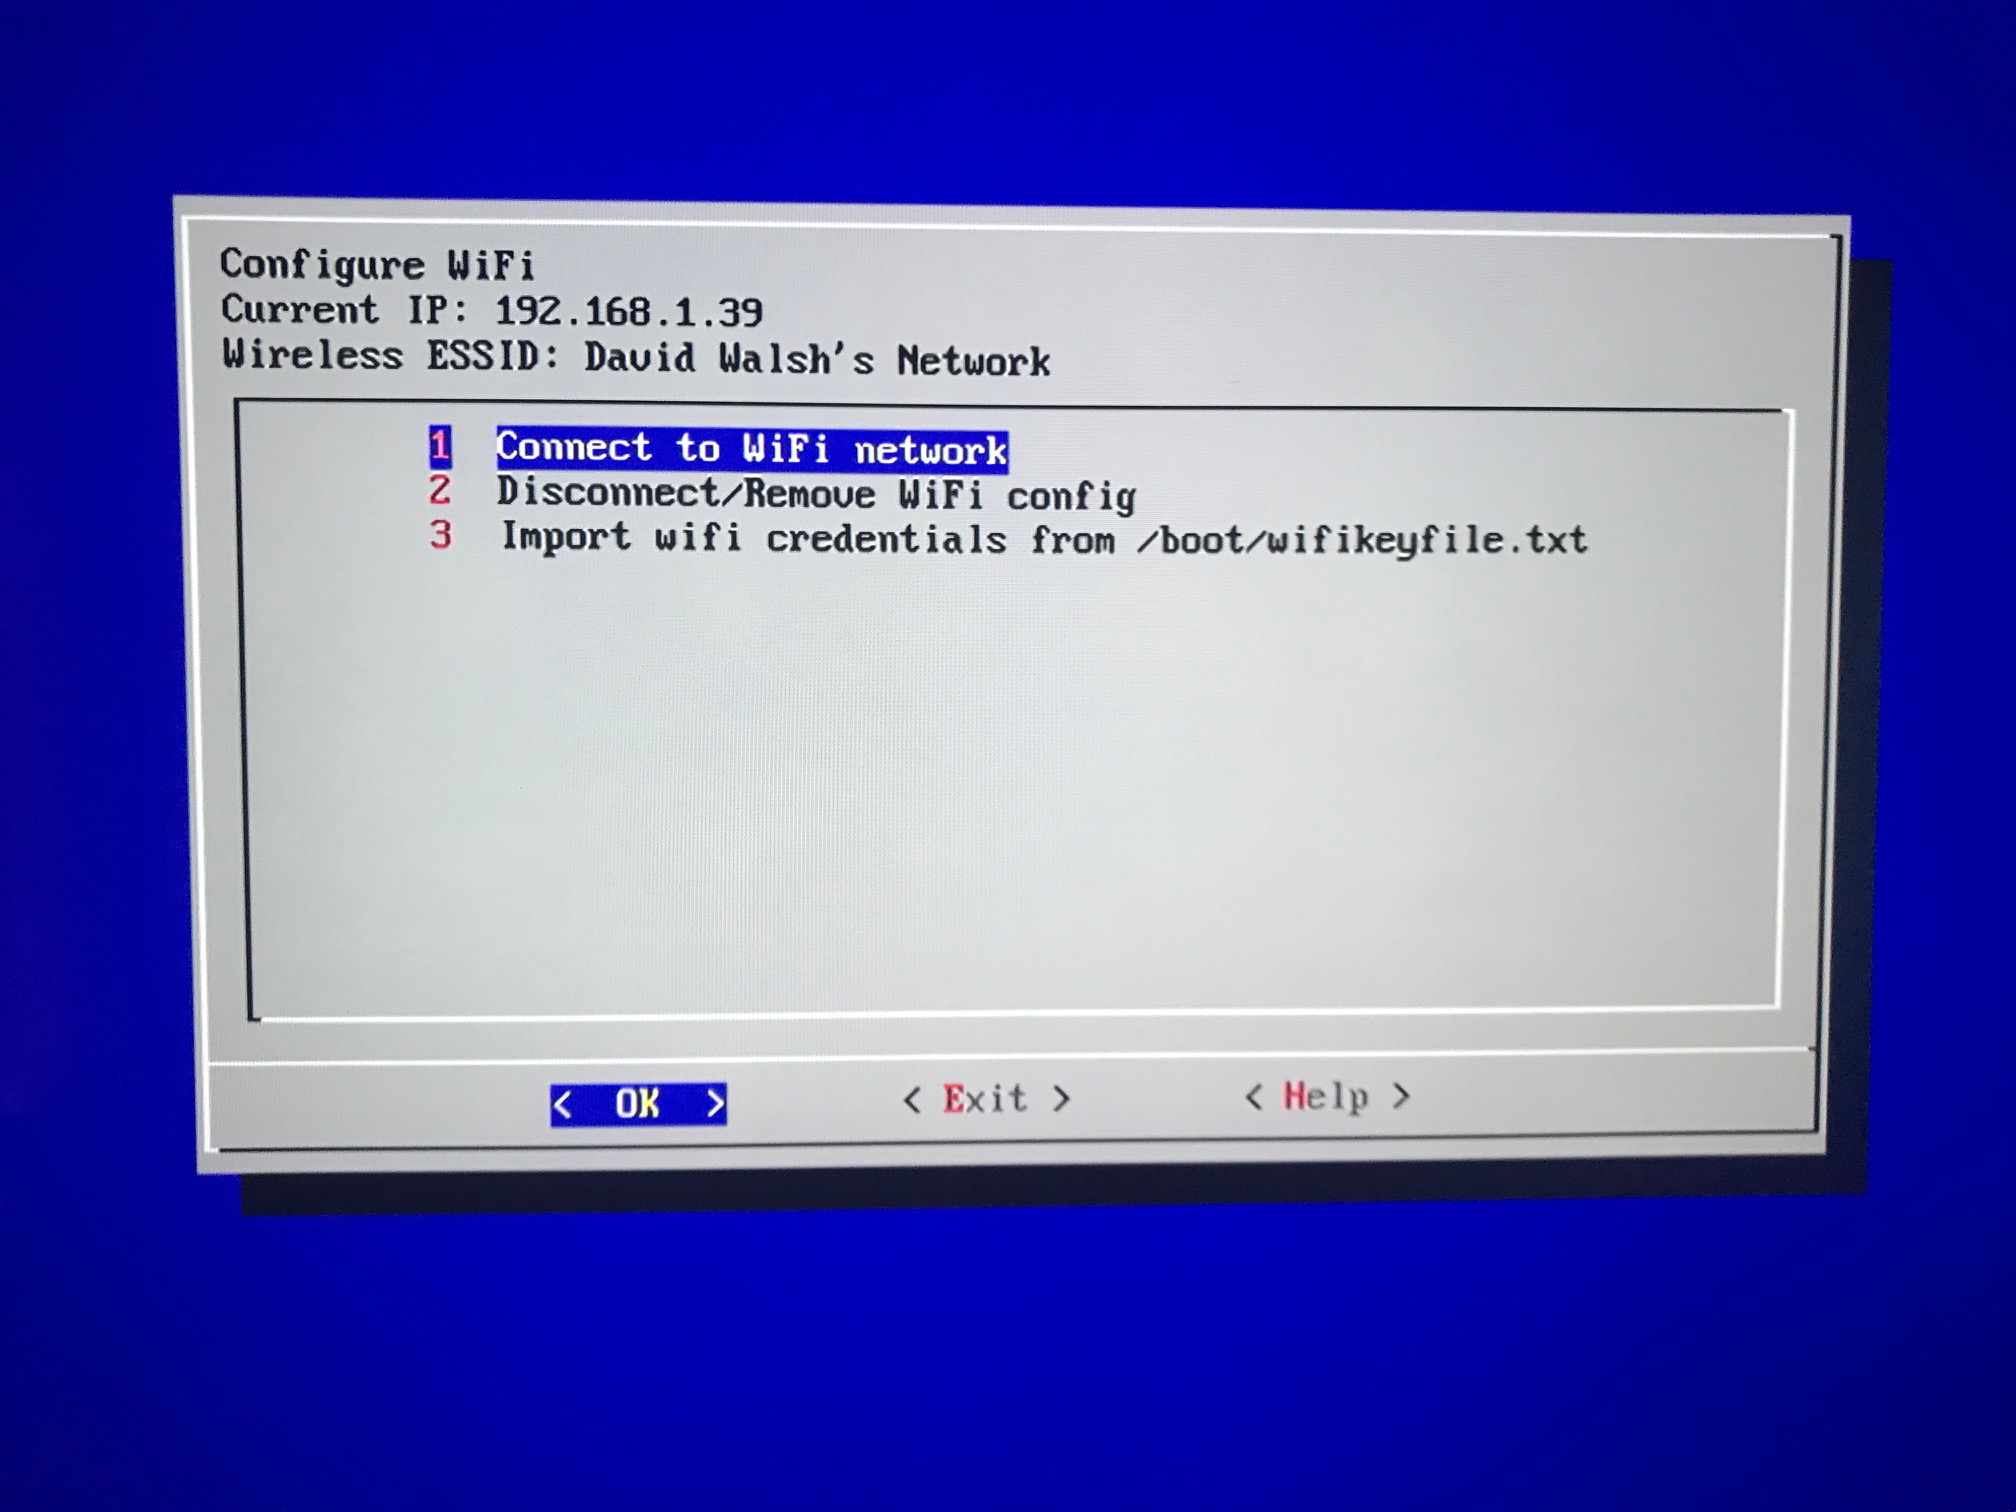
WiFi Setup and Moving ROMs
The one wireless operation I will perform is sending ROMs from my desktop Mac to the Raspberry Pi via WiFi; I could use an ethernet cable but that's one wire I don't want to bother with. Enter into the WiFi setting and follow the instructions to select your WiFi network and enter your password:
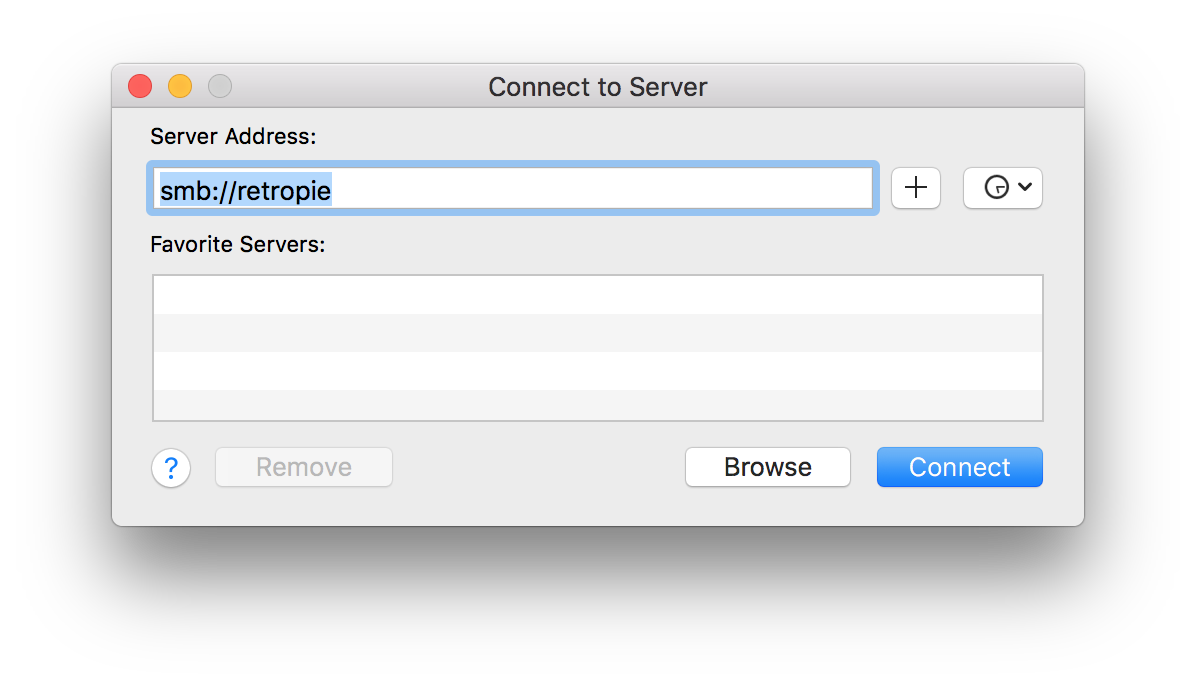
With WiFi configured, now you jump onto your desktop computer and connect to the Pi using SSH, SFTP, or a network mount. I choose a network mount:
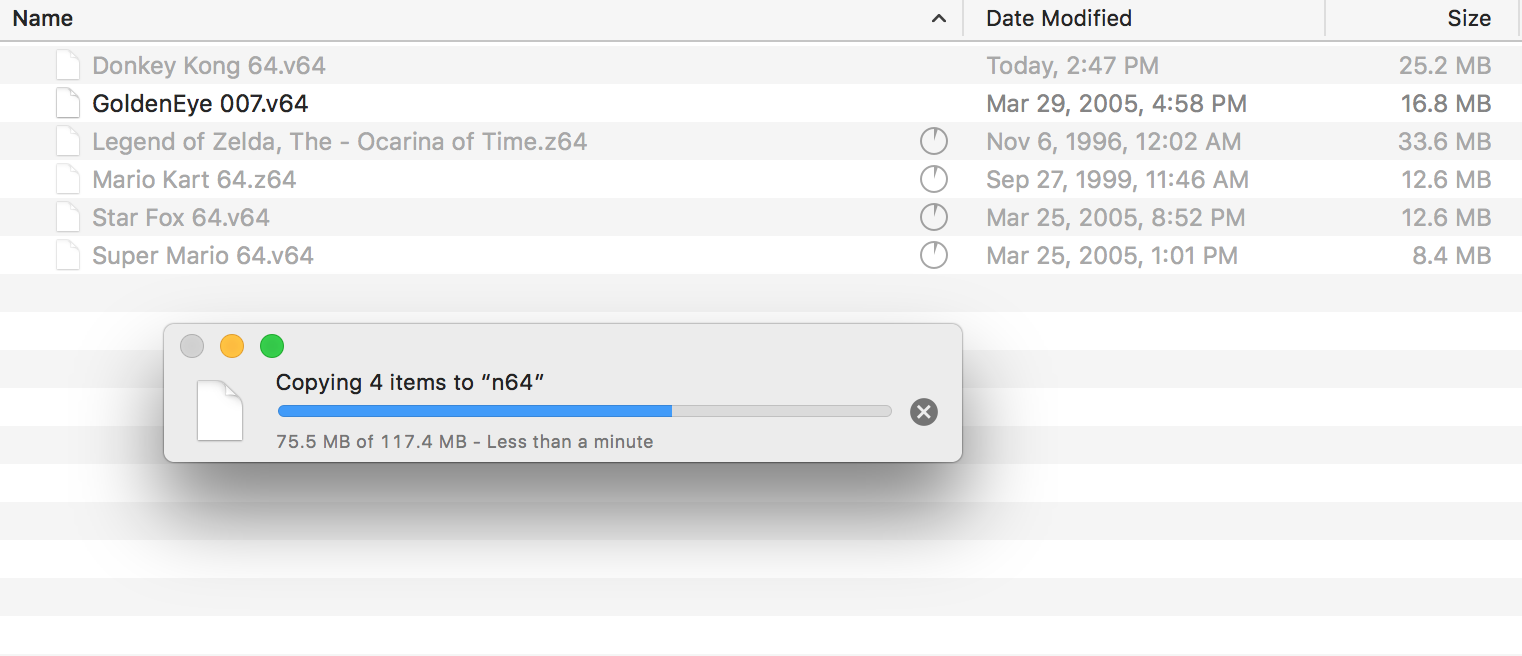
Once connected, select the roms volume. You'll see a listing of directories representing retro gaming consoles. Once you find and download game ROMS onto your desktop, simply copy each ROM file into the console directory it belongs in:

Adding games to a powered on Raspberry Pi requires a restart (remove the USB cord from the TV and plug it right back in). Each time you start your Raspberry Pi, the RetroPie home screen will show an icon and game count for each system for which you have ROMs for!
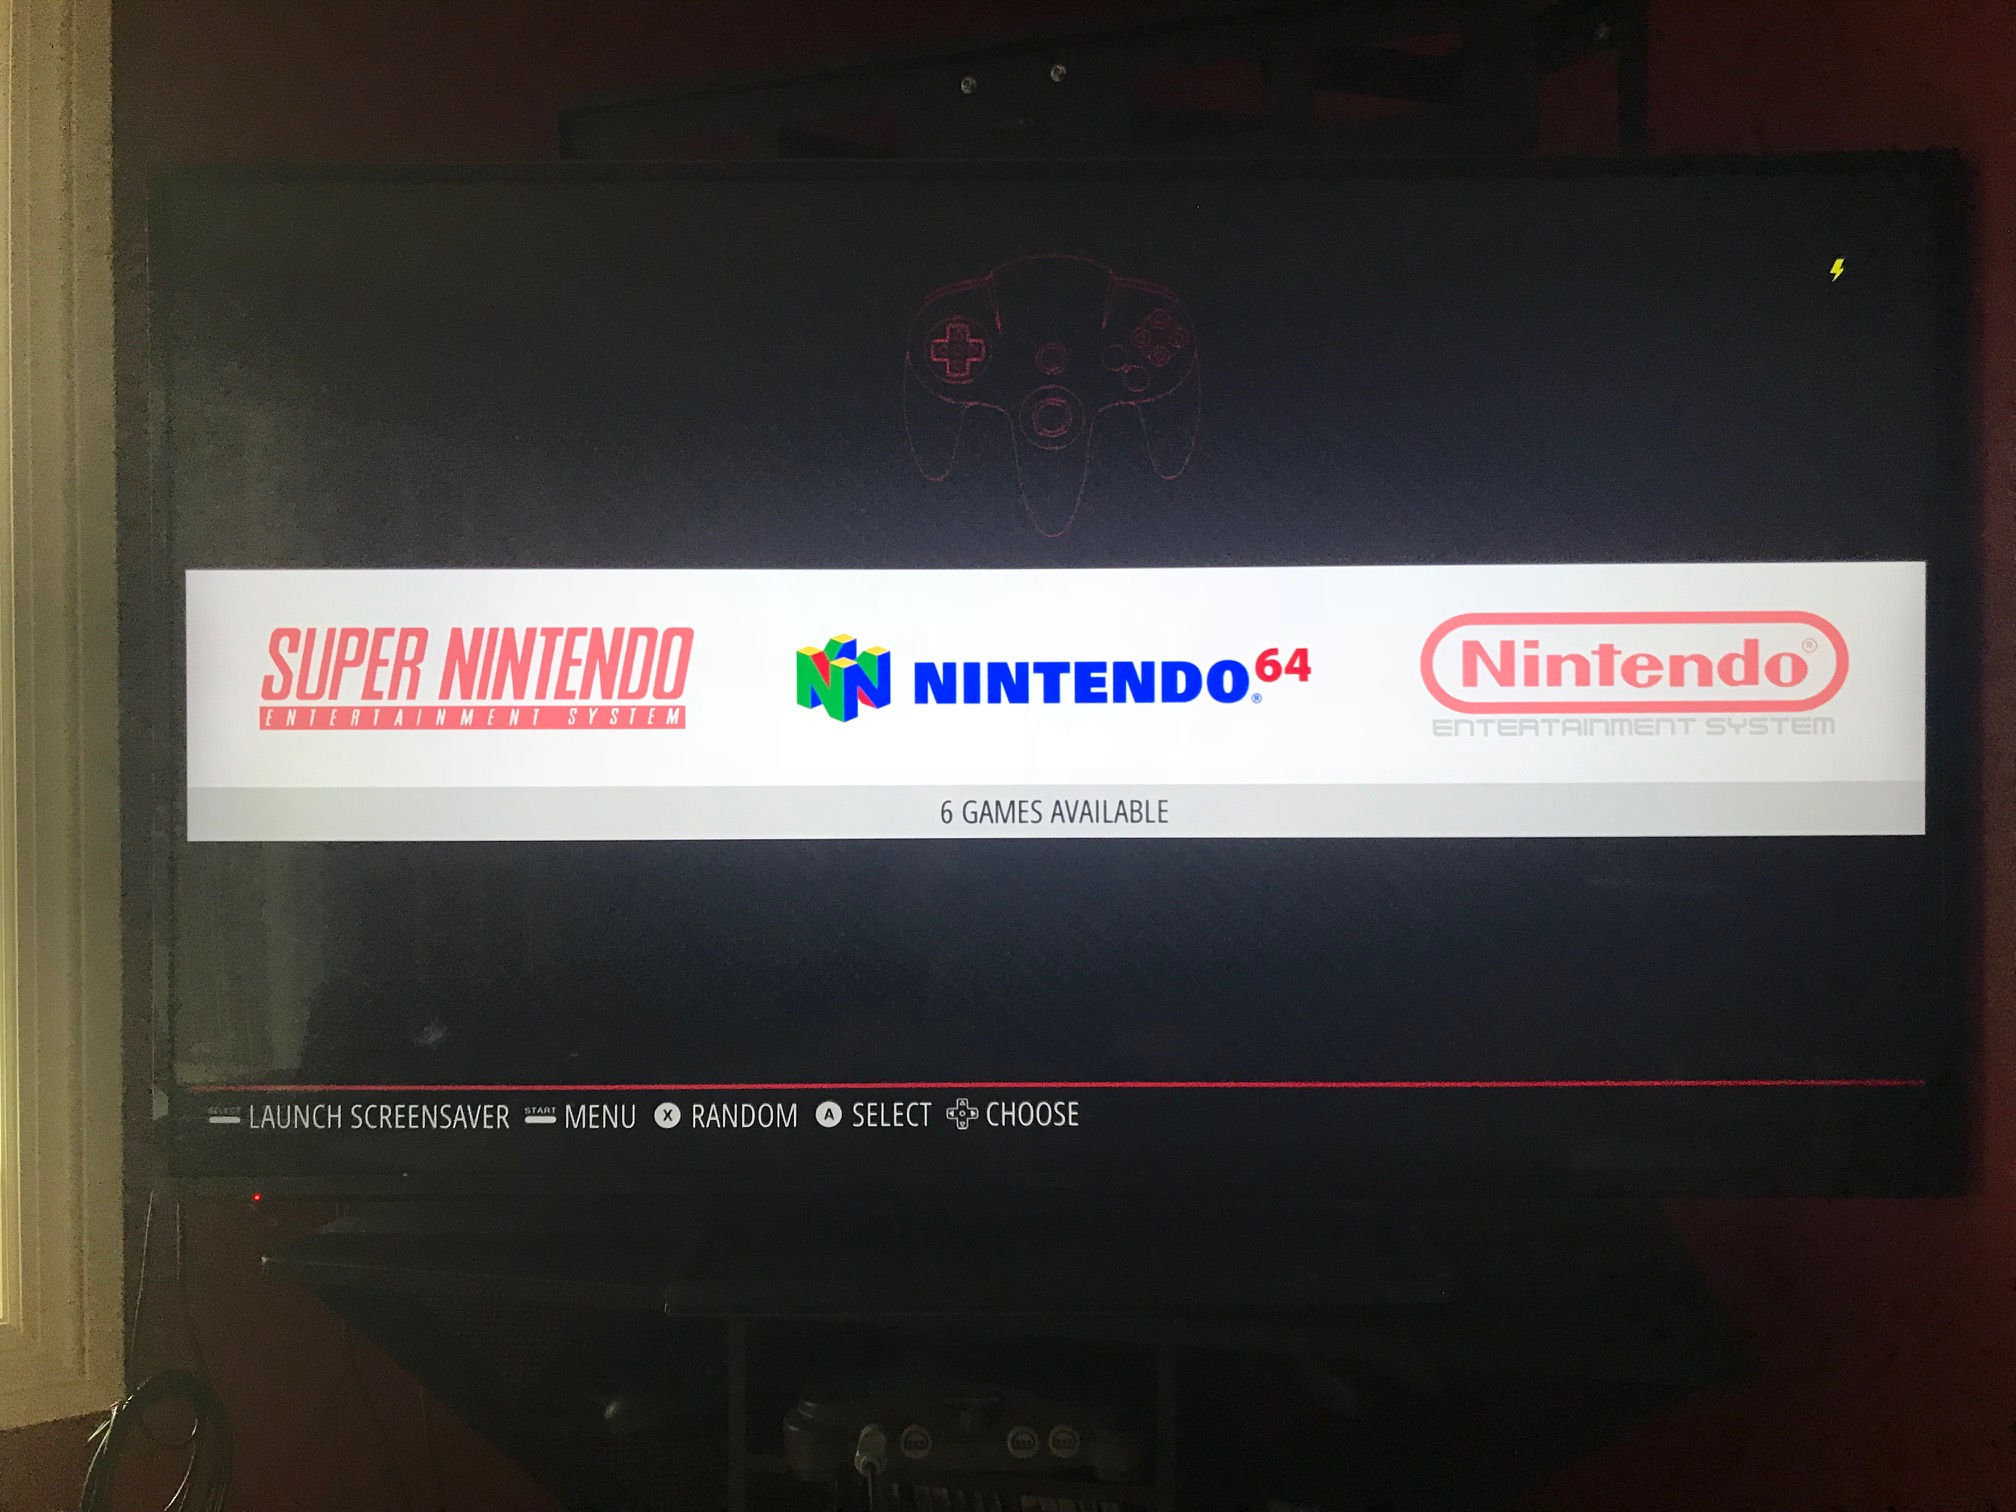
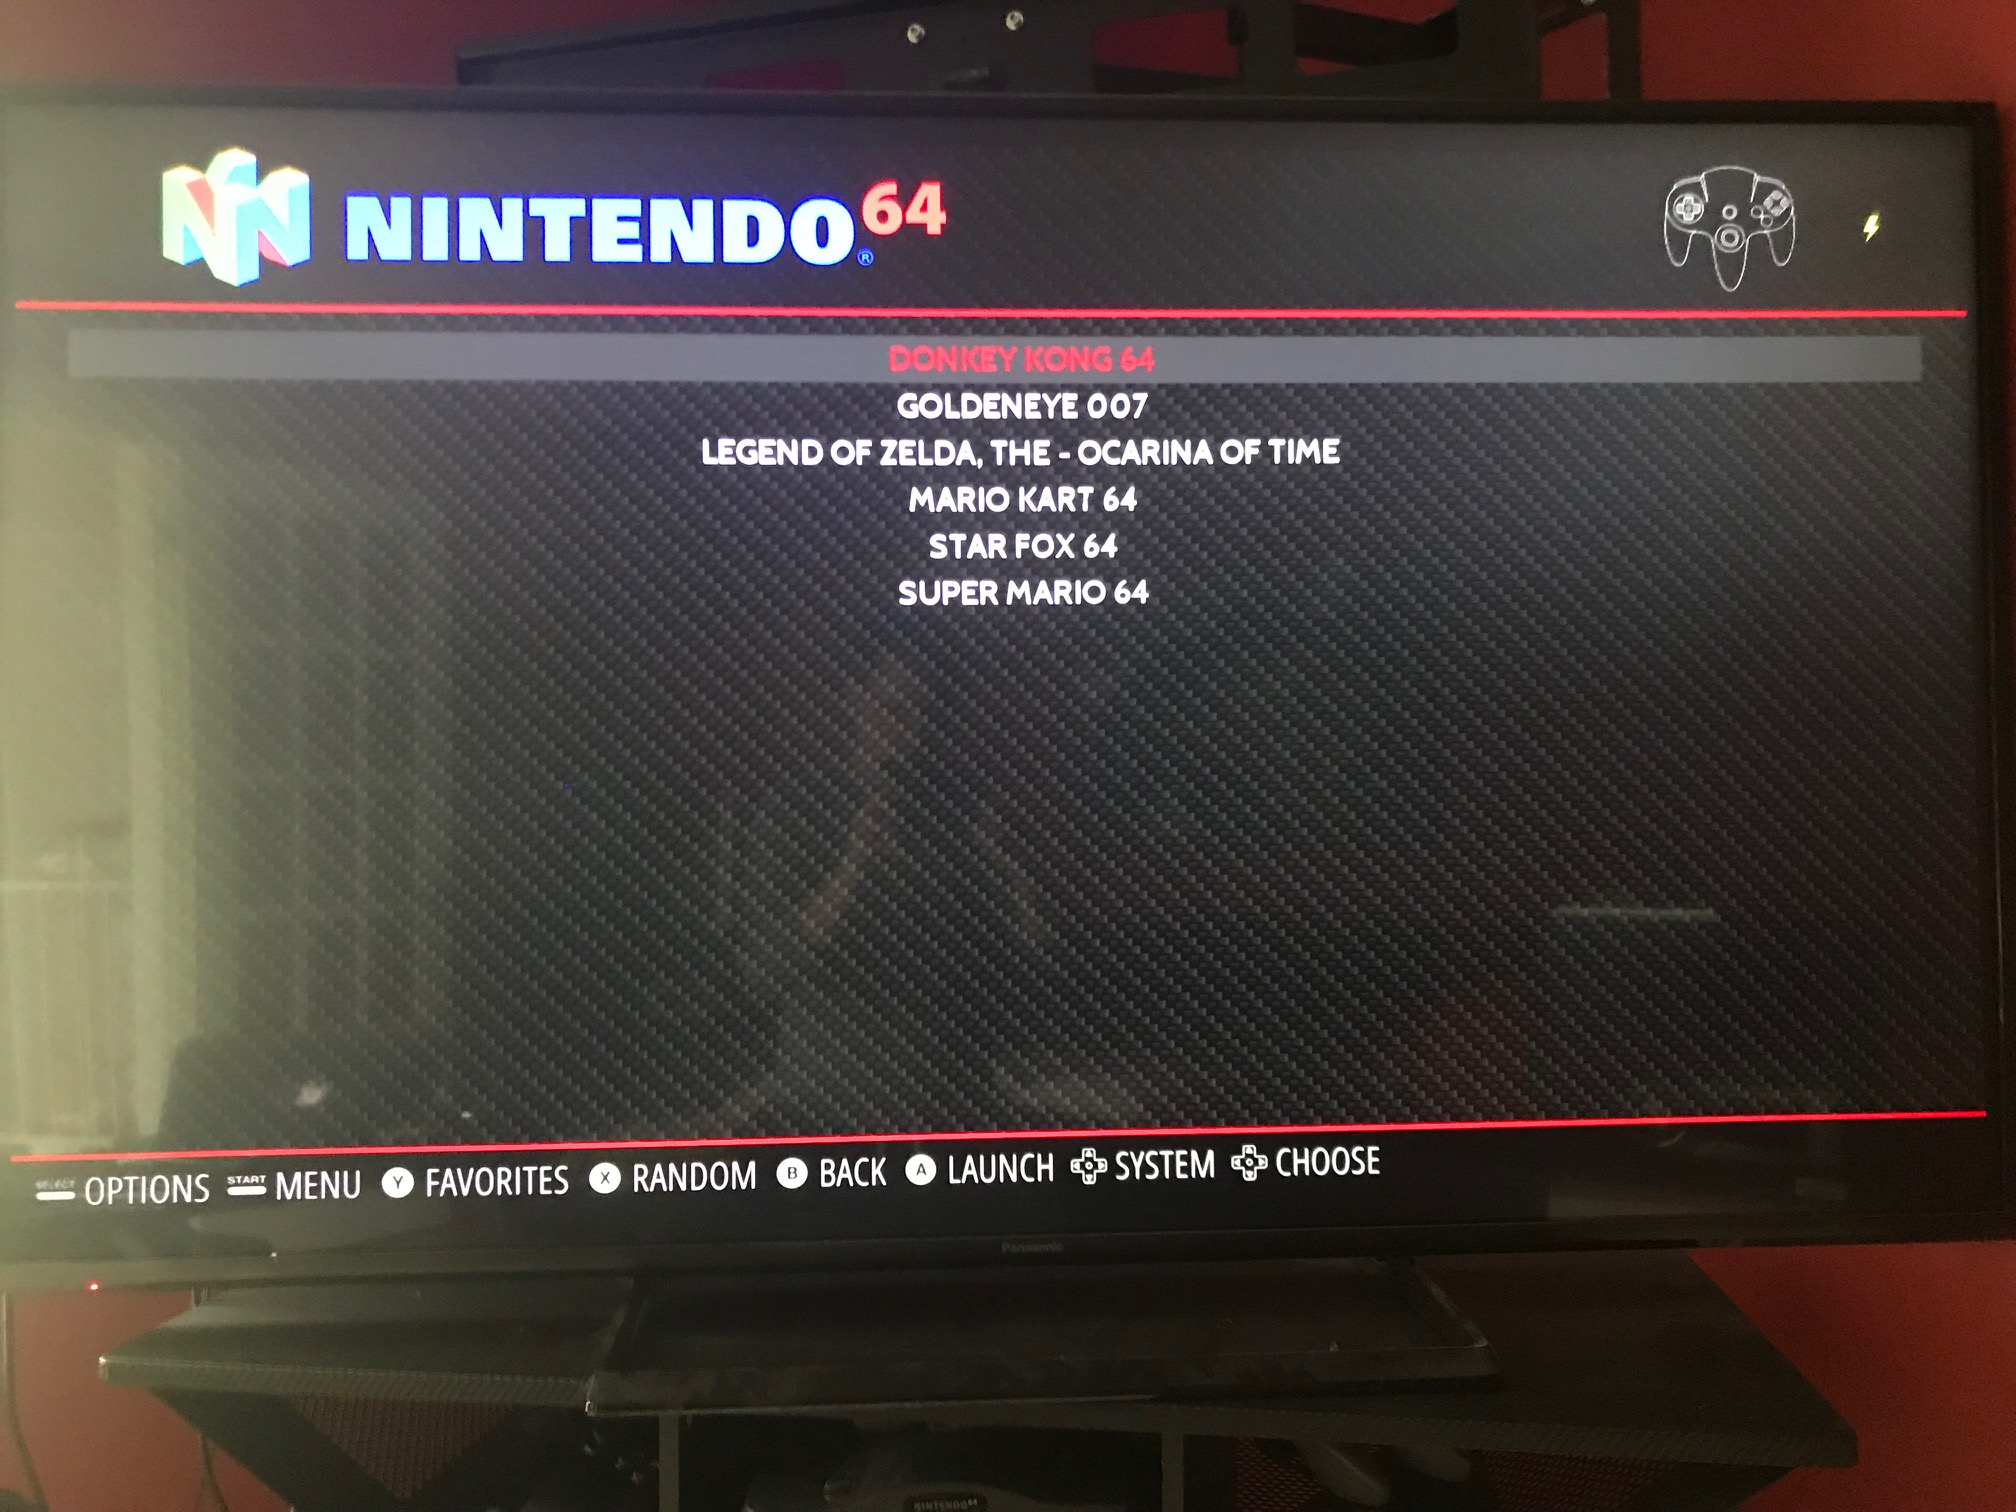
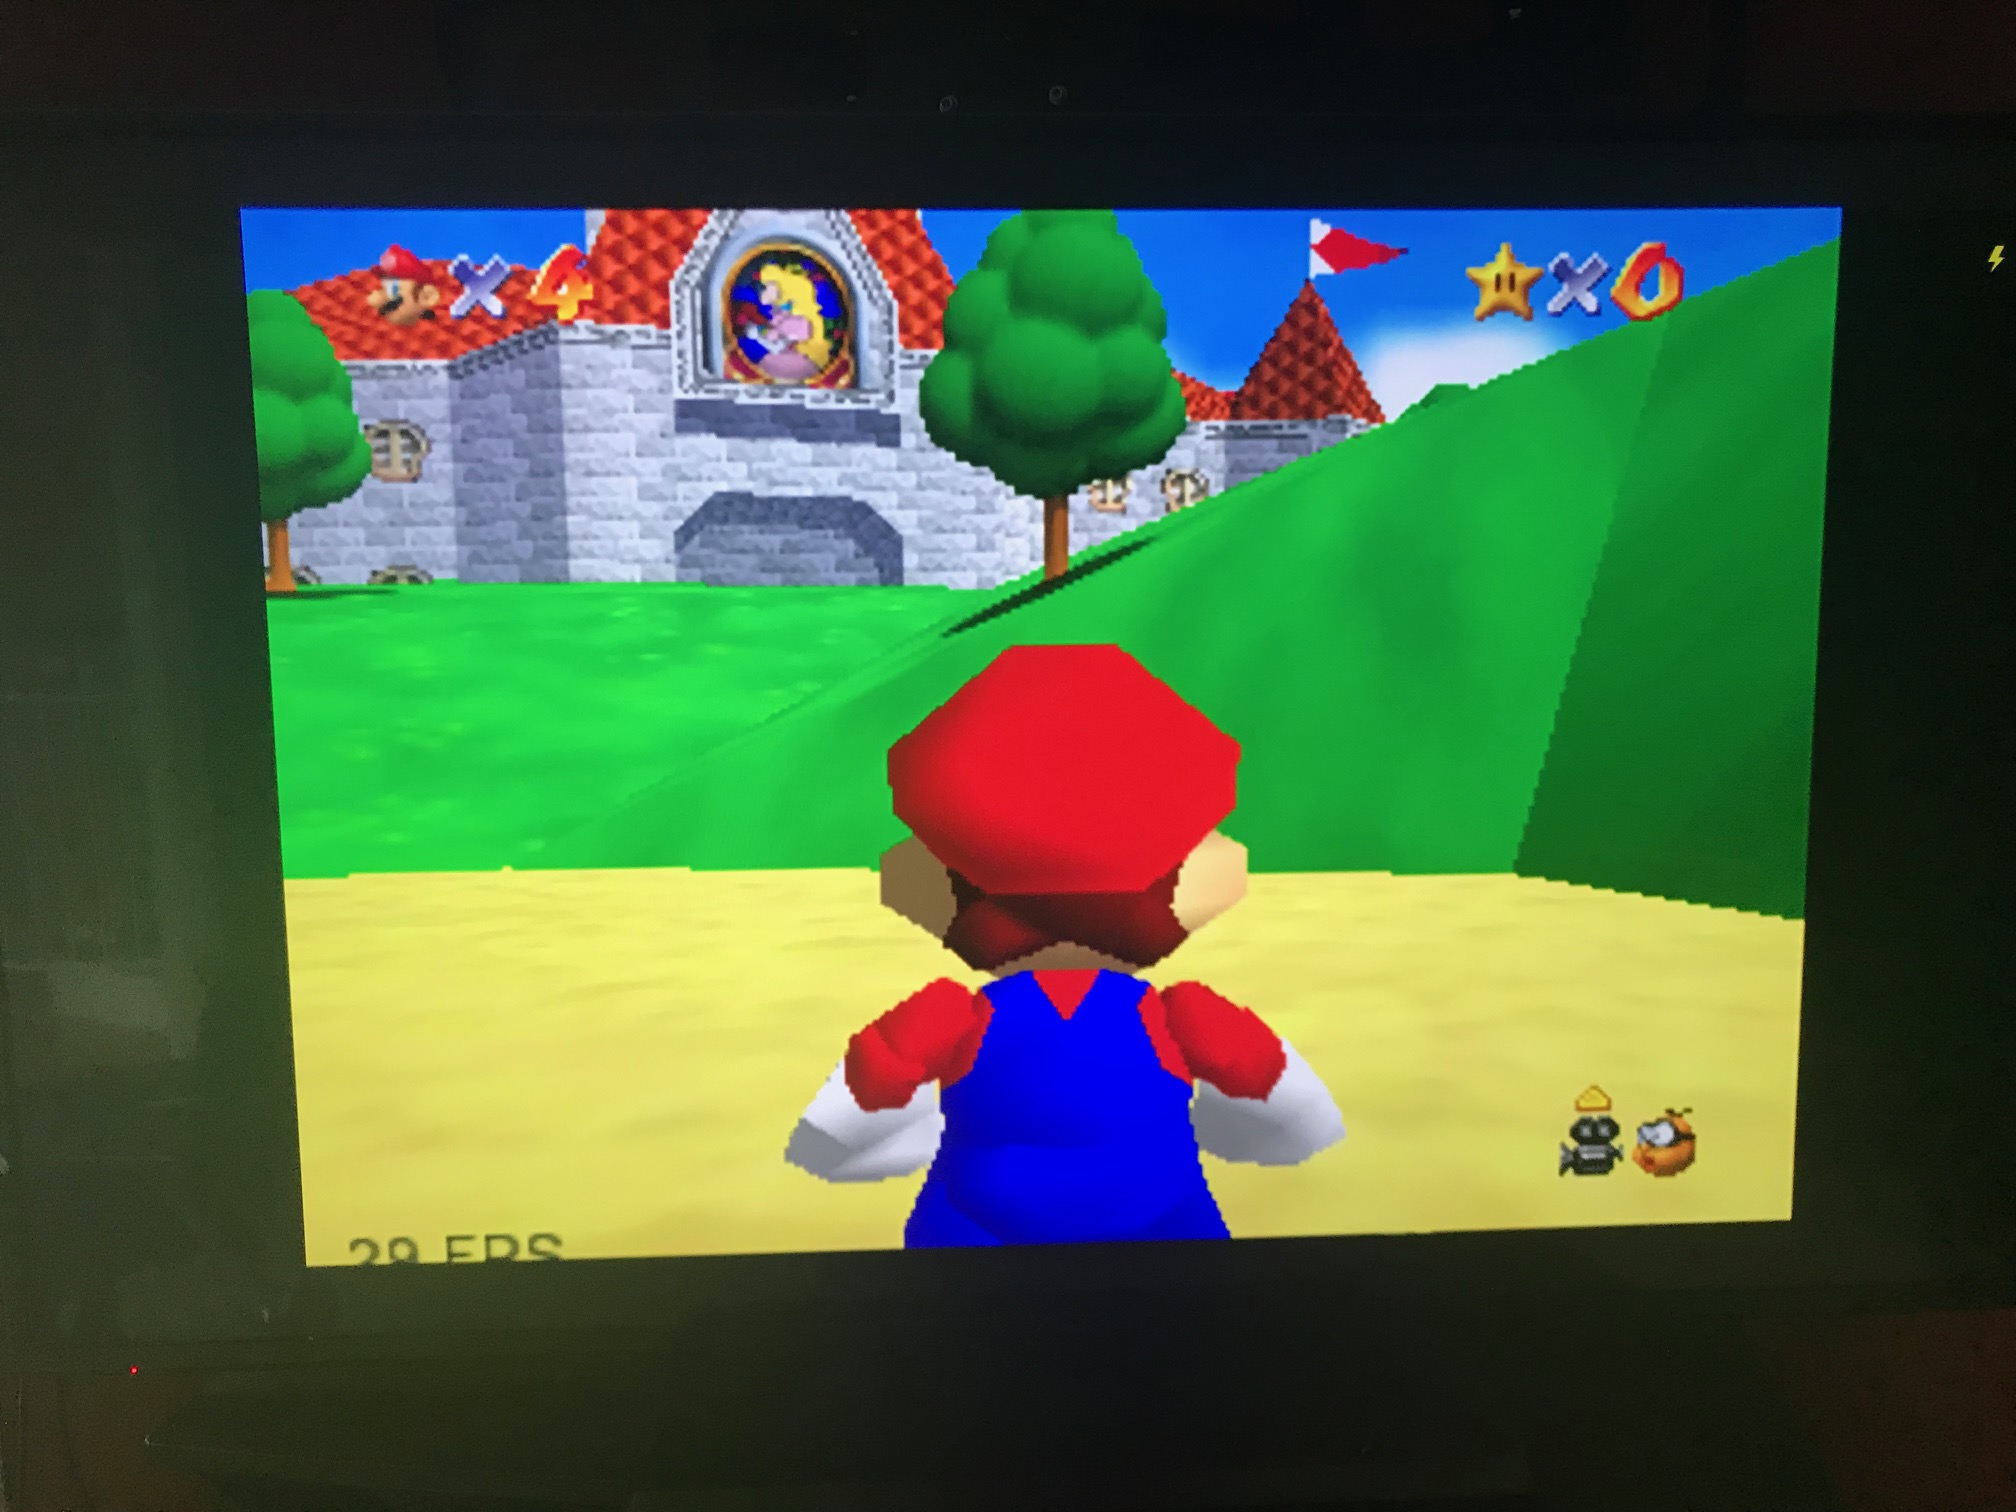
Select any game and you're ready to play!
That's It!
Hopefully this process didn't take too long. Creating a RetroPie retro gaming machine took 15 minutes the first try but only a few minutes each clean try after; you'll spend more time looking for ROMs!
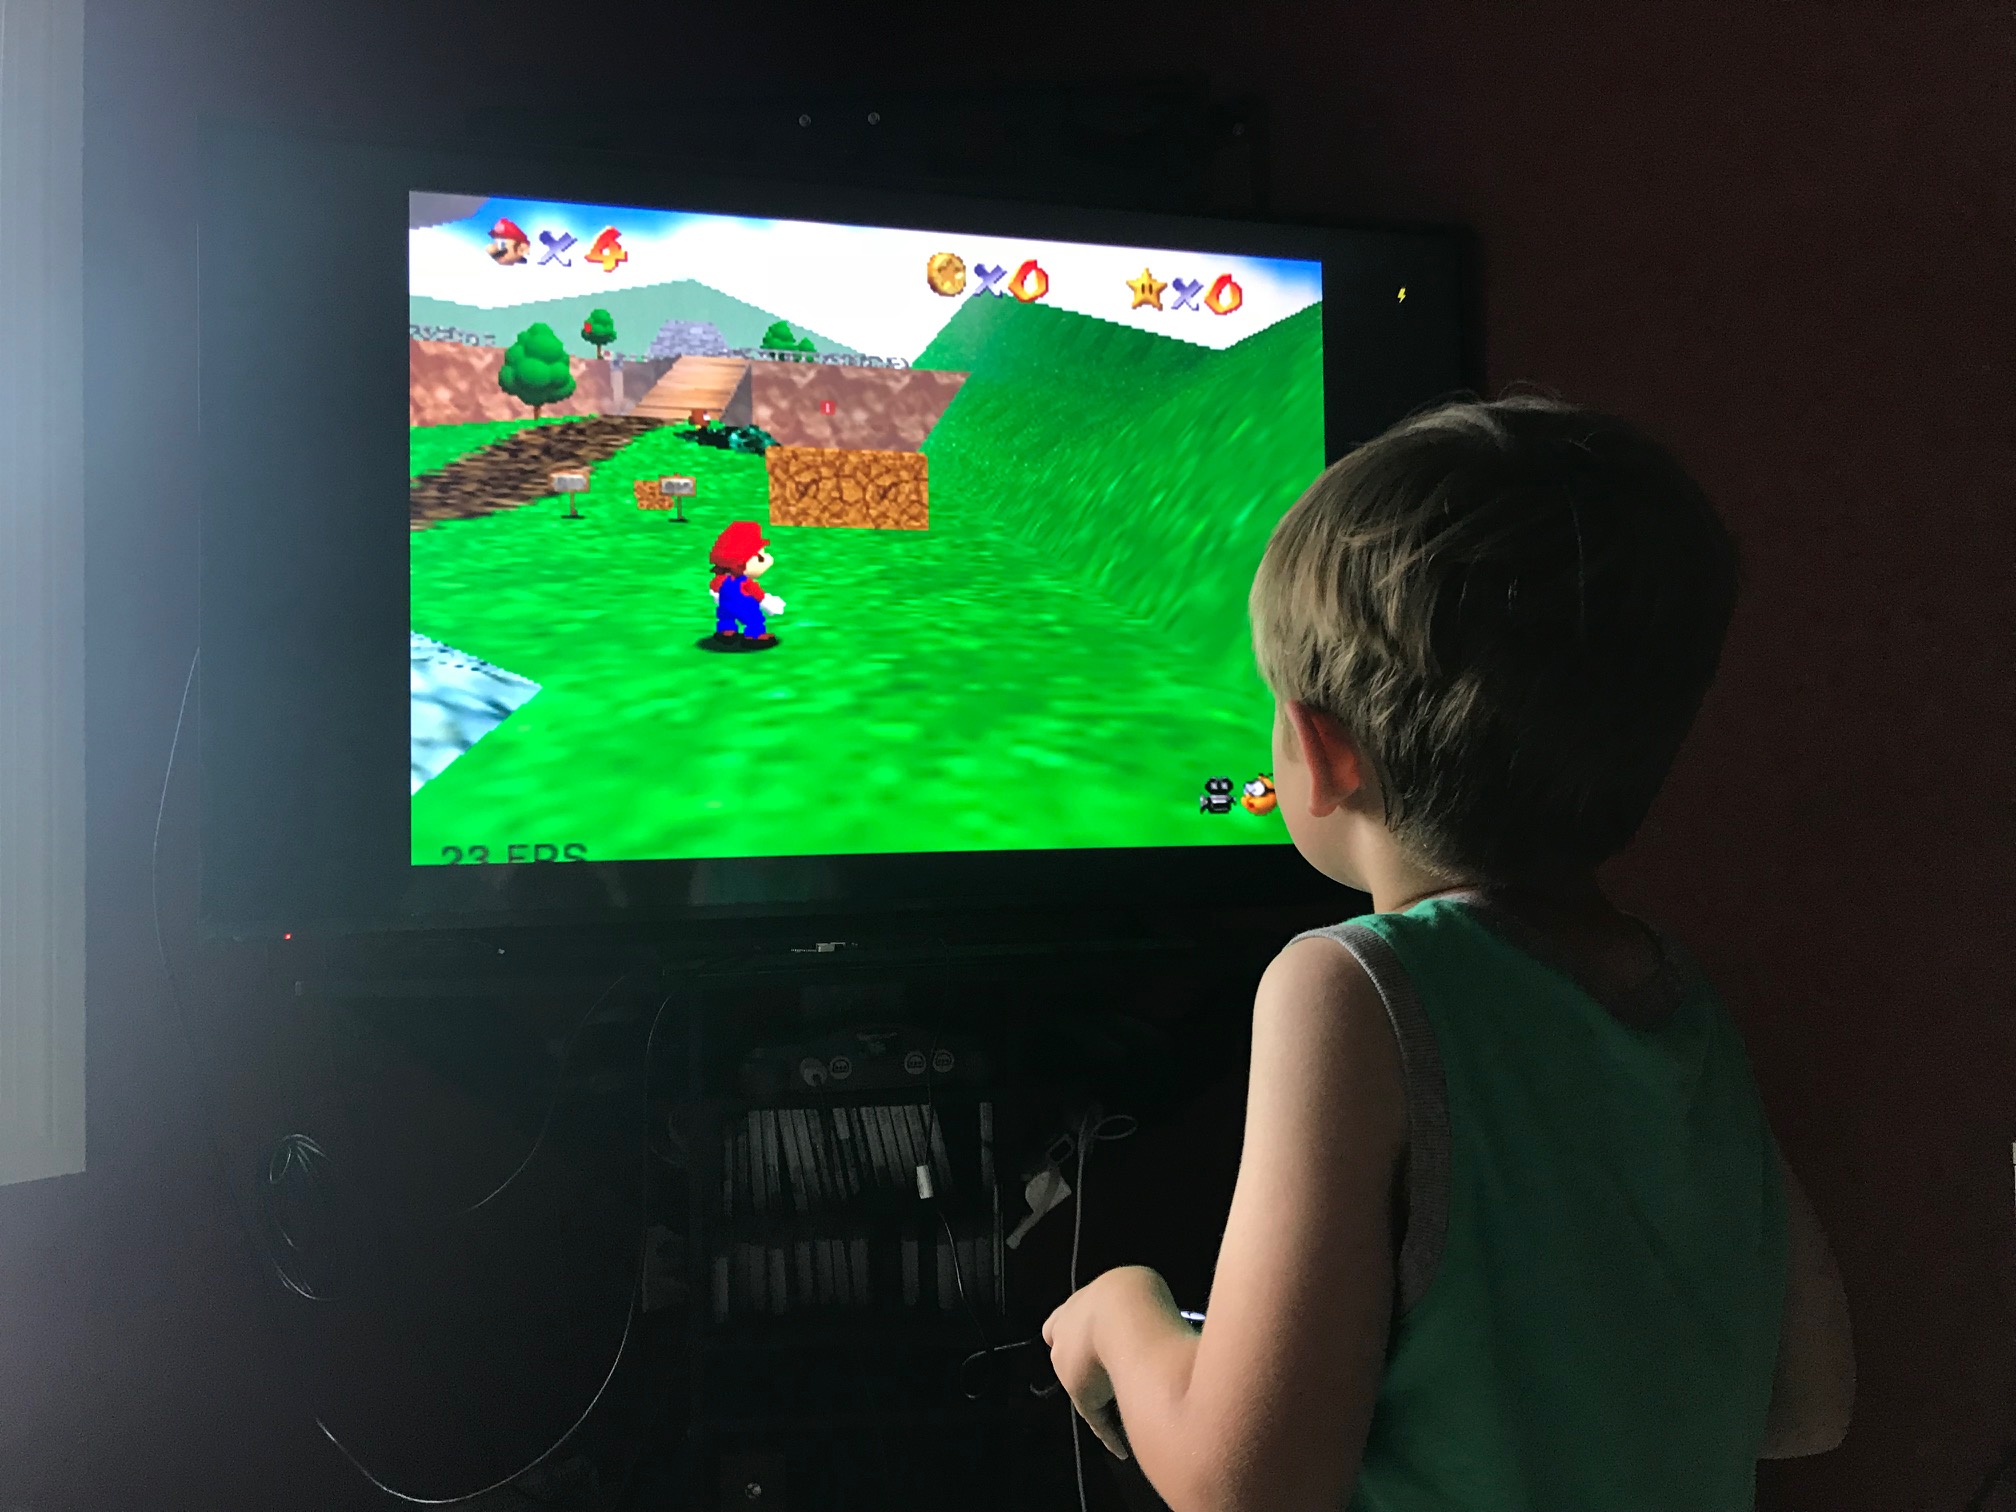
And one of the best parts? Now my kids can enjoy the same games I loved at their age!
A big thank you to Dav Glass for the inspiration. I was intimidated to attempt creating a RetroPie retro gaming machine but his encouragement was all I needed!


Also highly recommended for this setup: A couple arcade-style USB “fight sticks” for MAME games. Some of them have the same sticks & buttons as arcade machines – though even the cheaper ones are pretty nice. Helped run a retro gaming session at Penguicon this past spring and this set up seemed like a hit.
Regular USB port might not be enough to power up Raspberry Pi during more resources demanding activities (like more advanced MAME games). Raspberry Pi needs 2.5A of power supply while regular USB ports deliver up to 2.0A. Also pulling the power plug out ad-hoc is the easiest way to damage your filesystem and end up with the need to reinstall whole software stack. Exit Emustation and type
sudo rebootorsudo shutdowninstead.Likewise profoundly prescribed for this setup: A couple arcade-style USB “battle sticks” for MAME recreations.
I was very interested to read this article, written in simple and understandable language. Everything was laid out at every step. Nice to read such articles. Would definitely recommend https://escortintoronto.info.
It’s really cool and cheap project. I already have PI 3, so I will grab one of those vintage cases for it and do one for myself. Thanks