Getting Started with Whitestorm.js
What is whitestorm.js?
Whitestorm.js is a framework for developing 3D applications or games that run in browser. This framework is basically a wrapper around Three.js library (like jQuery wraps DOM to make it easier to use). It extends Three.js with simple API and component system to make development easier and better. It uses WebGL to render 3D , so the application will run even on a smartphone or tablet.
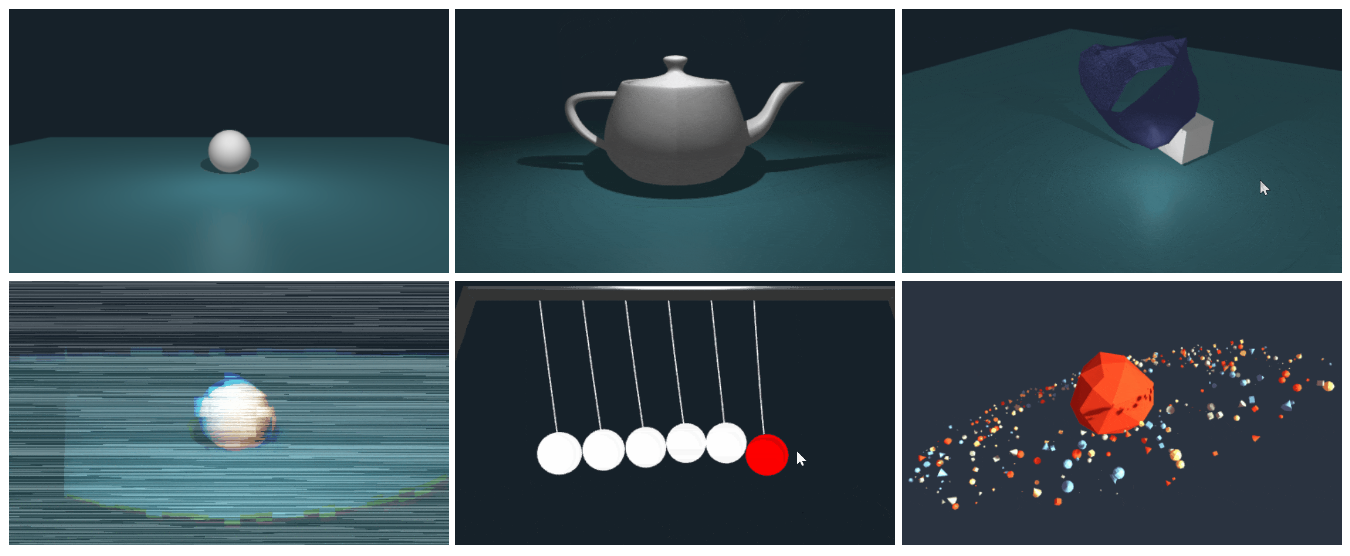
Examples : https://whs-dev.surge.sh/examples/
There are also some cool projects made with Three.js already (showcase):
Idea of WhitestormJS framework
It’s main goal is to combine 3D rendering with real-time physics simulations in a simple and flexible API . There are some main features it provides:
- Component based scene graph
-
Integrated
high performance physics
with
Worker(Multithreading) - Automatization of rendering
- Enhanced softbodies
- ES2015+ based
- Webpack friendly
- Integrated Three.js rendering engine
More features you can find in project’s README on github .
Installation
There are multiple methods of installing whitestorm.js . Let’s describe the one using the <script> tag and the one with webpack .
Including to the document
The only thing you should do is to add whitestorm.js to your document using script tag. You can download this file from the build folder .
<!-- WhitestormJS library -->
<script src="whitestorm.js"></script>
<!-- App written in WhitestormJS -->
<script src="app.js"></script>
That’s all. Now you can write your app with whitestorm.js in app.js.
Webpack
Run npm install whs . After that you should add the WHS namespace to your code.
import * as WHS from 'whs';

// ...
Next step is configuring webpack.
plugins: [
  new webpack.NormalModuleReplacementPlugin(/inline\-worker/, 'webworkify-webpack')
  // ...
],
This should be done only if you are using the version with physics. You can find more information about variations of whitestorm.js and Usage with webpack within the documentation.
Usage
WHS.World
Now it’s time to make your first
whitestorm.js
app. First thing you should is do is
setup the World object
. When you do this, you do multiple things at once
:
-
Setup
THREE.Scene(orPhysijs.Scene) - Create perspective camera and add it scene
- Set gravity (if physics is on)
- Apply background and other renderer options
- Set autoresize/stats (in addition)
const world = new WHS.World({
  autoresize: "window",
  stats: 'fps', // Statistics tool for developers.

  rendering: {
    background: {
      color: 0x162129
    }
  },

  gravity: [0, -100, 0], // Physic gravity.

  camera: {
    position: {
      z: 50
    }
  }
});
WHS.World: Initialize scene, renderer and camera.
The WebGL canvas will be automatically added to the
document.body node.
You can change the destination by setting a DOM element to the container
property of the configuration object that we pass to the WHS.World.
WHS.Sphere
Next thing to do is to make a simple sphere that will fall down on a plane. As we already have scene, camera and renderer set up, we can start making the sphere immediately. To make a simple sphere, use the WHS.Sphere
component. It is a special component that wraps
THREE.SphereGeometry, mesh and physics.
By default if you use a physics version of whitestorm.js all objects are created as physics objects. If you don’t want to have a physics object — simply add
physics: falseline to sphere config.
// const world = ...

const sphere = new WHS.Sphere({ // Create sphere comonent.
  geometry: {
    radius: 3,
    widthSegments: 32,
    heightSegments: 32
  },

  mass: 10, // Mass of physics object.

  material: {
    color: 0xF2F2F2,
    kind: 'basic'
  },

  position: [0, 10, 0]
});

sphere.addTo(world); // Add sphere to world.
Now if you open your document you will see the sphere that will fall down.
Links
- Github: https://github.com/WhitestormJS/whitestorm.js
- Website: https:/whsjs.io/
- Showcase: https://whs-dev.surge.sh/examples/

About Alex Buzin
Senior Front-end developer. Intel ISEF 2016 winner in a Software category. An author and developer of WhitestormJS framework. Hockey player. Experiencing with javascript for more than 6 years.gimp


