How to Create a Recalbox on Raspberry Pi – Graphical Guide
Retro gaming seems to be all the rage these days, despite the fact that there are much more powerful systems and graphically impressive games being released today. Whether it's because the game quality was better decades ago, or some of us gamers are just getting longer in the tooth and want to relive our youth, loads of likeminded people are looking to old gaming systems. If you're a technology buff like me, however, you'll look to build your own retro gaming system.
Last week I showed you How to Create a RetroPie on Raspberry Pi and the response was immense. This week I'd like to show you how to create a Recalbox on RetroPie. Recalbox is an alternative to RetroPie and, in my estimation, is a bit more polished and arguably easier to setup. Let's do it!
Required Hardware
The easiest way to get all the hardware you need is by ordering this Vilros Raspberry Pi 3 Complete Starter Kit with Clear Case and 32GB SD Card. The kit has everything you need:
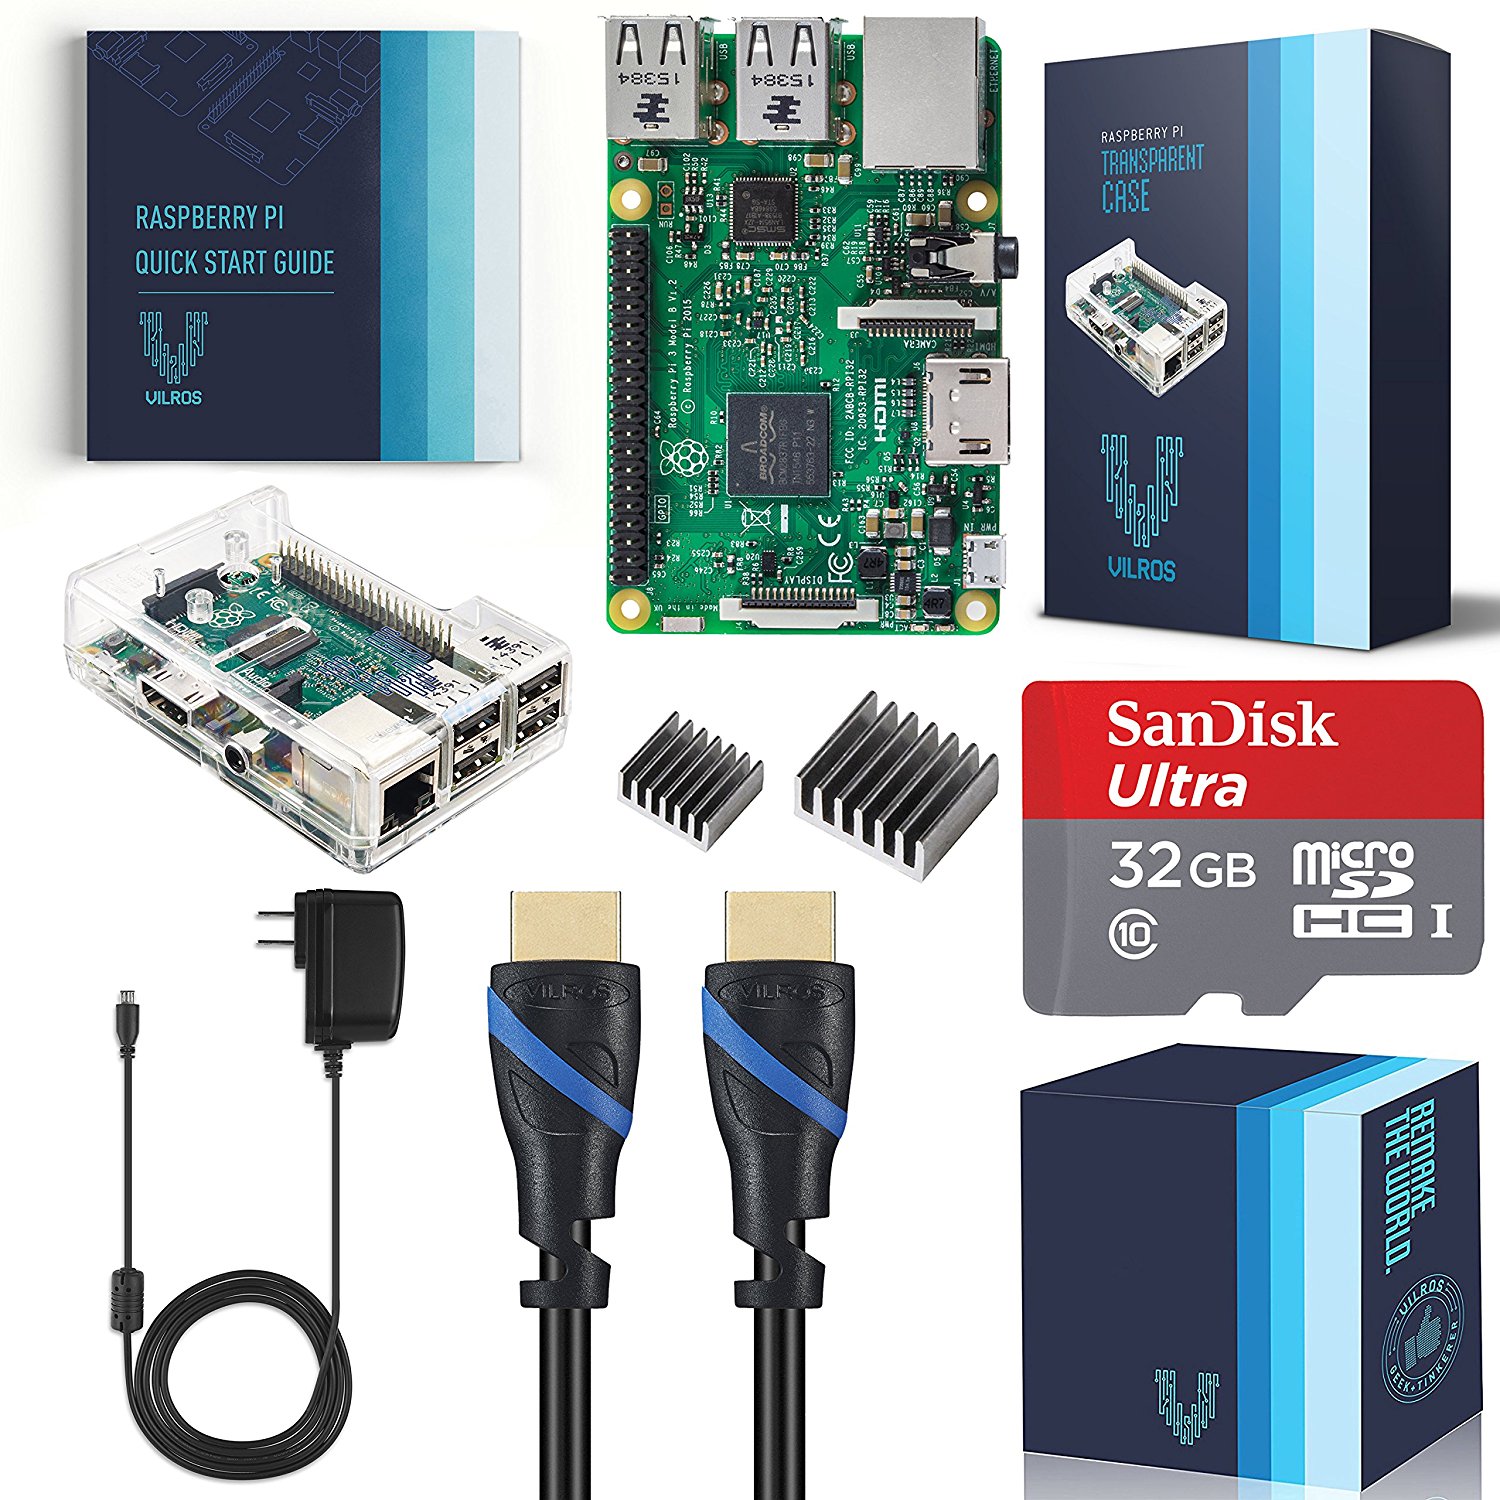
If you prefer to piece together your own hardware, please refer to the Required Hardware by Pieces section of my RetroPie guide. You'll also want to have a USB controller; you can use any host of controllers that you can connect to the Pi using USB; I've chosen to use a Xbox One controller. I have, however, also ordered a USB Nintendo 64 Controller
Flashing the SD Card
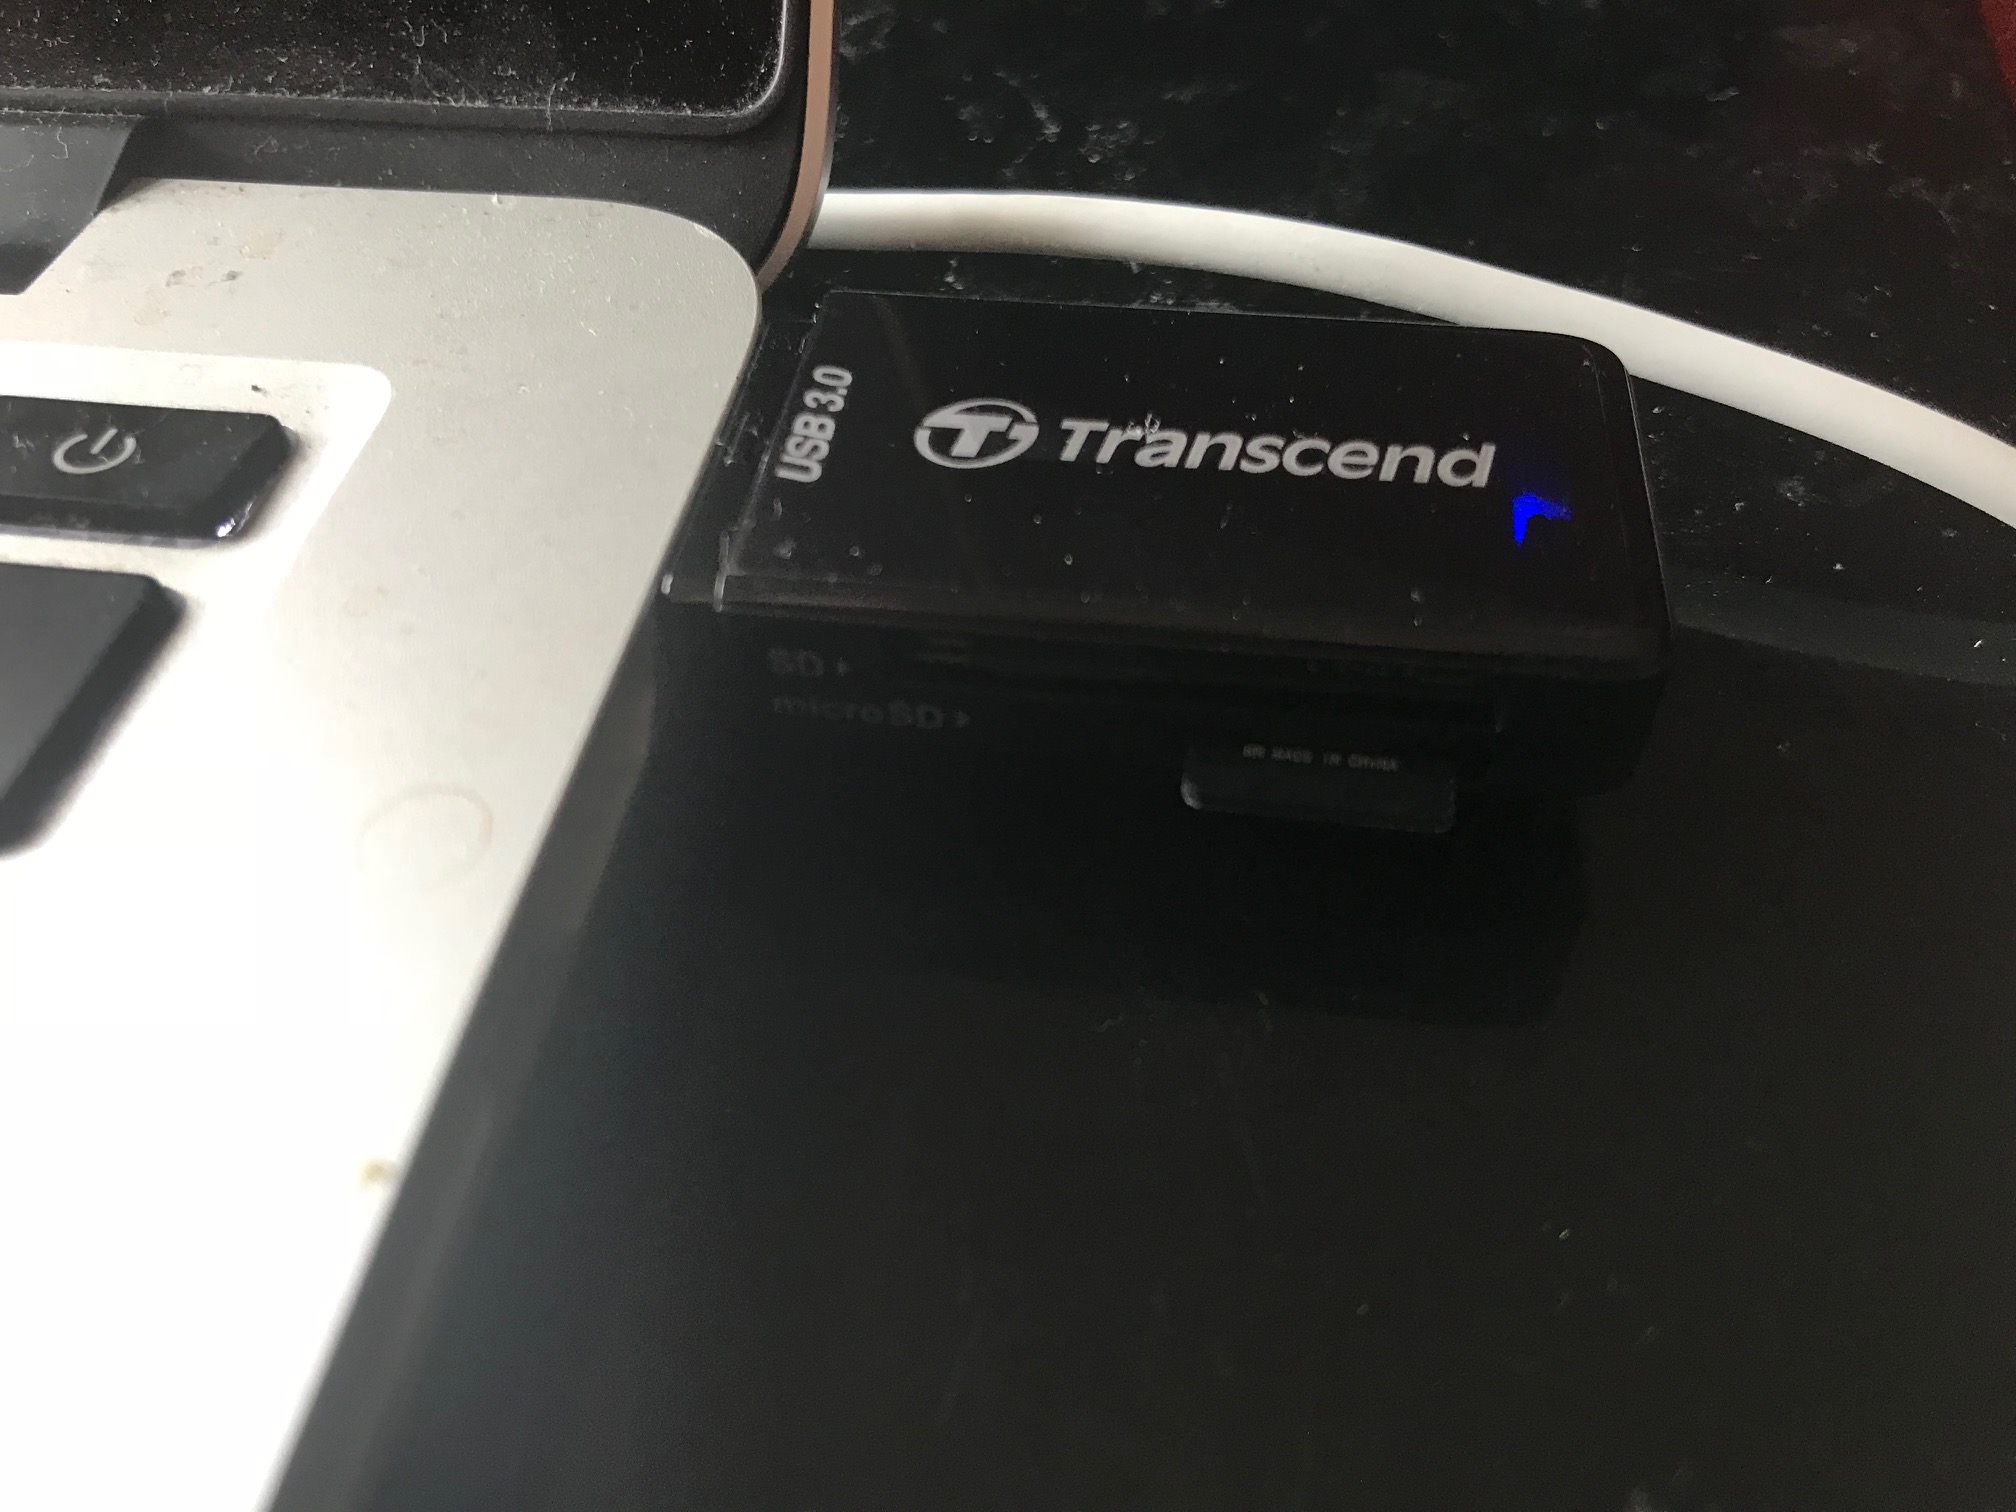
Recalbox requires that your SD card be flashed with a FAT file system. There are many utilities on the different operating systems which accomplish this task: Formatter 4 for Windows, Apple's native Disk Utility for Mac, and qparted for Linux are just a few options. I use a Mac so let's look at flashing the SD card with Disk Utility:
- Plug your SD card and reader into your desktop machine:
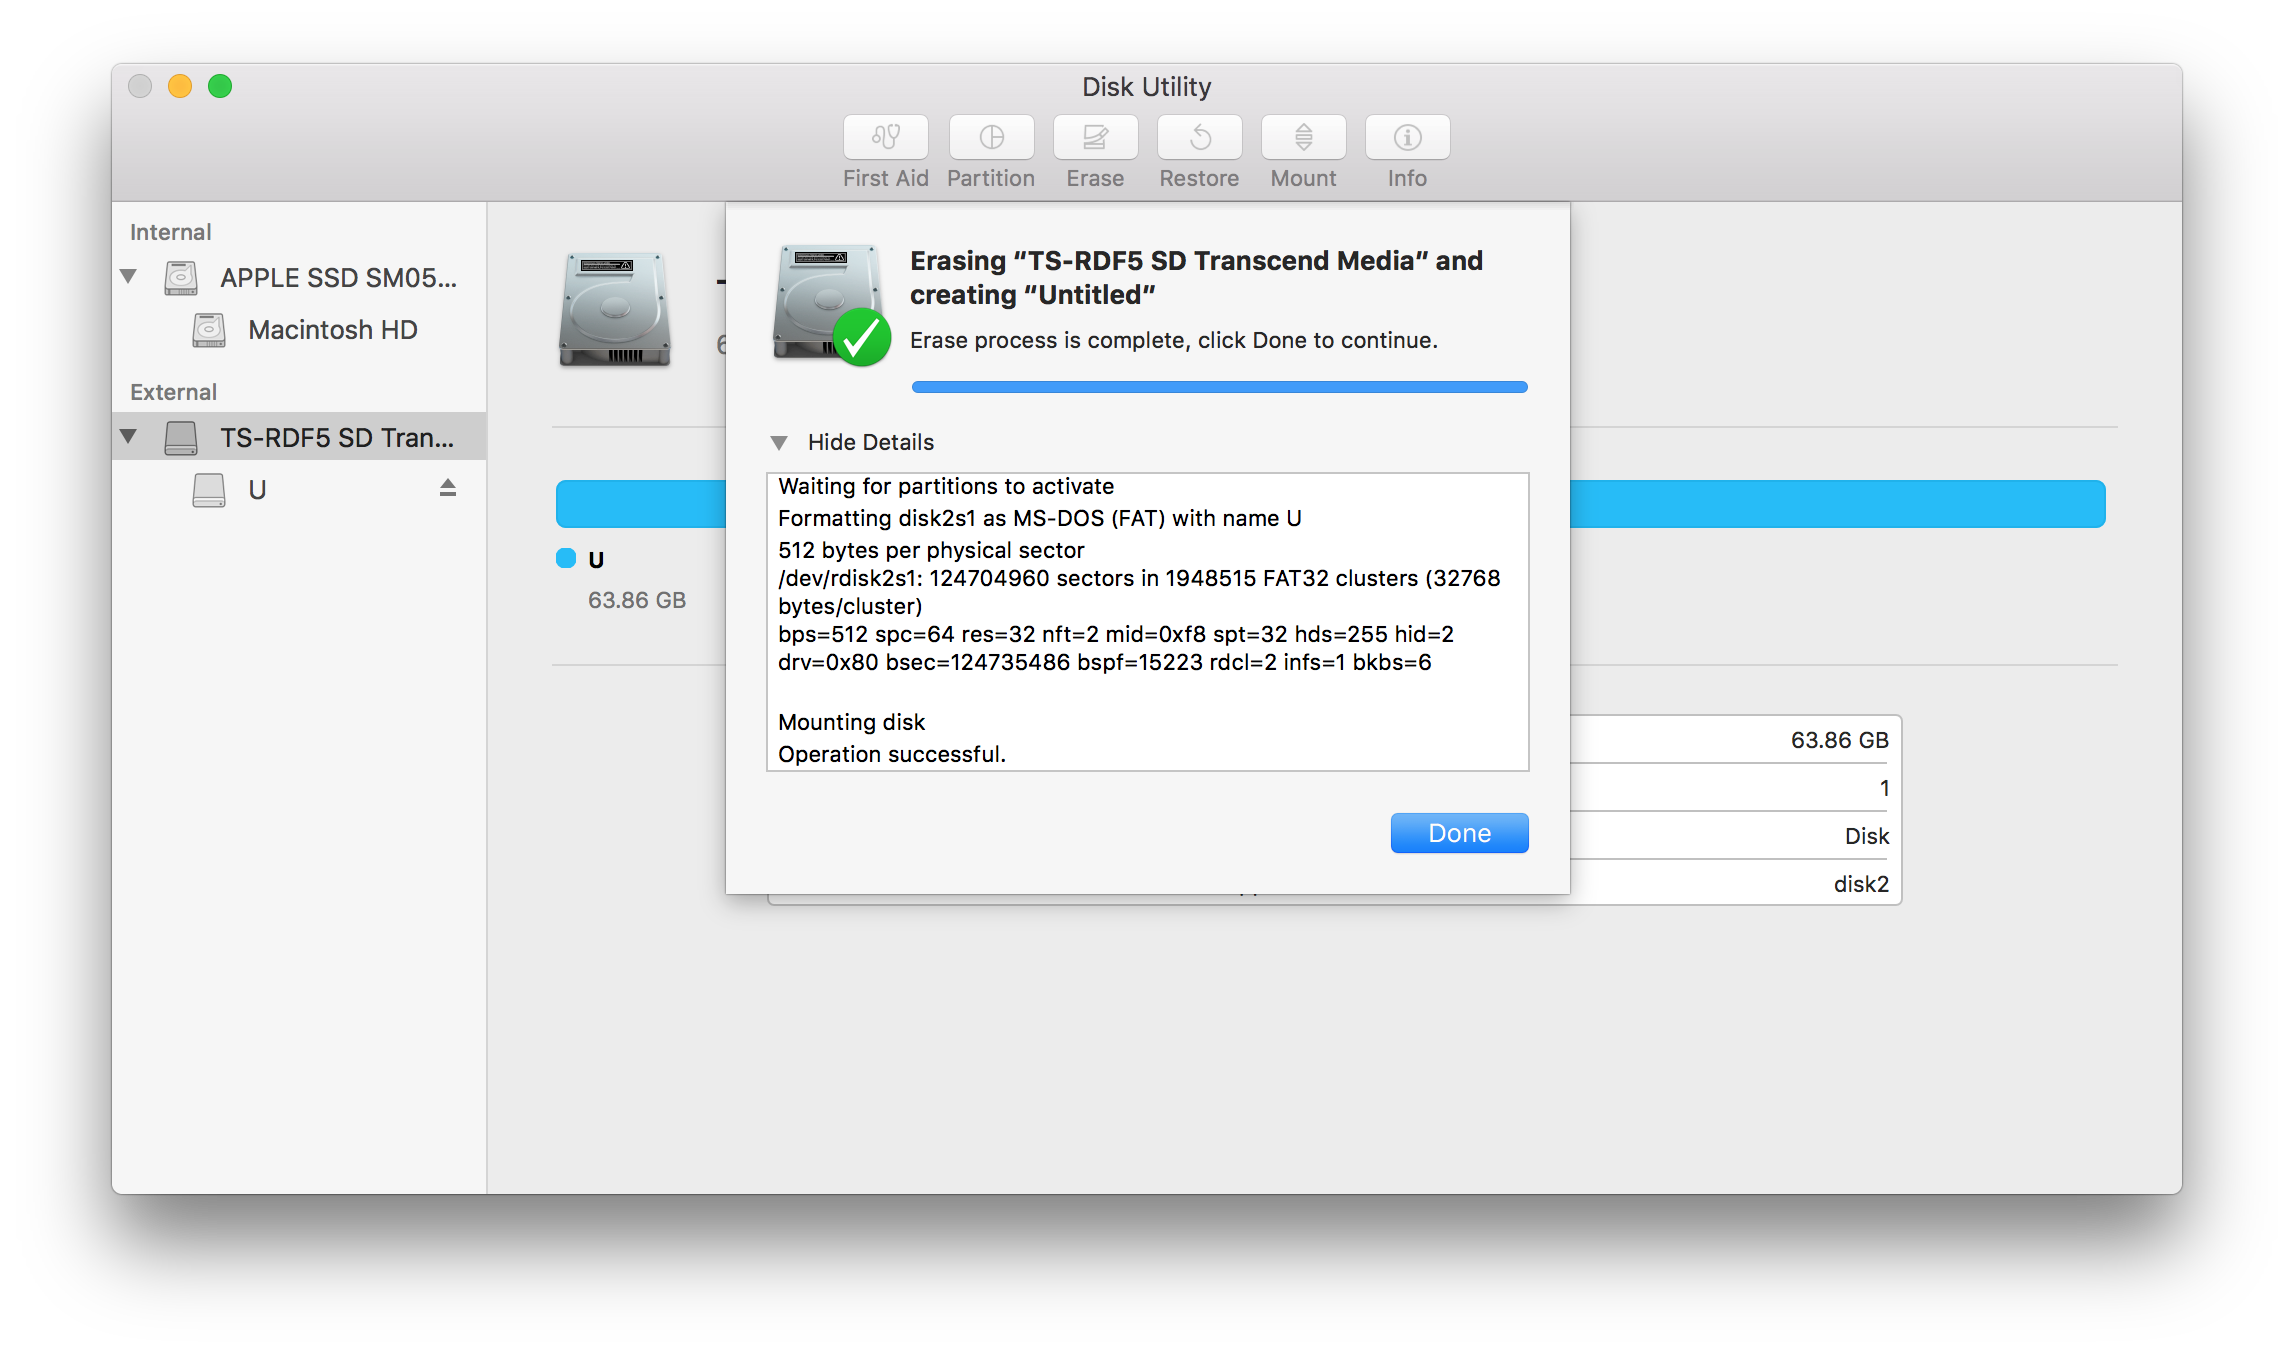
- Within the Mac's Applications directory, open
Utilities -> Disk Utility. - Under the
Externalheading, select the item that matches your SD card's name - Right-click the item and select
Erase - From the
Formatdropdown, selectMS-DOS (FAT) - Click
Erase
Disk Utility will then erase what's on the card and format the SD card with the FAT format.
Now it's ready for Recalbox!
Pre-Install Setup
Most of the Recalbox installation happens after you plug the Raspberry Pi in to the display but first we must get the Recalbox files on the Pi:
- Download Recalbox from the releases page on GitHub
- Unzip the archive
- Drag all of the Recalbox files to the root of the SD card (so that
INSTRUCTIONS-README.txt, for example, is at the root of the SD card)

That's all we need to do to prep for install!
Ready the Raspberry Pi
Installation takes place when you plug the Pi into your display, so let's wire the Pi up so we can do just that!
- Remove the SD card from your computer and insert it into the Raspberry Pi:
- Insert the HDMI cord into the HDMI slot
- Insert the Micro USB side of the USB to Micro USB cord into the Pi's Micro USB slot
- Insert your USB controller into one of the Pi's USB slots
- If you have a wireless keyboard, now would be a good time to insert that into one of the Pi's USB
slots
Now let's get this thing connected to the display!
TV/Display Setup
With all wires connected to the Pi, it's showtime!
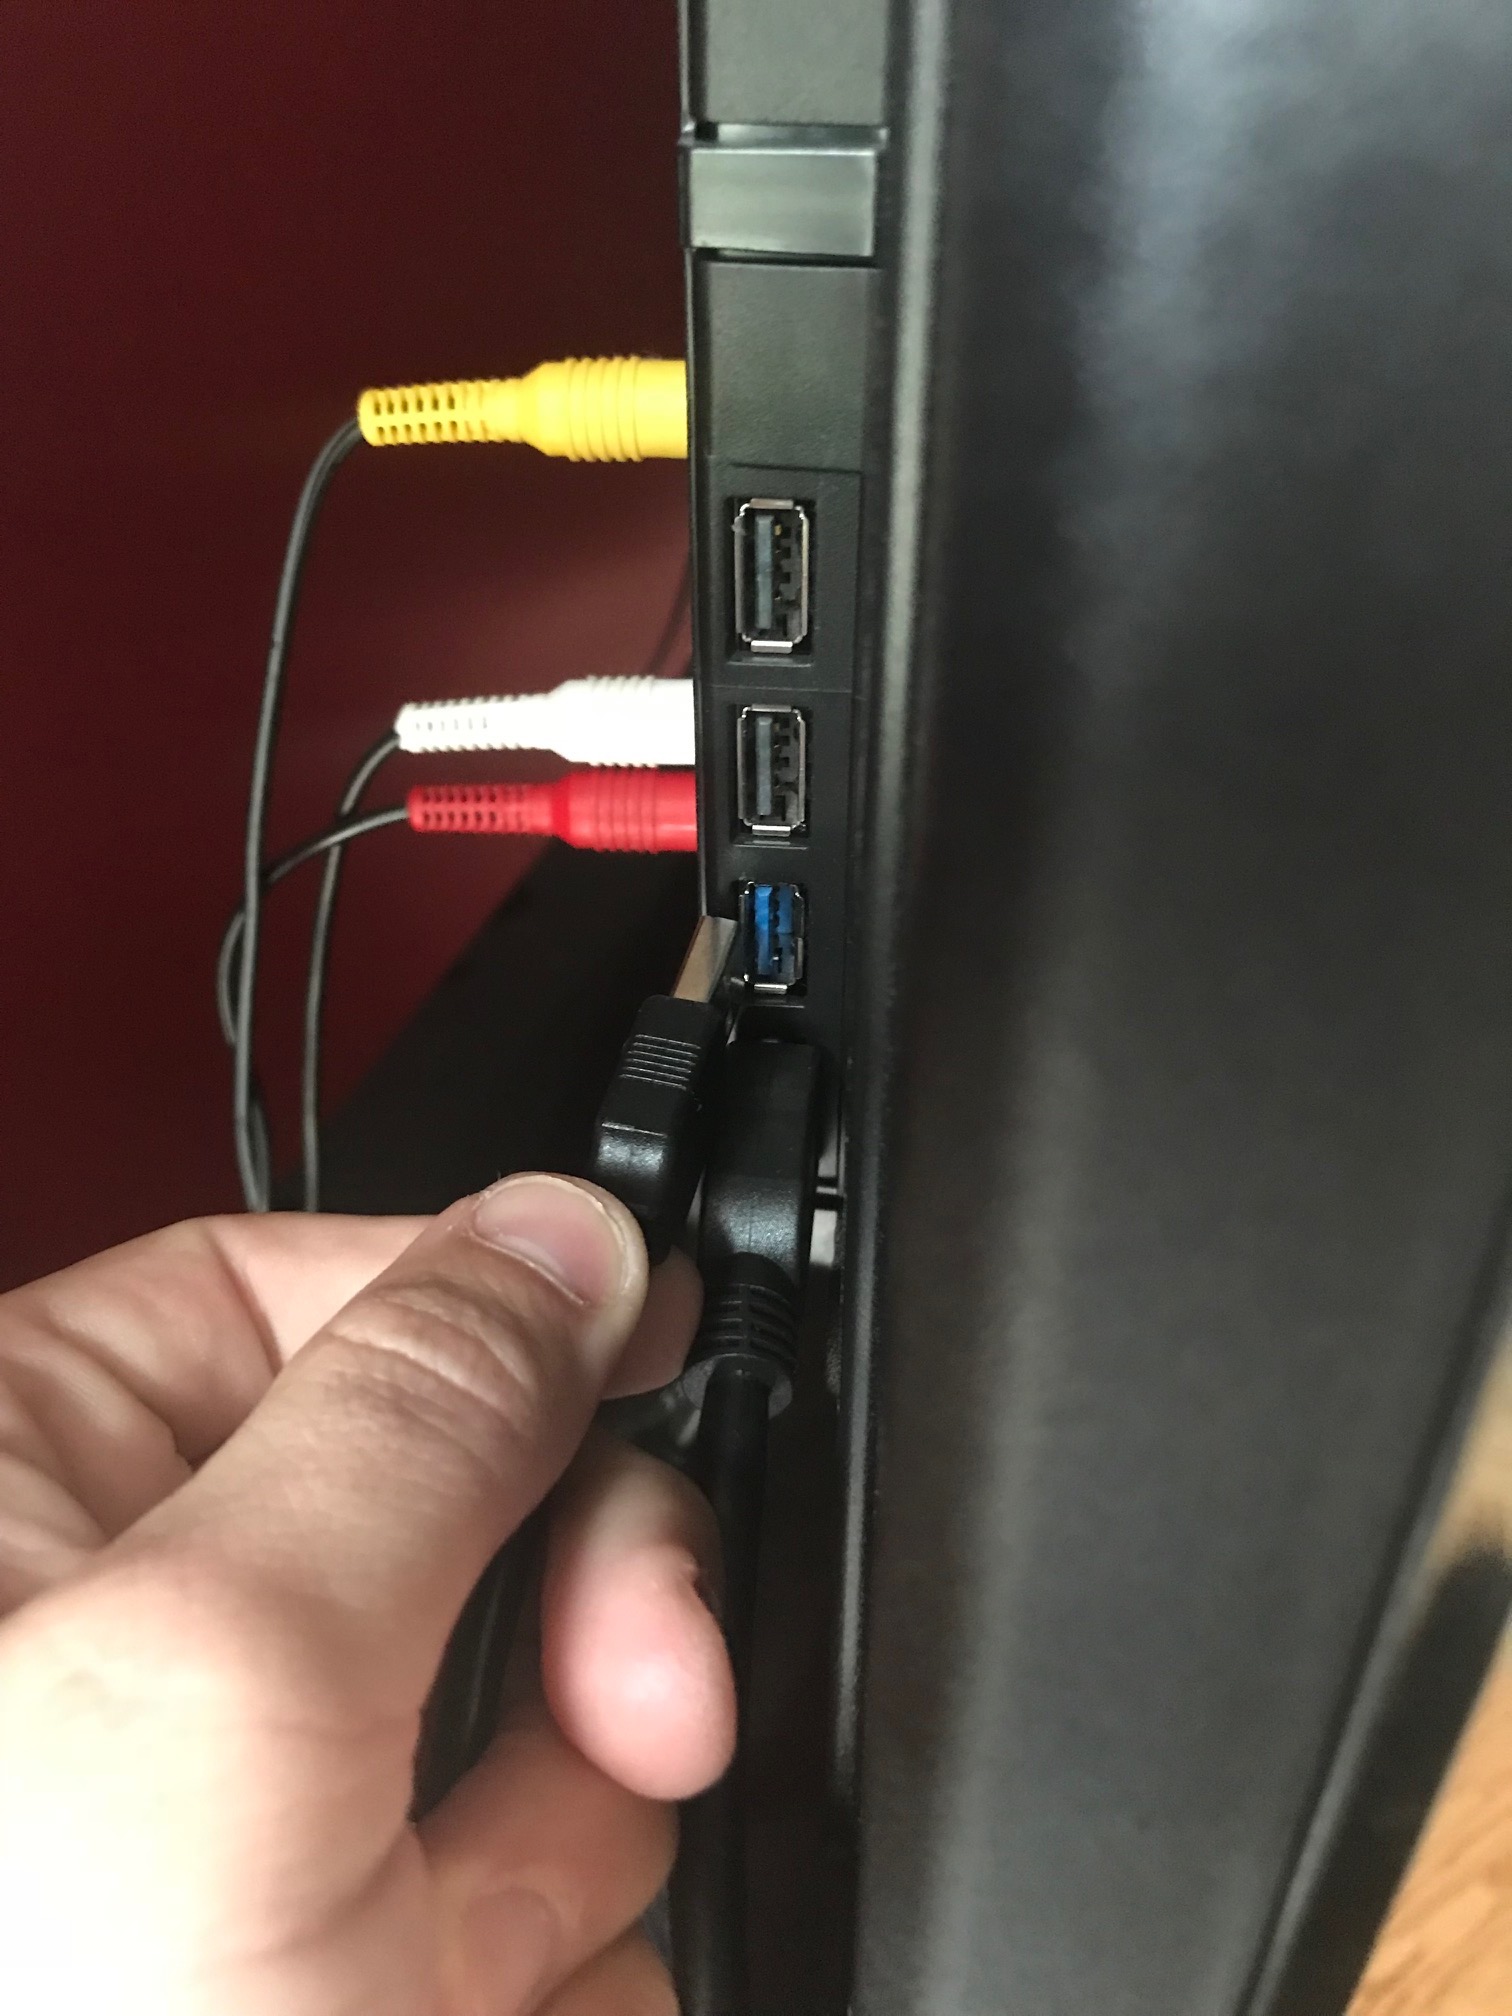
- Display: connect the HDMI cord to an open HDMI slot on your TV or other display.
- Power: connect the USB side of the USB to Micro USB cord to an open USB slot on your TV or other display.
You should see the Pi's red and yellow lights flickering which means that everything is connected properly!
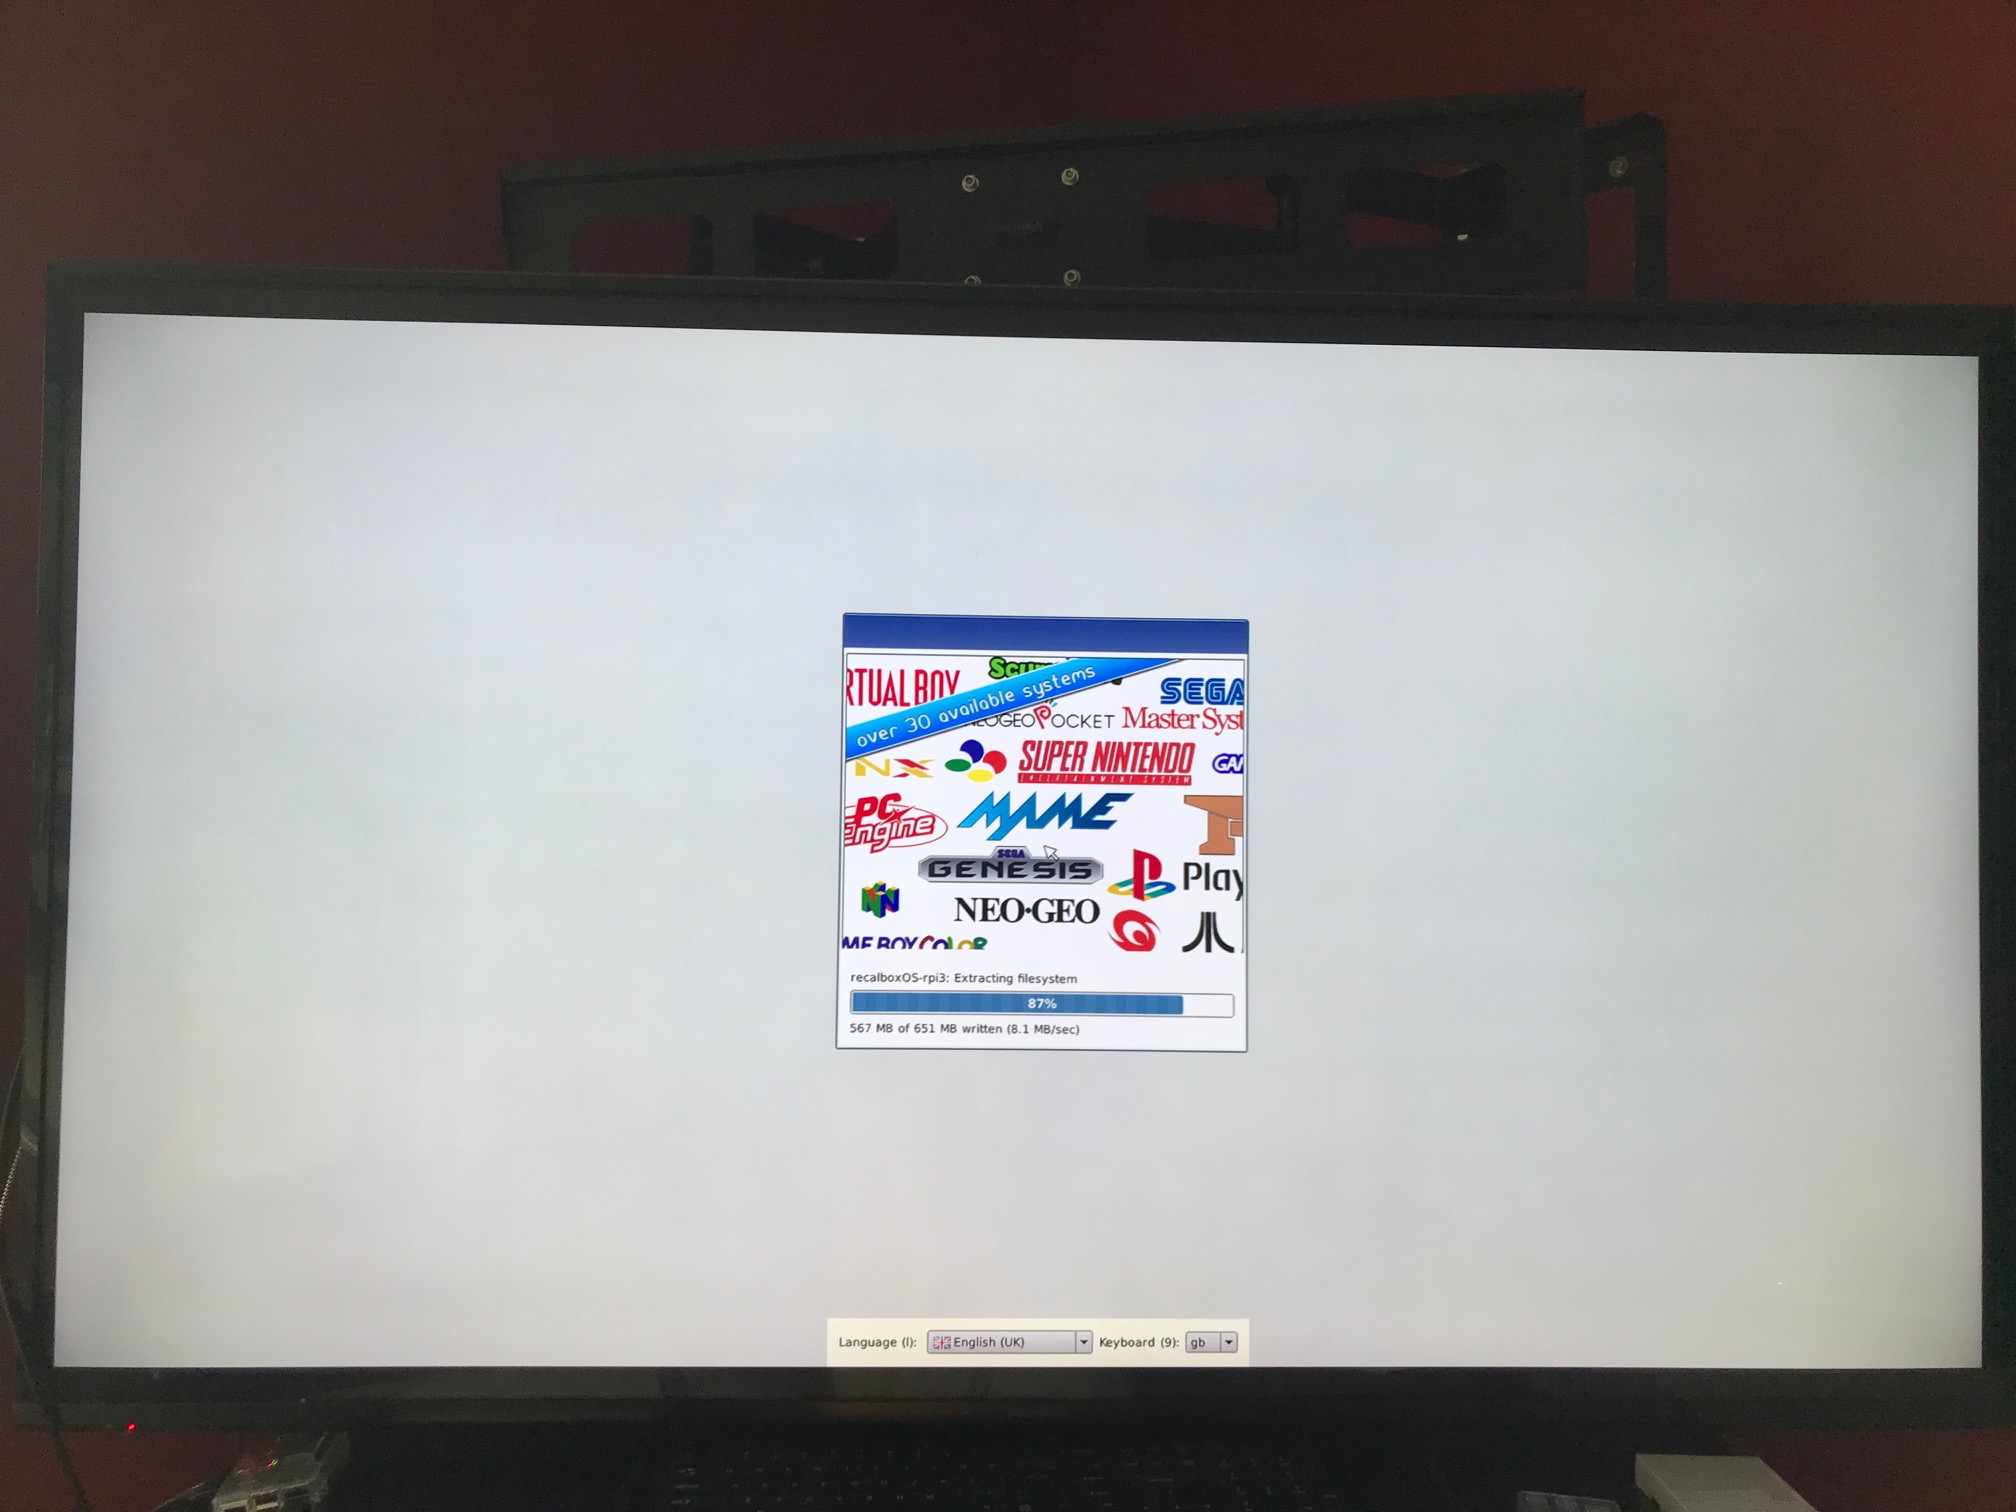
Installation
Unlike the RetroPie setup process, which required flashing the RetroPie image from the computer, Recalbox kicks off its major installation process once you've connected the Pi to the display:
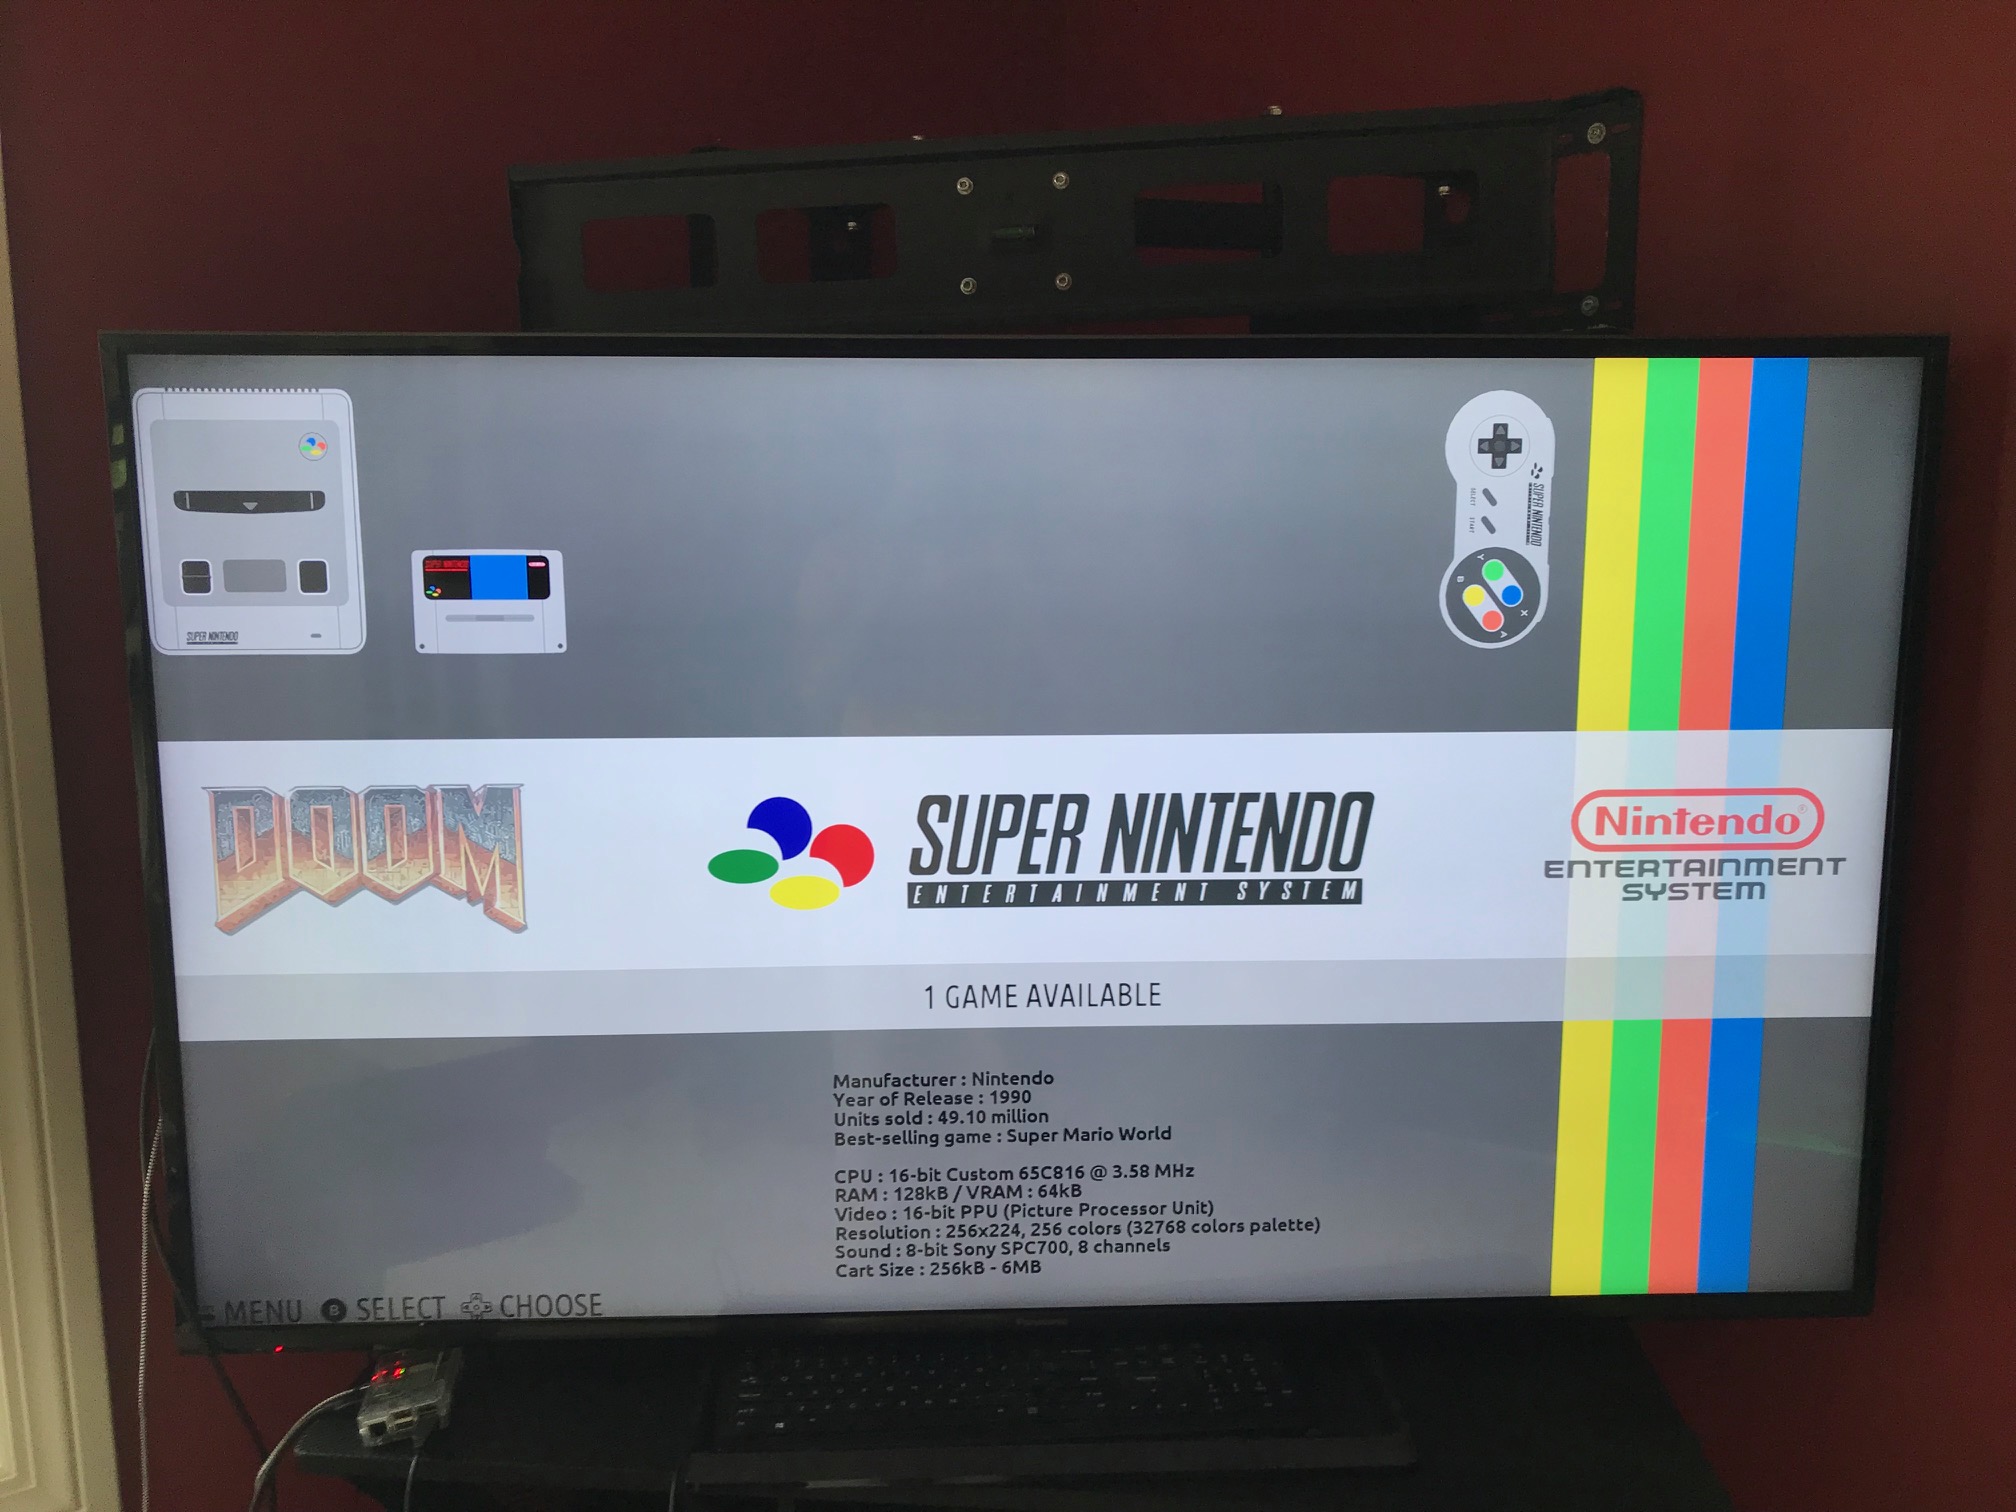
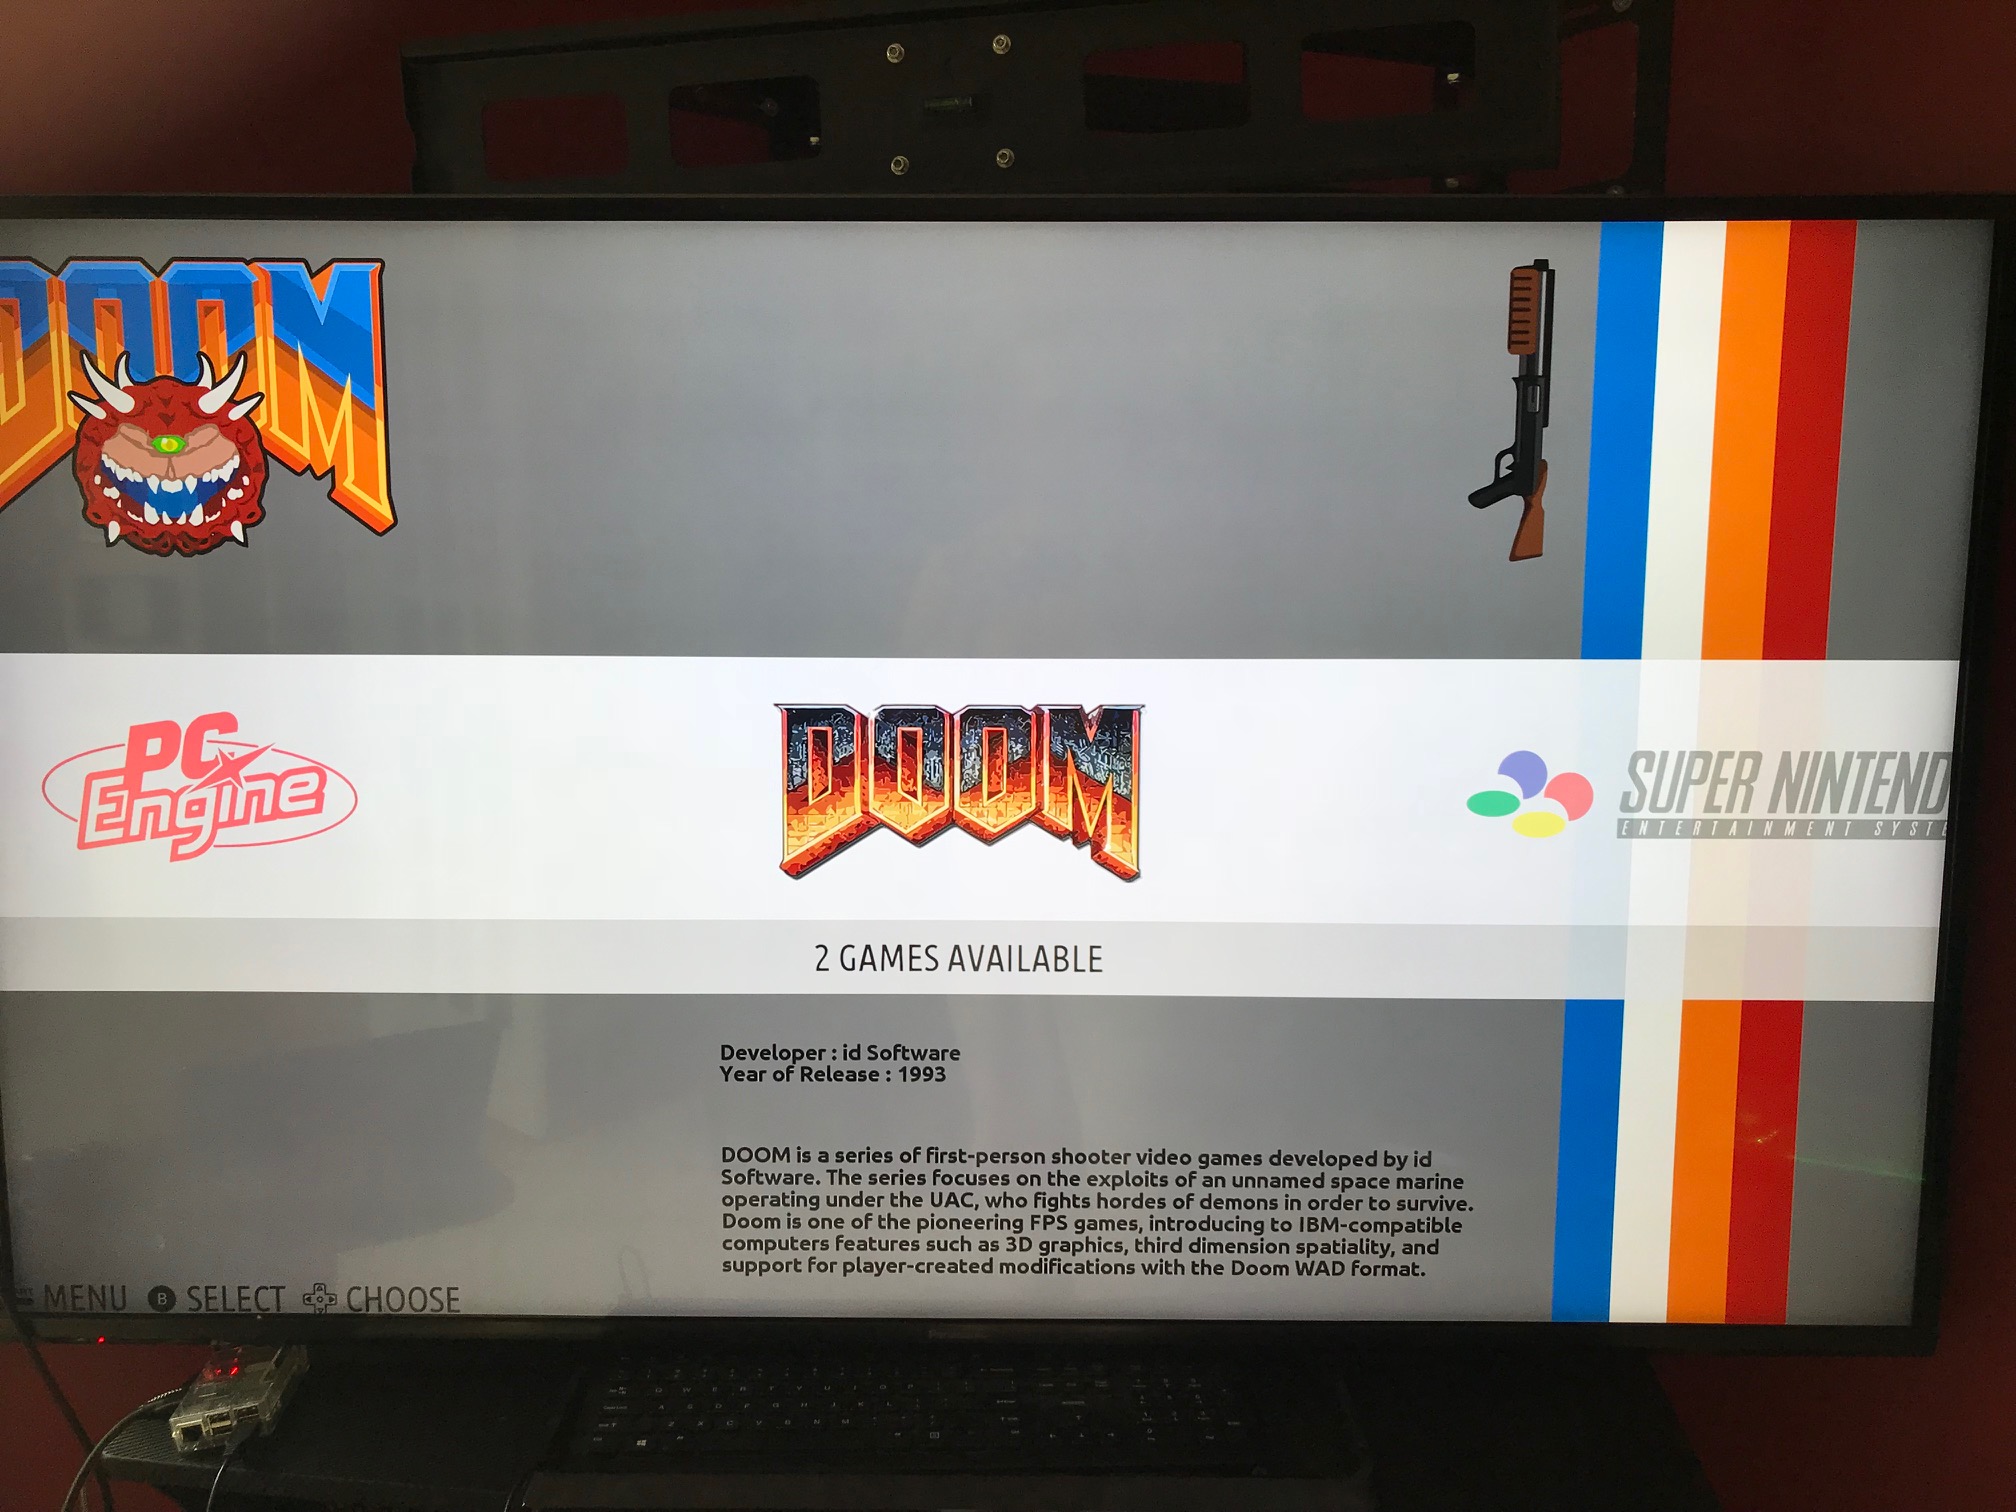
Recalbox also comes with a few games for a handful of systems -- even DOOM!
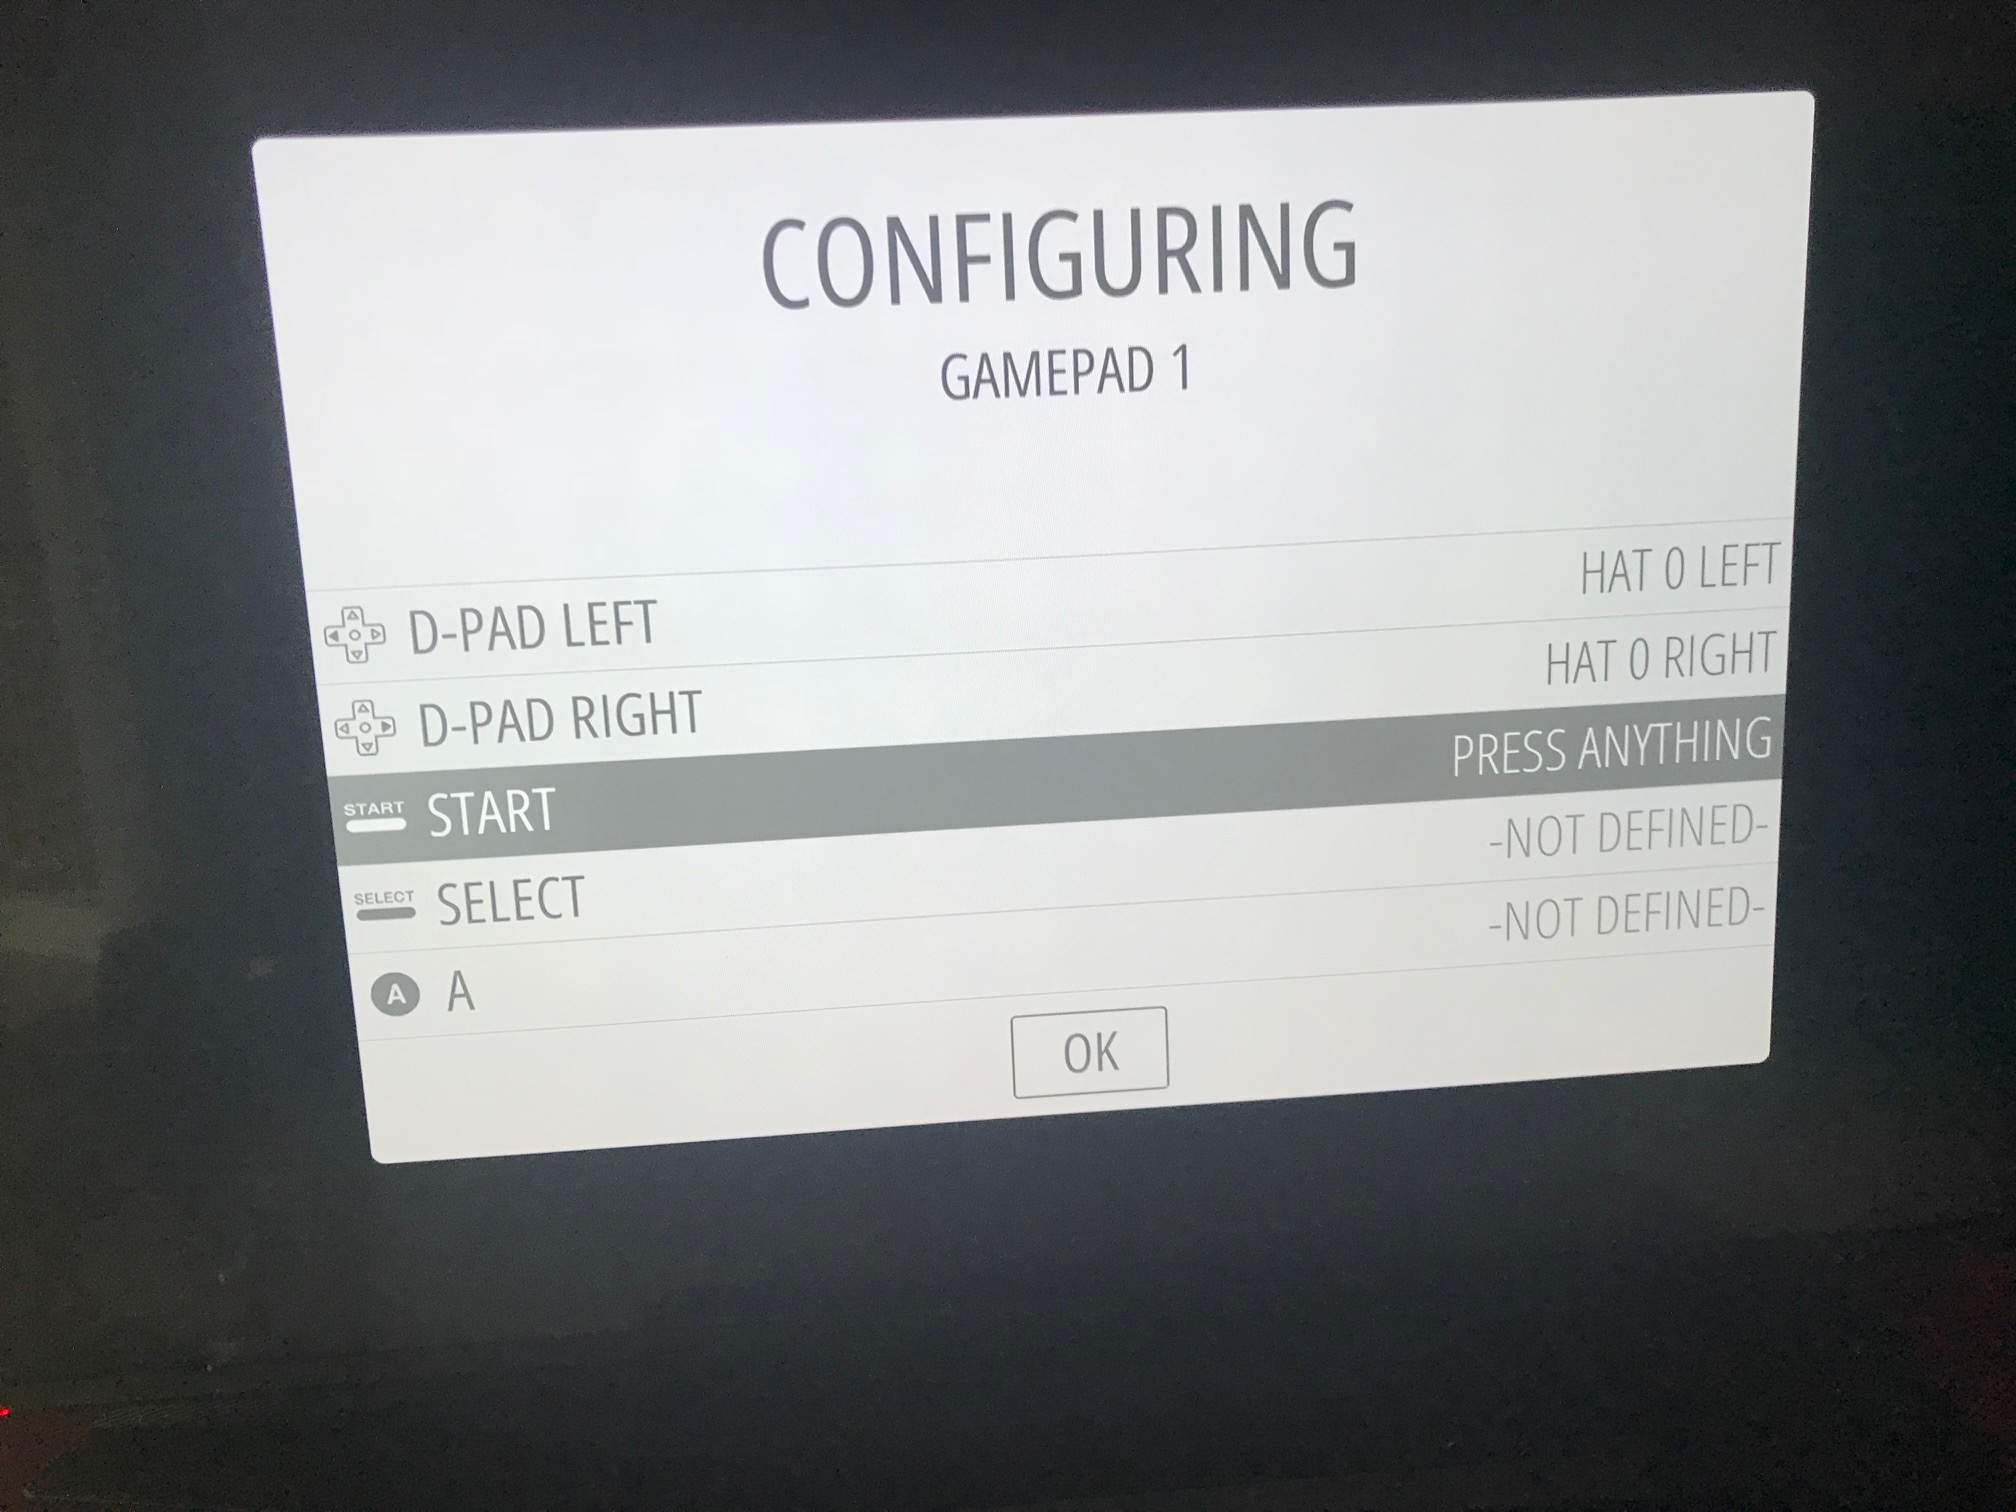
Much like the Retro controller setup, you'll be prompted with EmulationStation's controller configuration screen once you plug in a controller:
From here you're ready to play...if you only want to play ther games that come with Recalbox. If you want to add your own games, you'll need an internet connection.
Setting Up WiFi
Let's setup WiFi so we have a connection point to Recalbox.
- Press the
[ENTER]key on the keyboard to see the main menu - Scroll down and select Network Settings
- Change "Enable WiFi" to "On"
- Select "WiFi SSID" and type in your network's name
- Select "WiFi Key" and type in your network's password
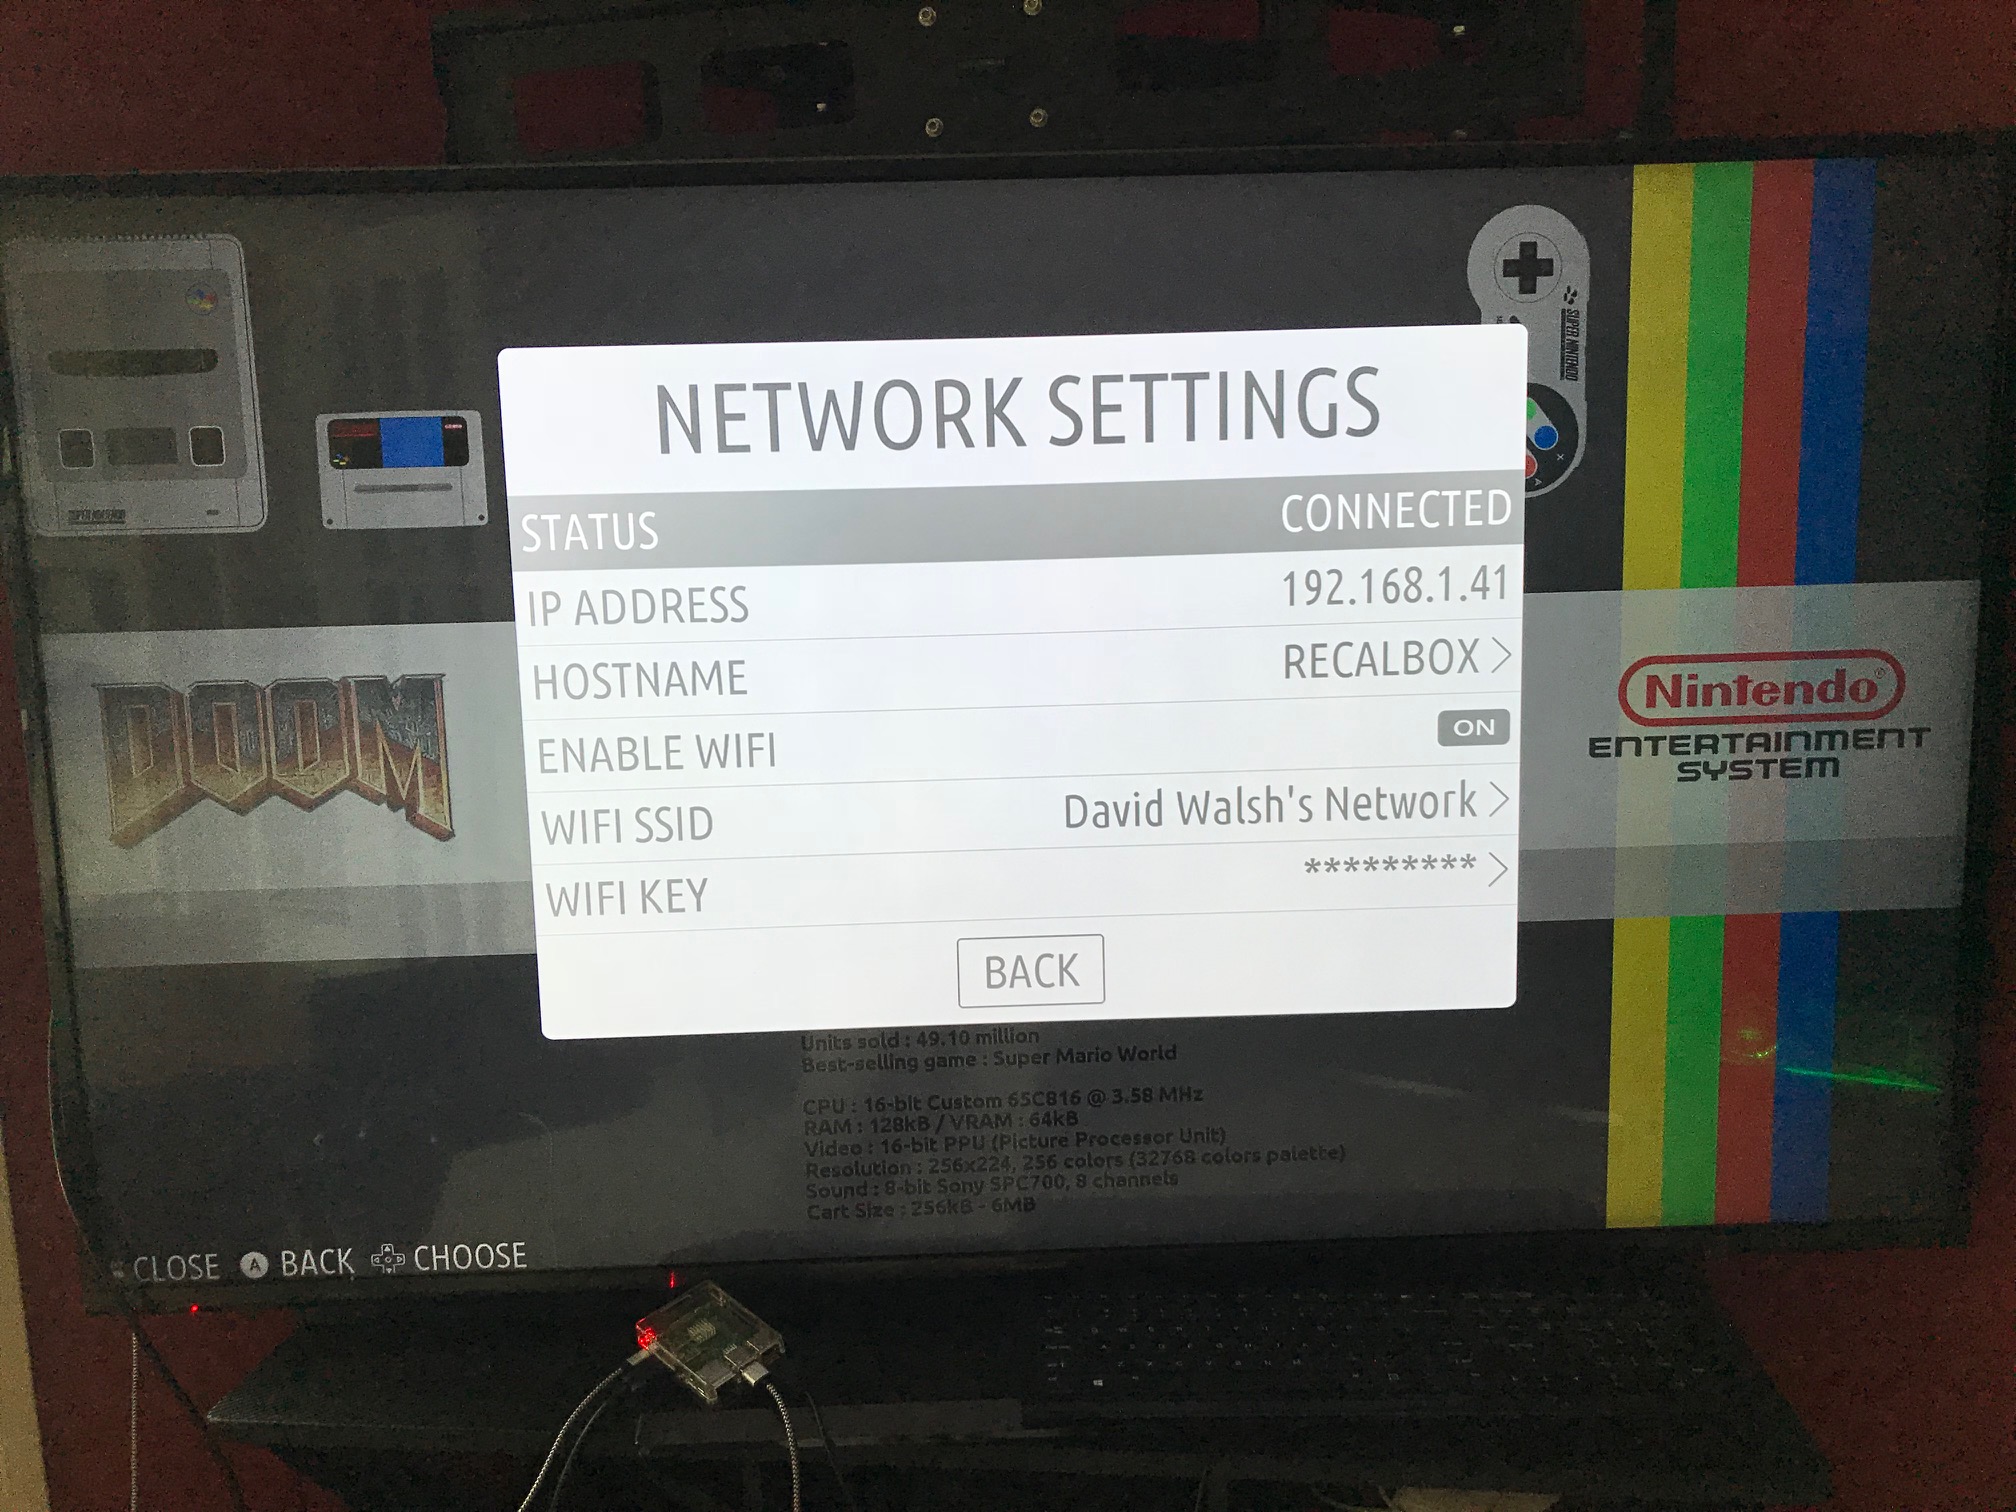
Your WiFi will now be connected and RecalBox will immediately check for a system update:
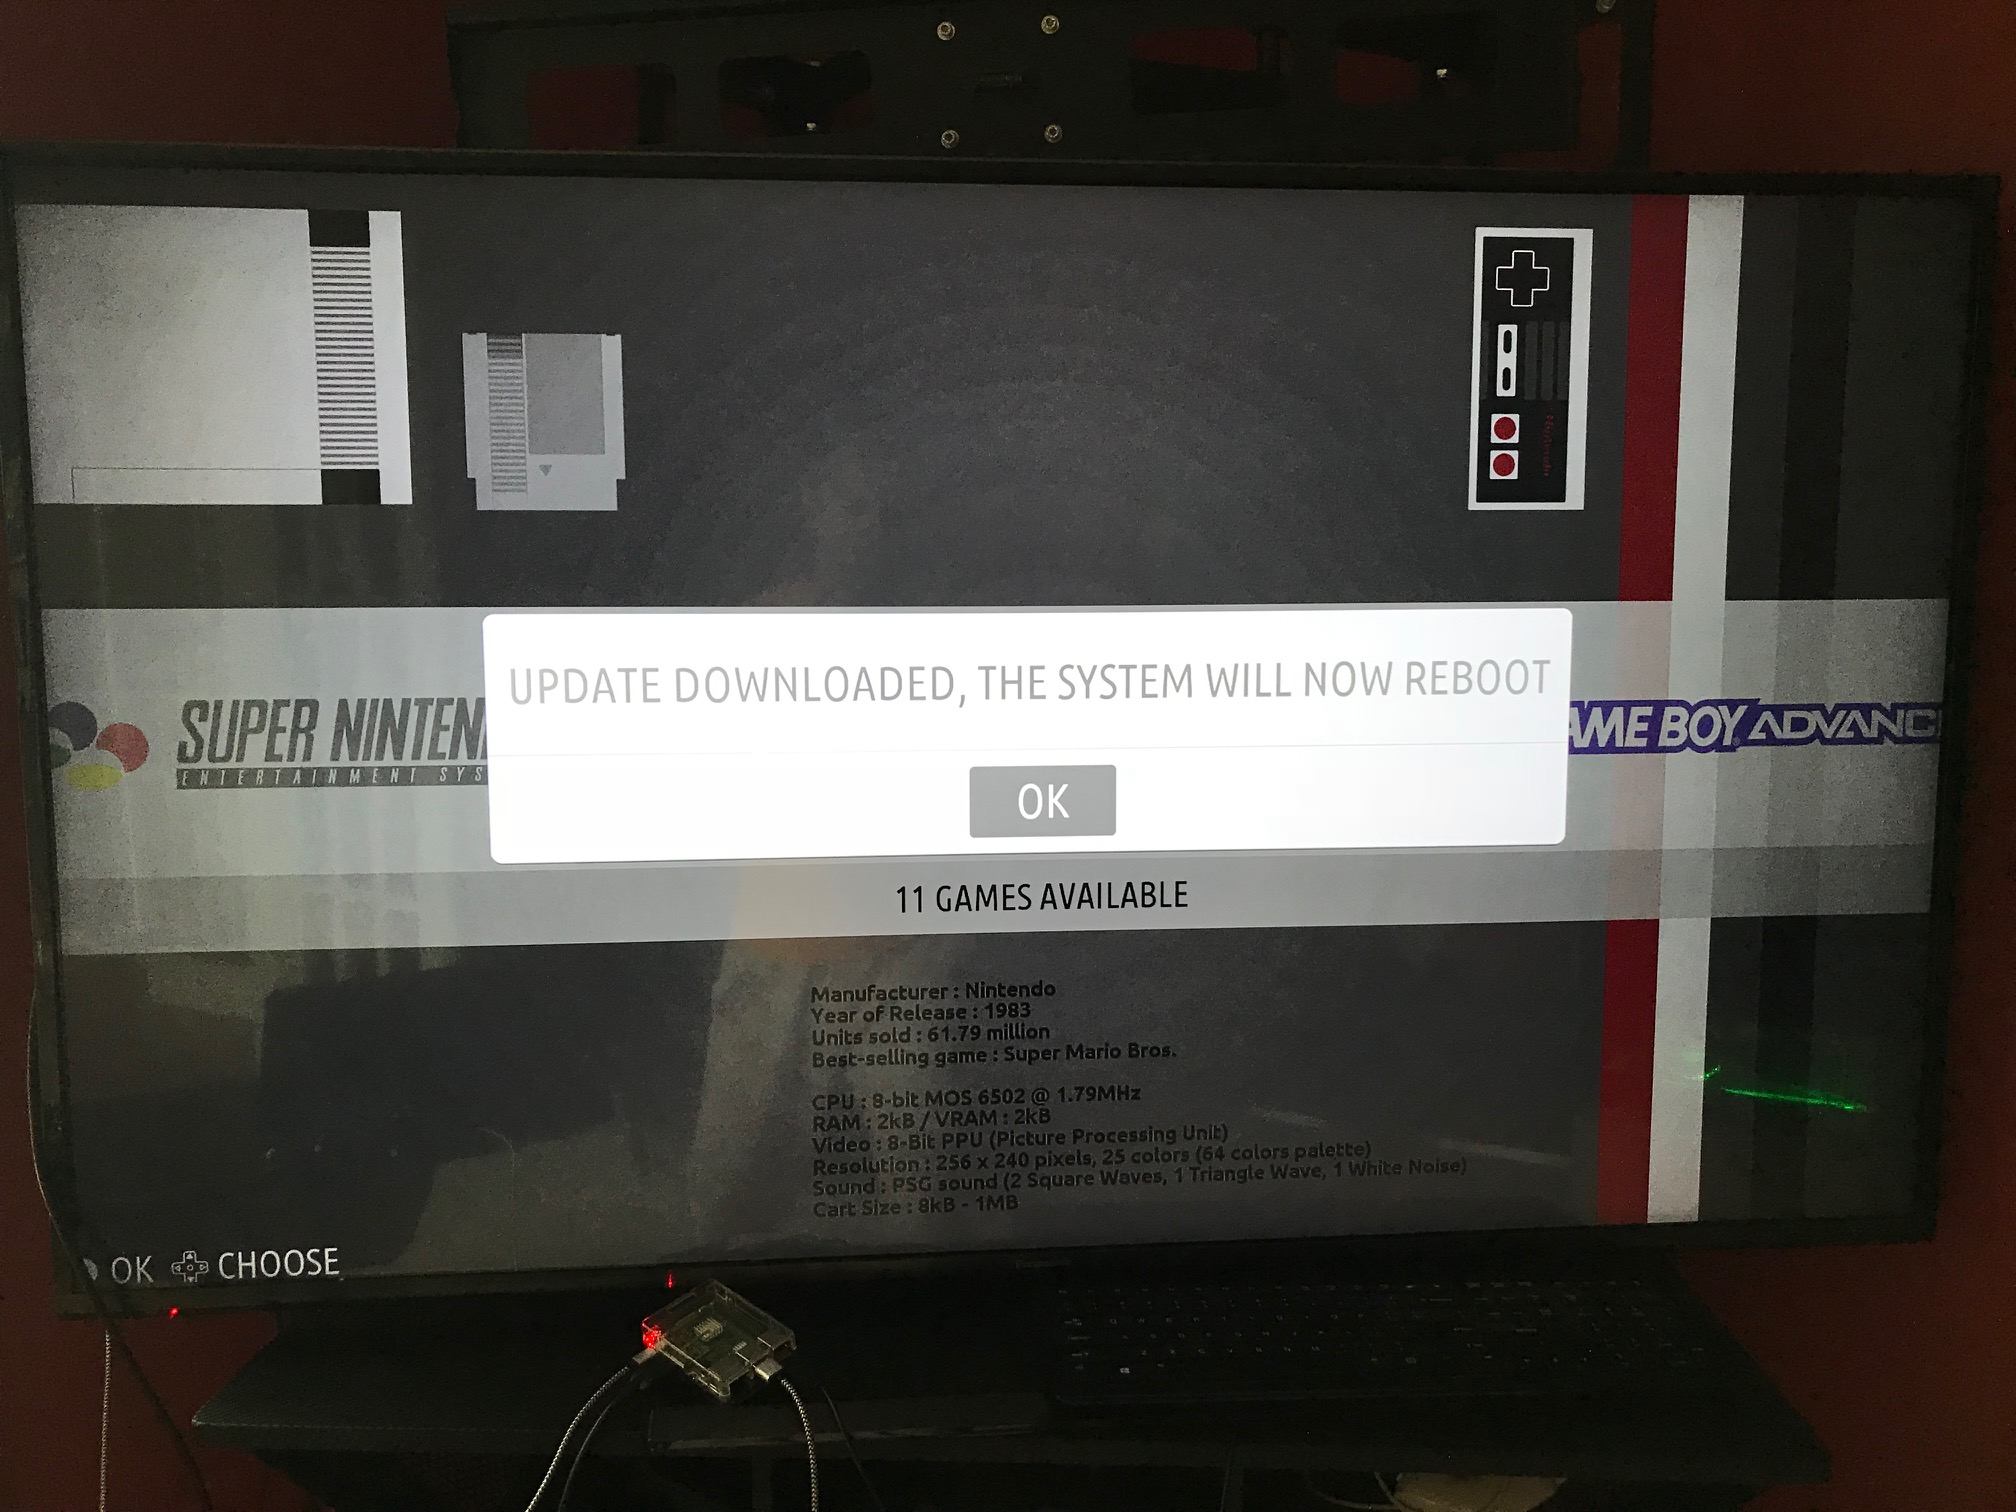
Nice! Now our computers can connect to the Raspberry Pi's Recalbox system!
Connecting to Recalbox & Installing Games
Recalbox comes with a few games but surely you want to add some of your own. With WiFi now connected, we can connect to Recalbox over our network by mounting Recalbox as a volume:
- Open Finder
- Select "Go" -> "Connect to Server"
- Type in the address:
smb://recalbox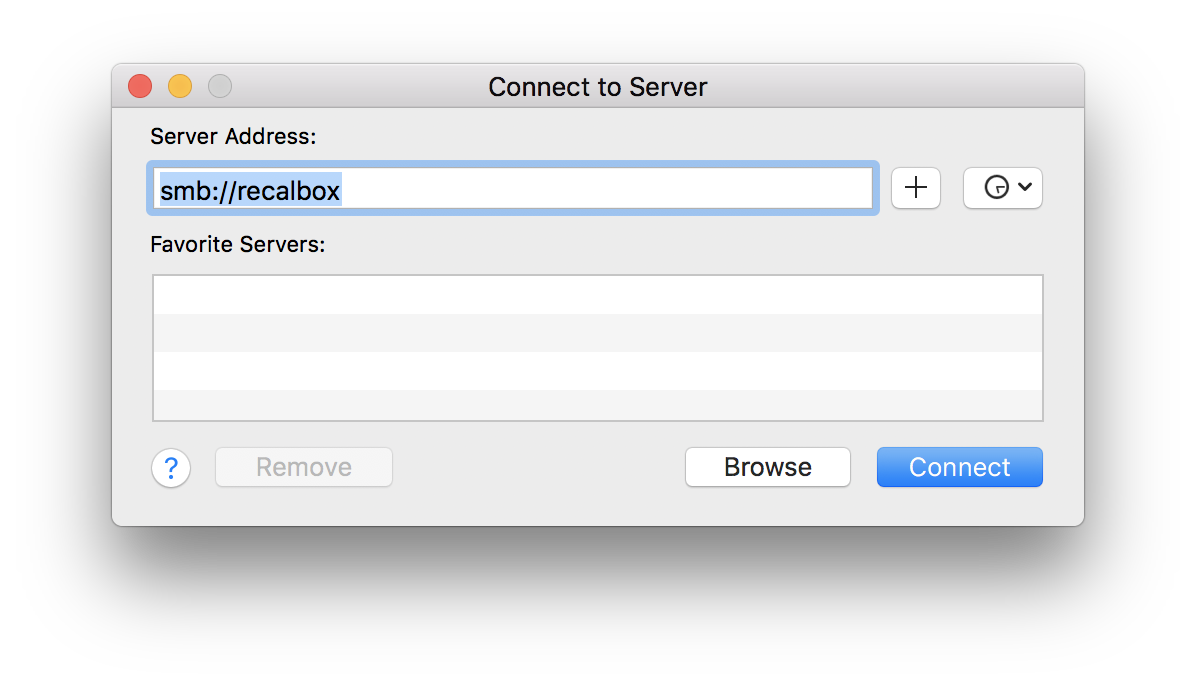
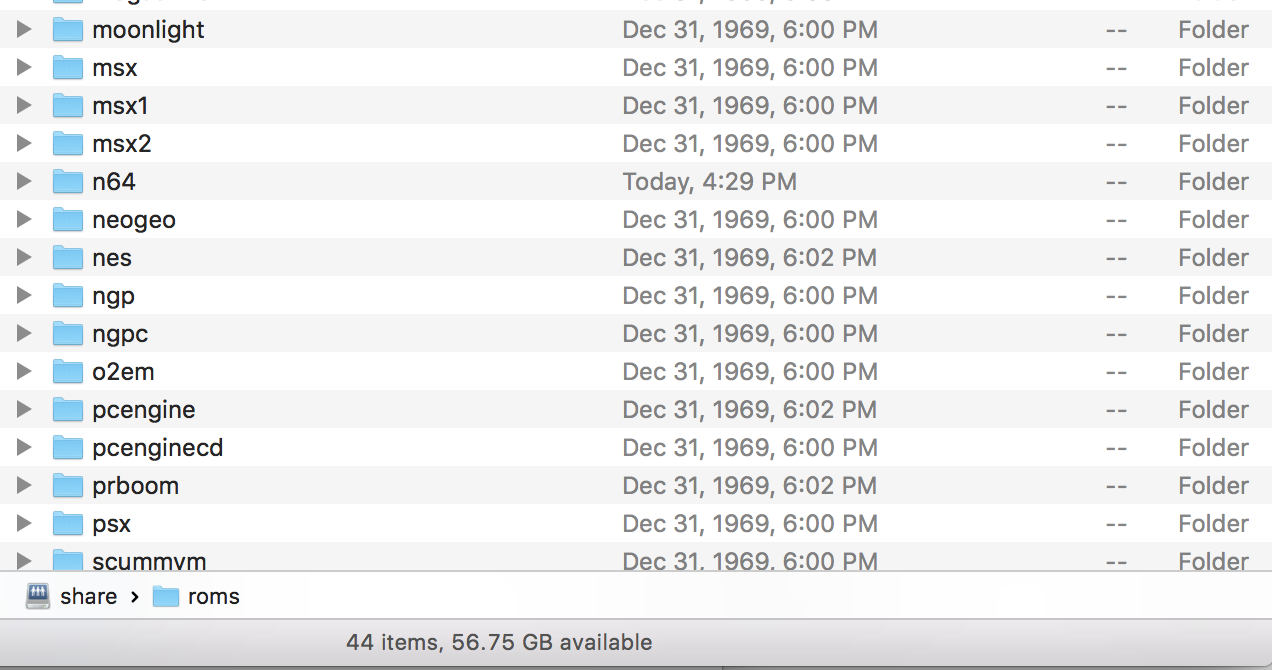
At this point we're connected to the Recalbox! You can see a host of directories, but for the purposes of adding games, navigate to the roms directory. You'll see a directory for each emulated retro gaming system, so copy relevant game ROMs into each subdirectory.
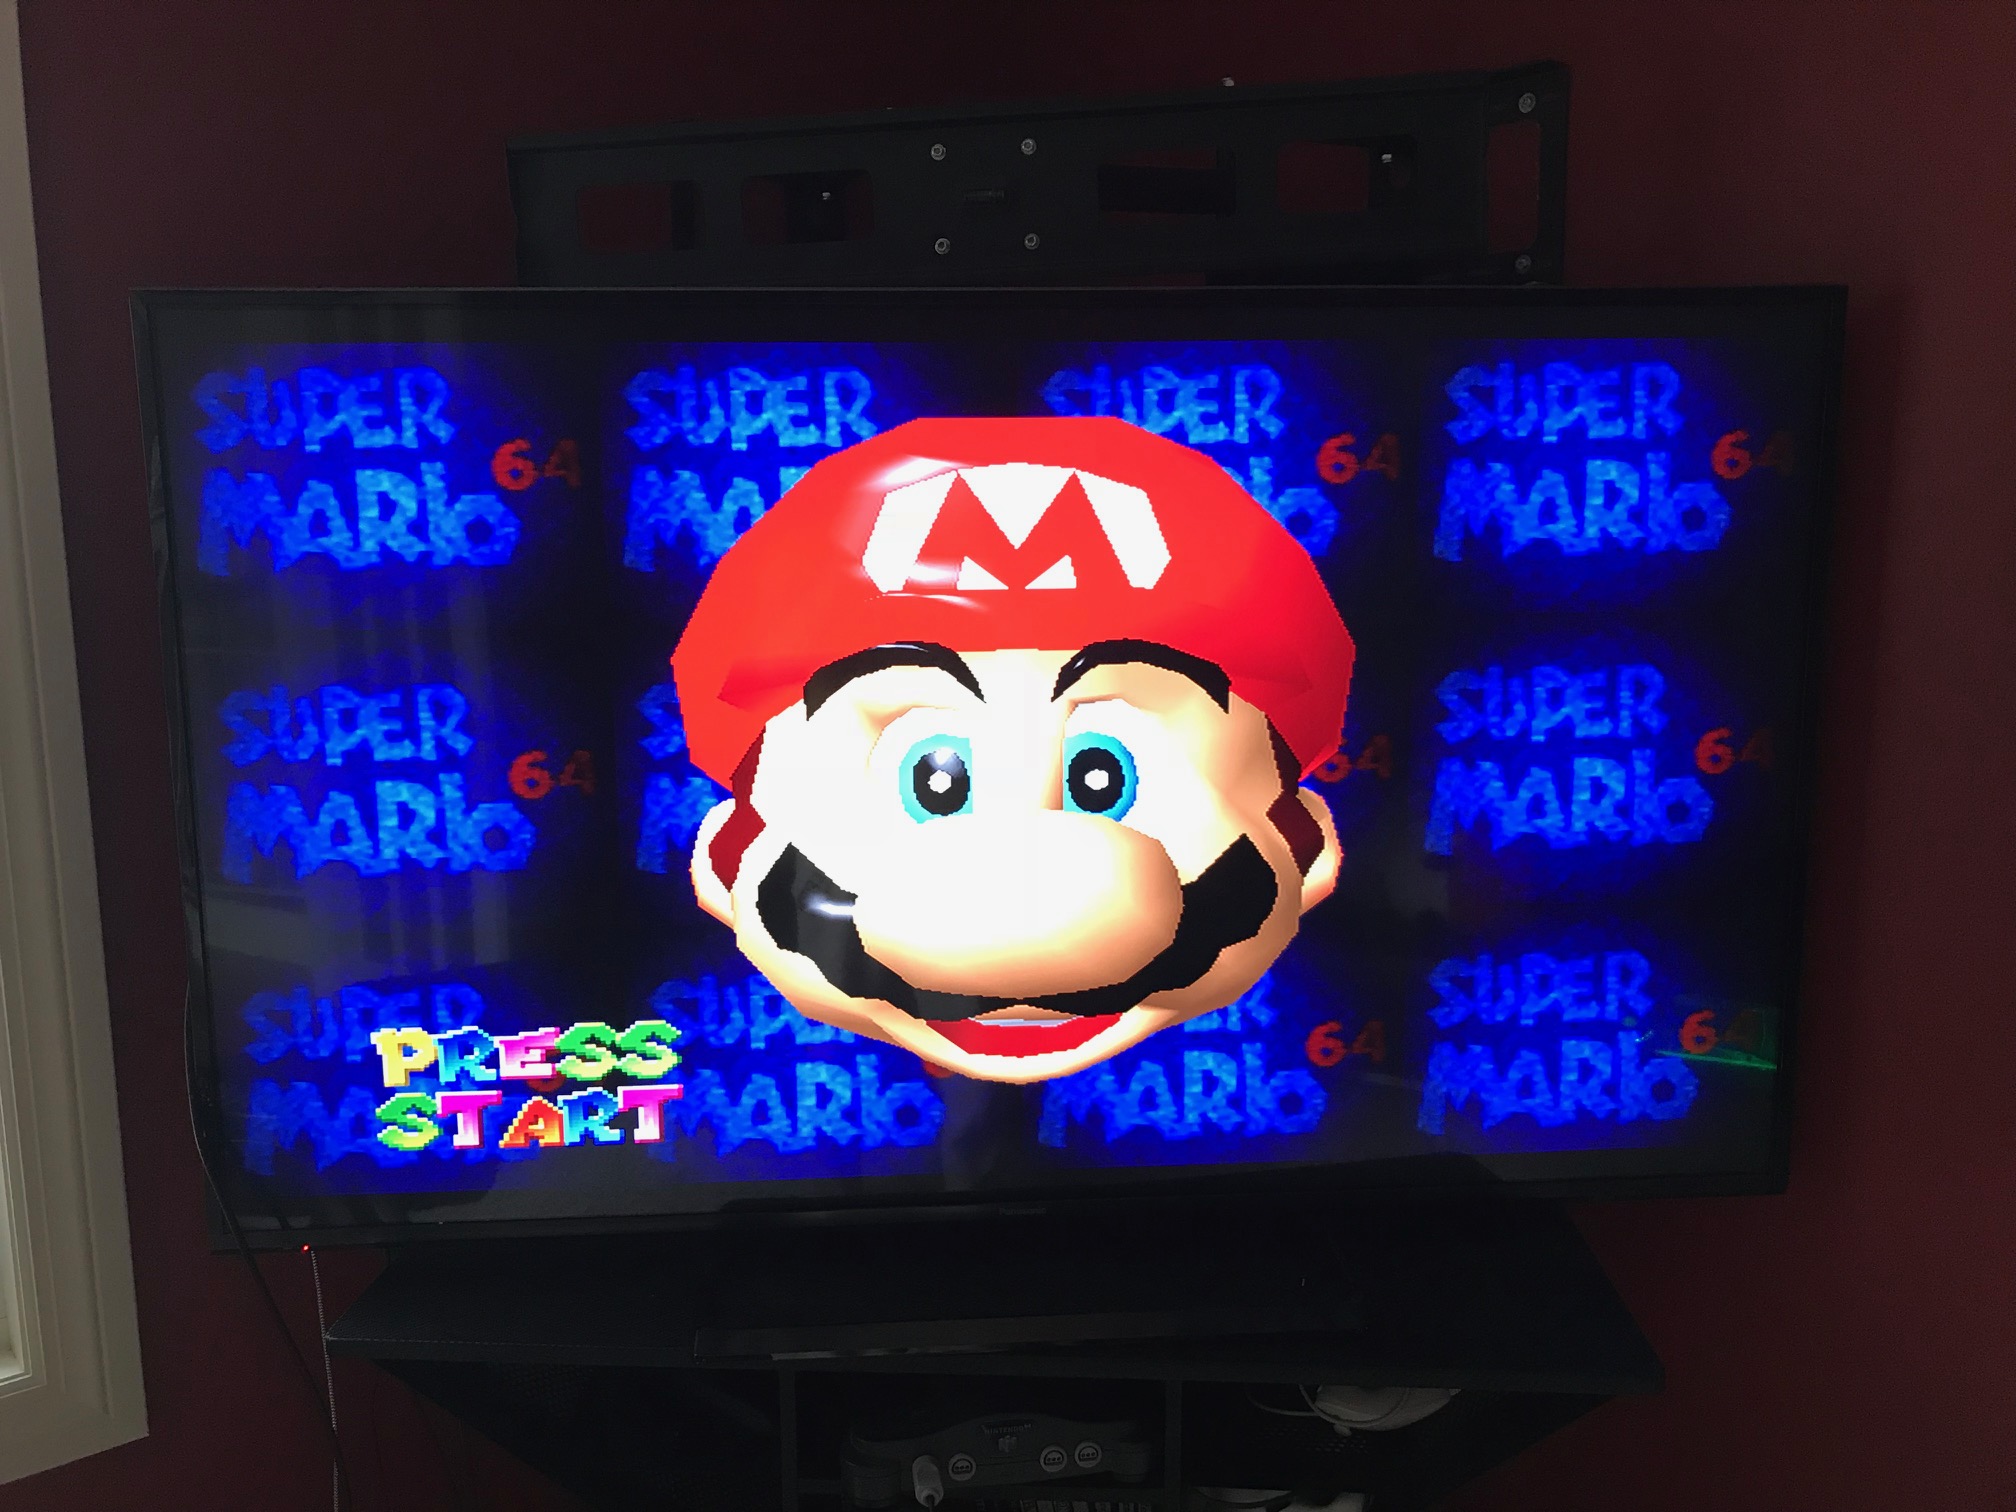
New games wont appear in the Recalbox until you've restarted the system by either (a) unplugging the Raspberry Pi's power cord (not recommended) or (b) using the main menu's Quit option's Restart System.
Play!
With games on the system and your controller hooked up, now it's time to play!
I won't provide or link to ROMs; possessing ROMs for games you don't own may be illegal. A simple Google or torrent search, however, should find you every game you want.
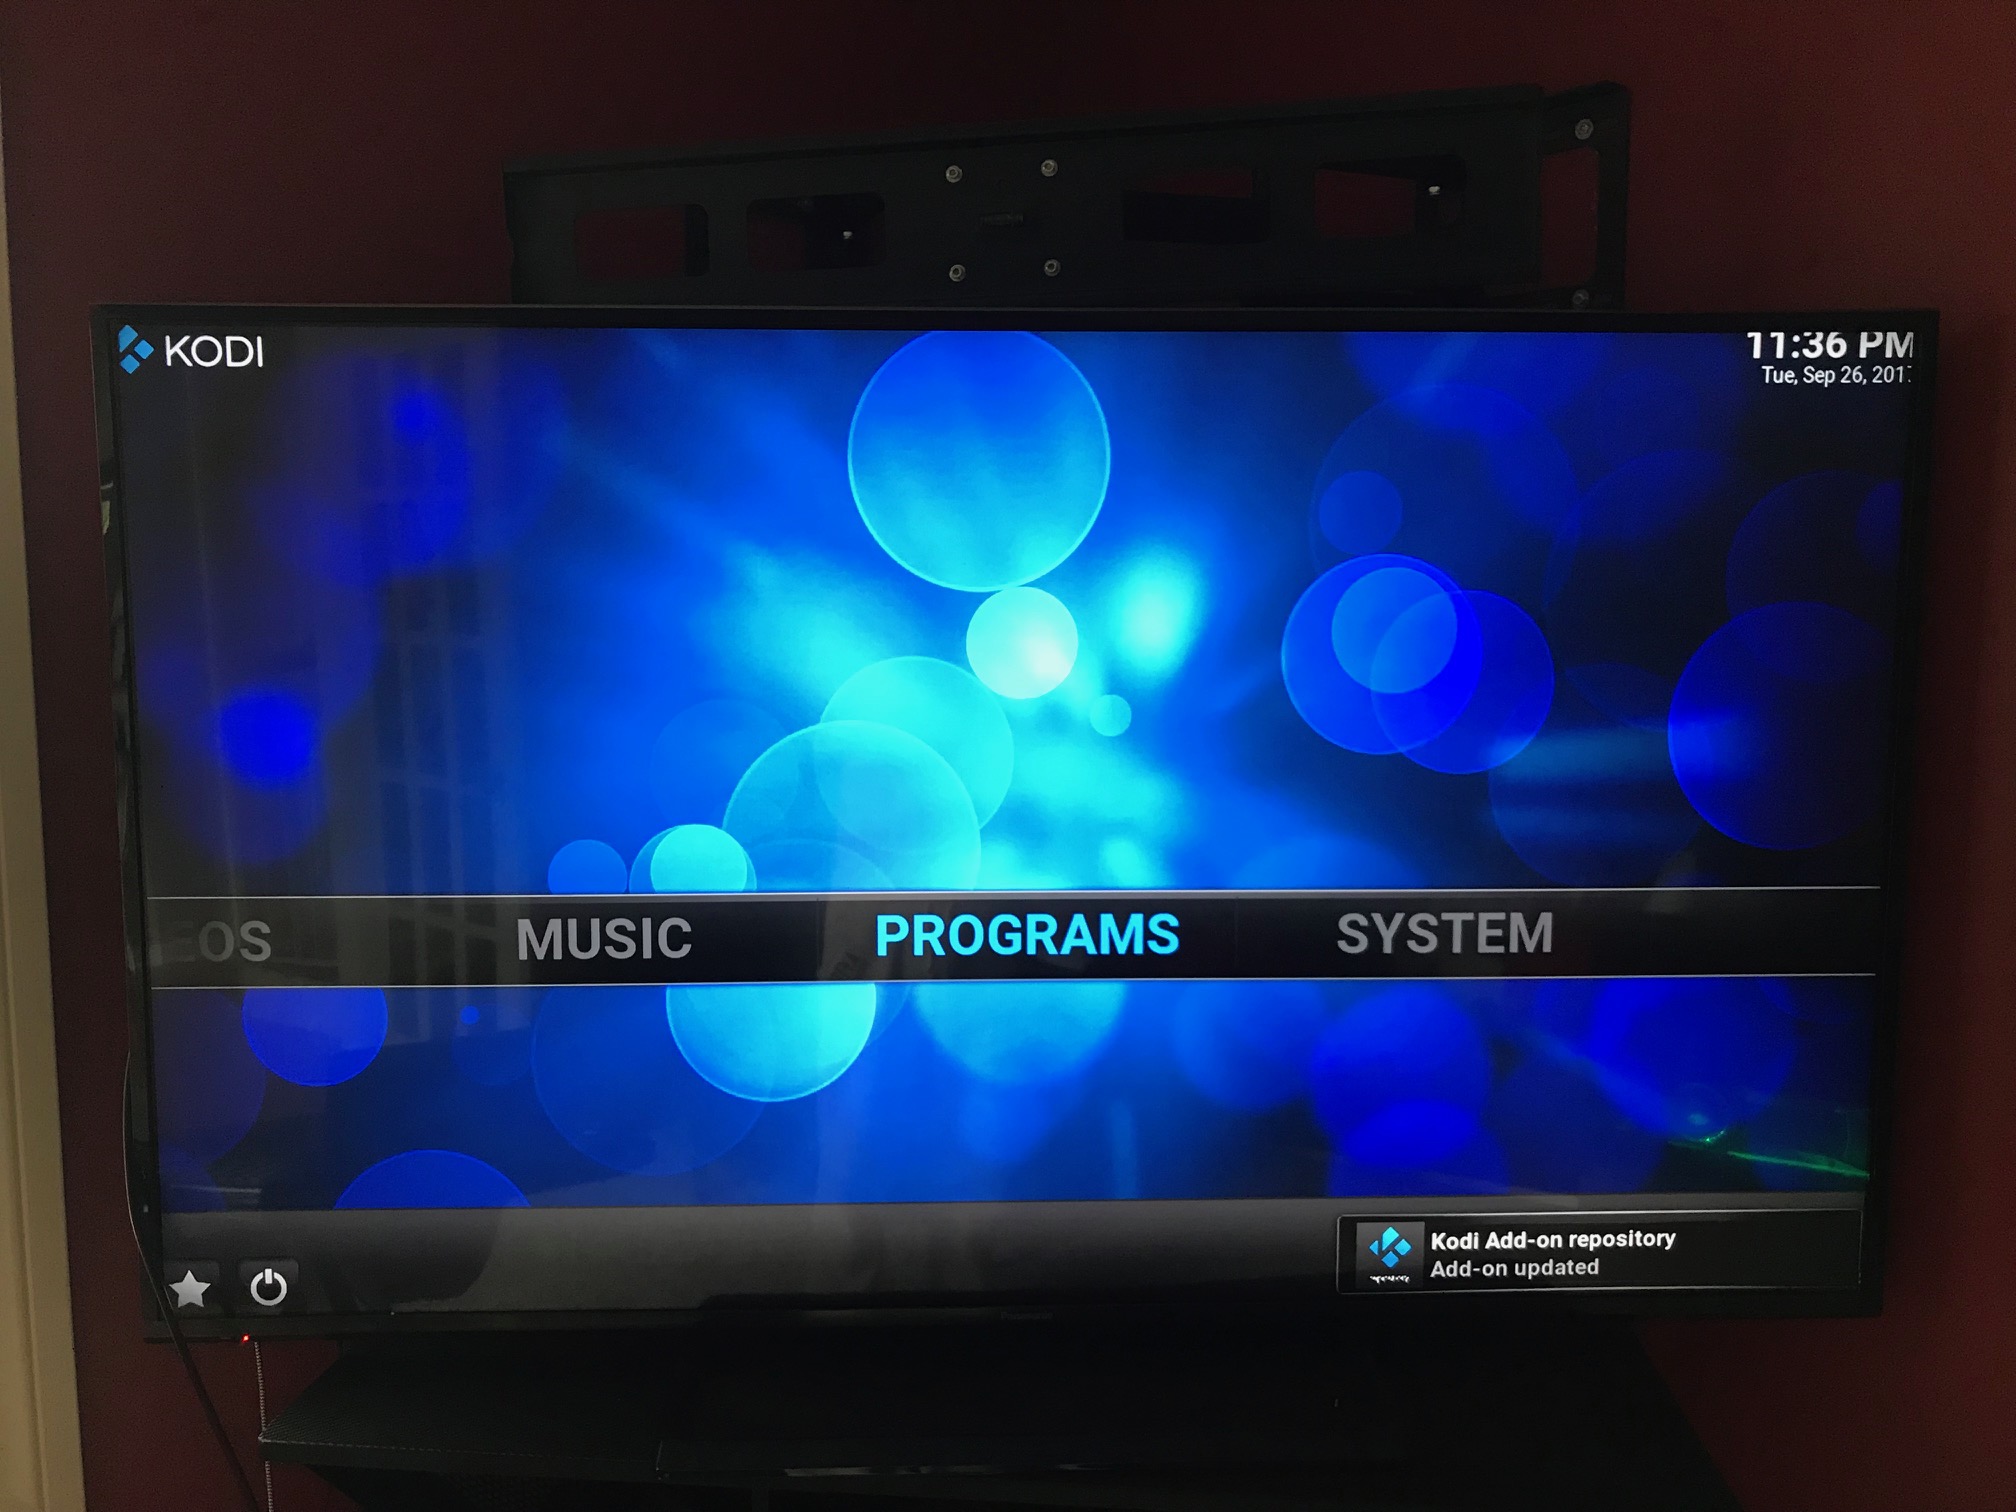
Kodi Entertainment System
Installed and enabled by default on Recalbox is Kodi, the excellent open source home theater system.
- Press
[ENTER]to view the main menu - Select
Kodi Media Center
You'll immediately see the nice interface of Kodi pop up:
Kodi comes without apps or media so you'll need to add video, audio, and pictures to the SD card the same way as in the "Connecting to Recalbox and Installing Games": connect and mount the Recalbox volume, then drag files to the SD card:

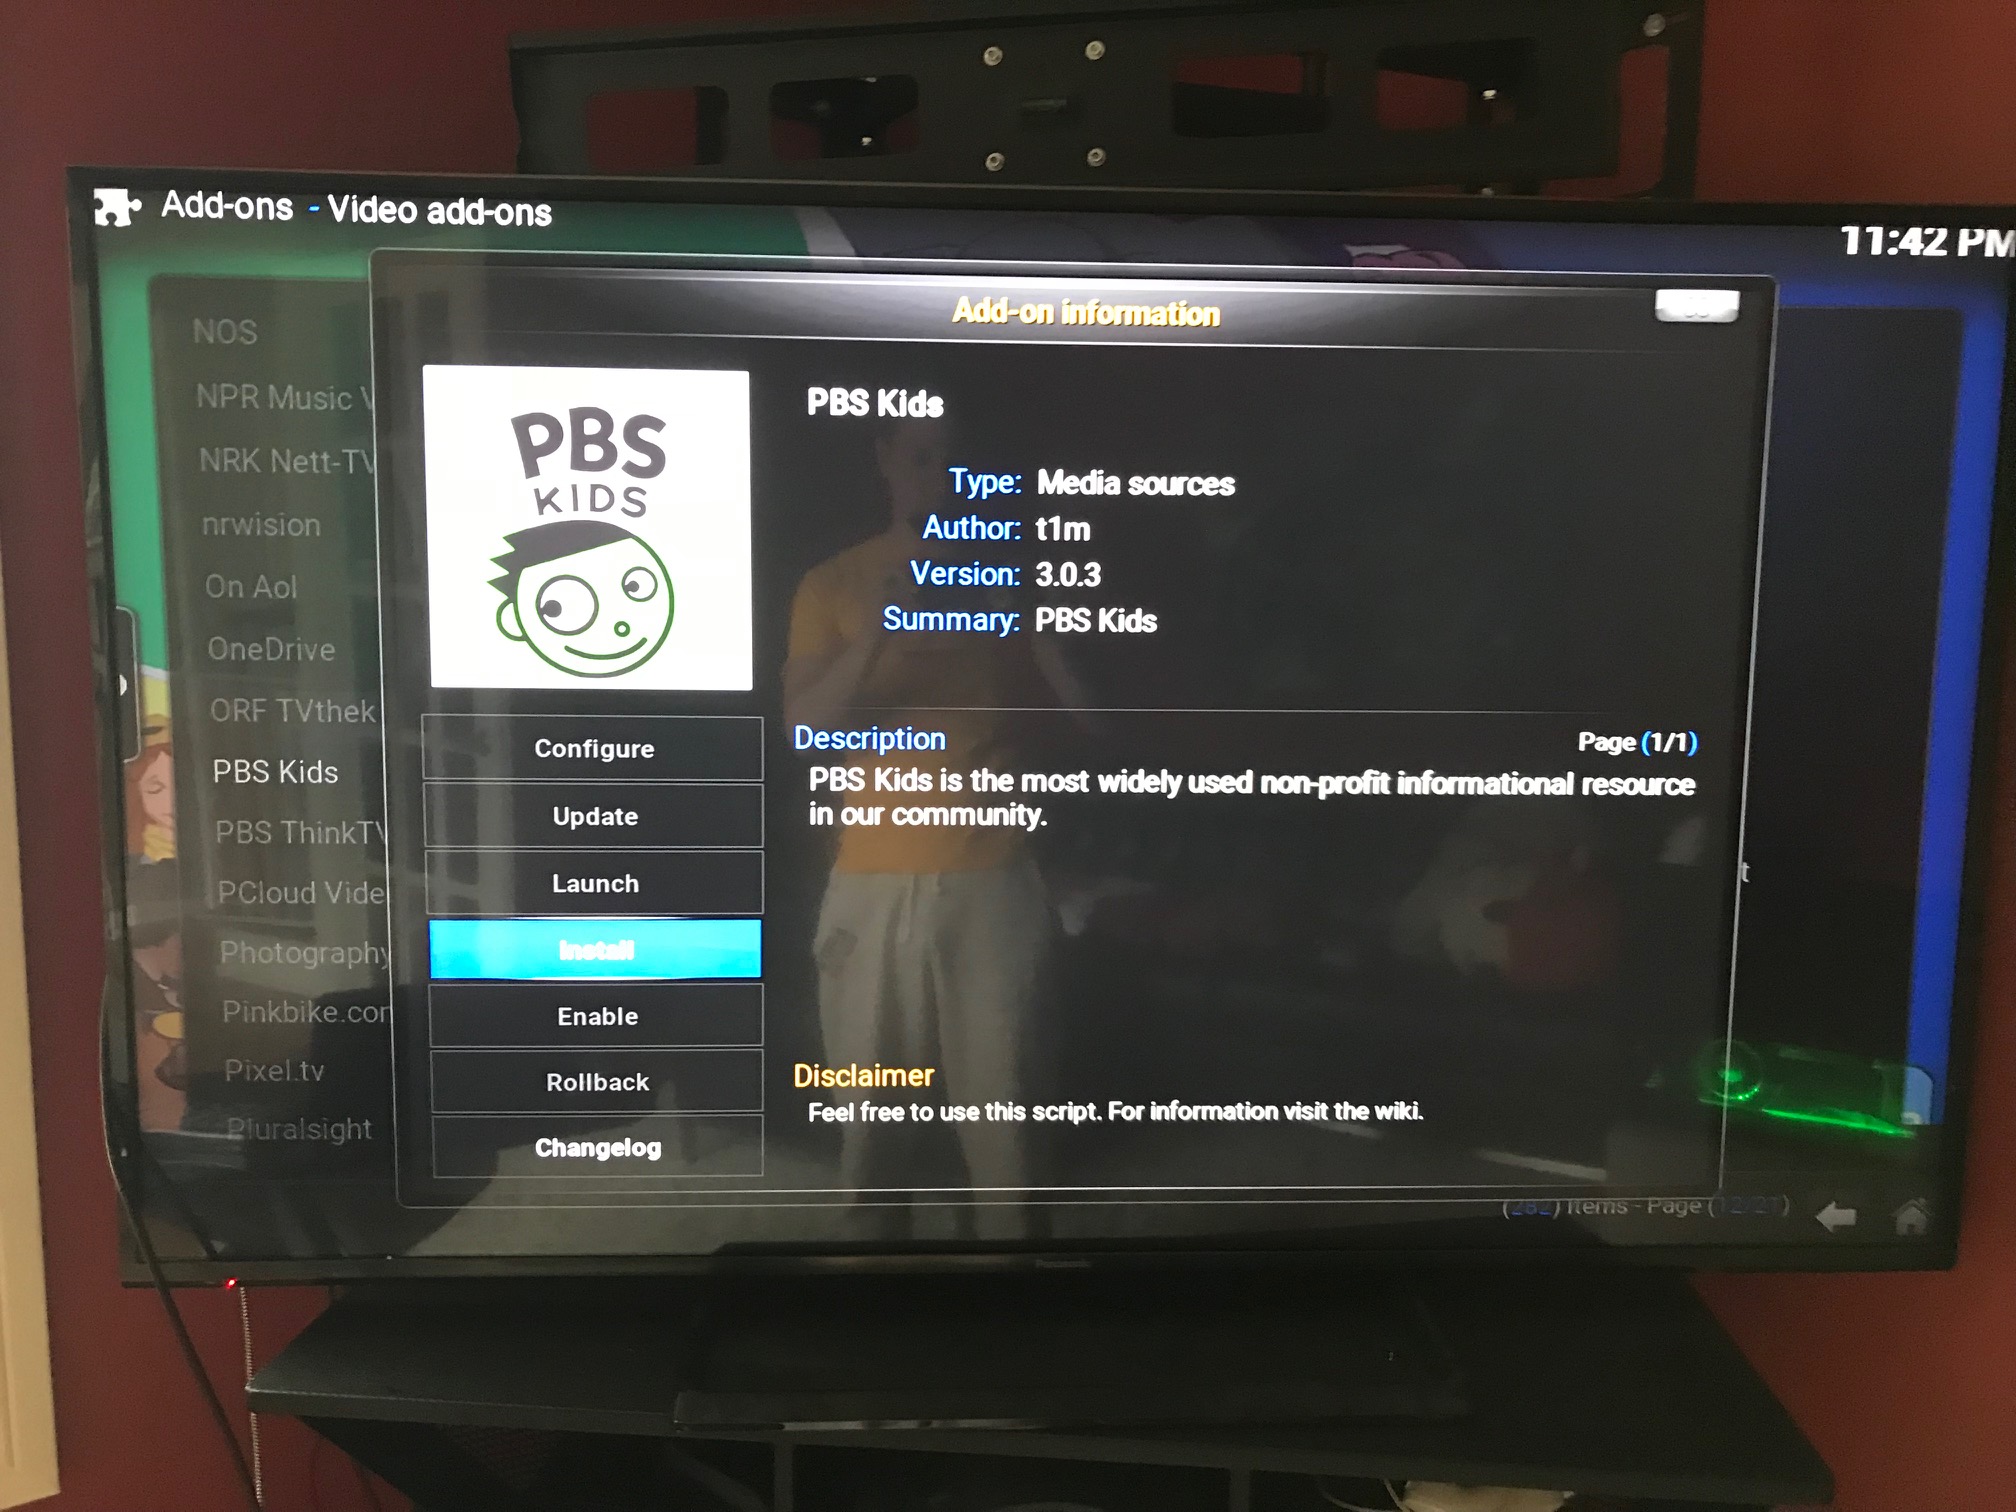
Much like the game portion of Recalbox, you'll need to restart the Pi to see the new media files in Kodi. Want to add apps?
- Choose the media of choice (Video, for example)
- Select "Add-ons"
- Select "Get more..."
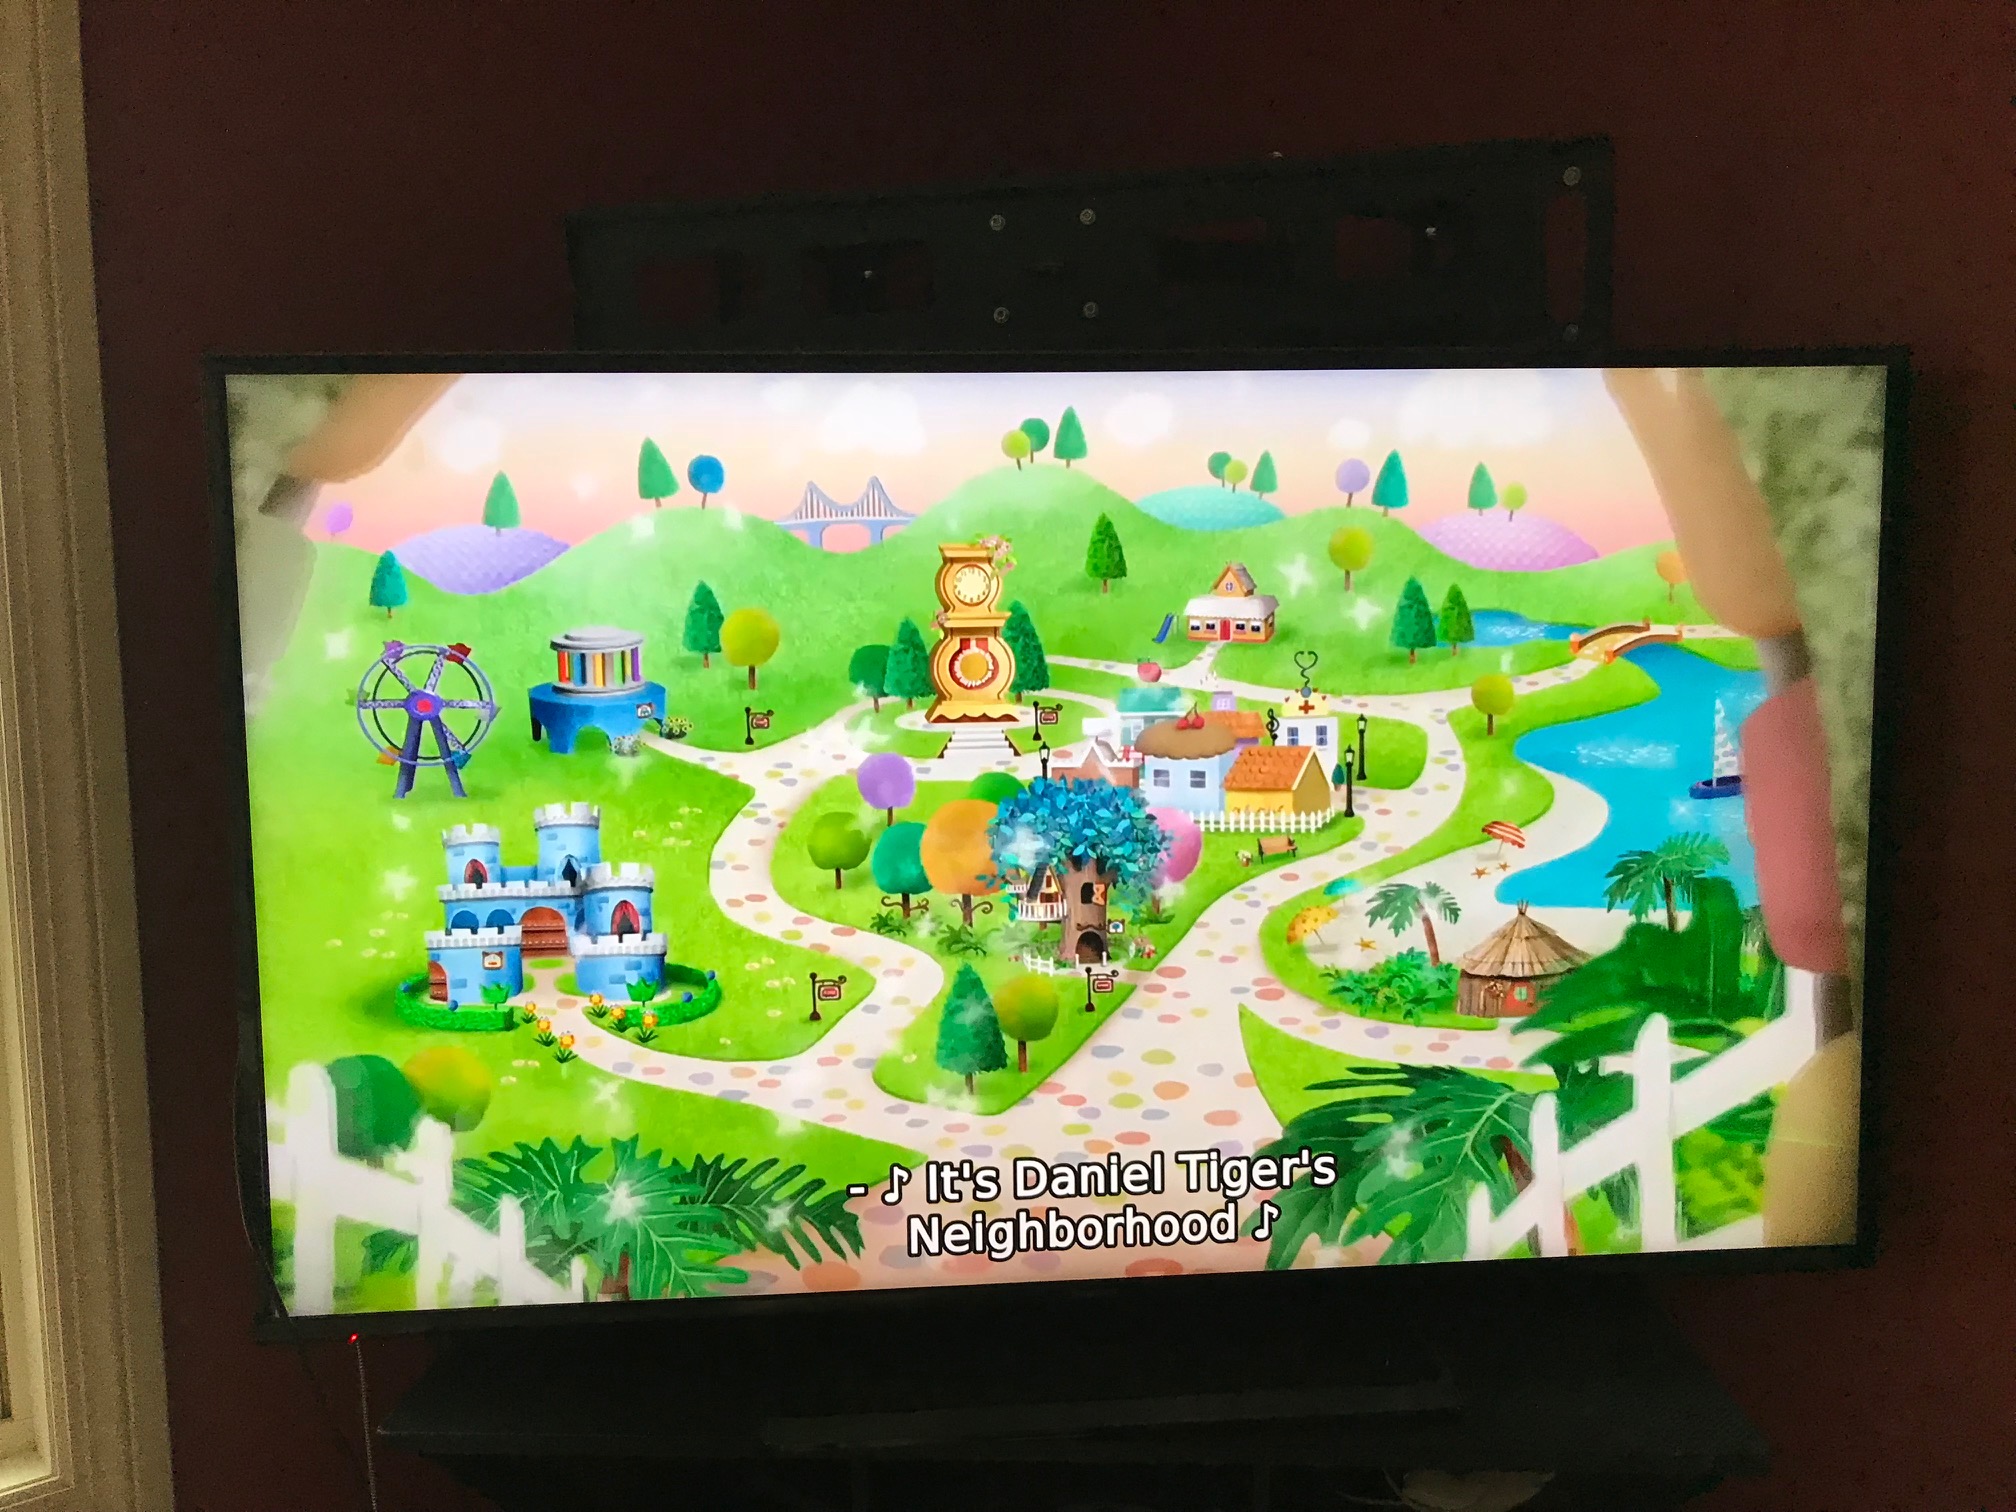
You'll see a huge list of streaming services you can install and play media from!

Game On!
Recalbox is really impressive and just as easy to configure as RetroPie. Recalbox is a bit smoother around the edges and immediately available Kodi is a really nice bonus. Whether it's Recalbox or RetroPie, you're really getting an awesome gaming and entertainment system that only takes 15 minutes to build.


Hey there. I have set up a recalbox actually a few of them recently. I have RPi3 and I’m not able to get the wifi to work on any of them. I’ve tried several different wifi network setups, even an edimax wifi dongle. ON the latest version of recalbox also. Can you help me with this?
Hi i have rpi 3 b+, i copied all files in sd 16 gb and start raspberry stuck at rainbow screen