React Authentication is Easy with Auth0
There are a lot of great tools out there for creating modern apps that can often make our lives easier, but one aspect that is often tricky and time-consuming is authentication. The landscape around building applications today is different than it used to be, which can make it difficult to use traditional methods of authentication effectively. Added to this is an increased desire for authentication features that are more recent in their conception--things like multifactor auth, single sign-on, and password-less login. Let's take a closer look at some of these.
Single Page App Authentications
Before single page apps were popular, authentication for the typical round-trip application wasn't that complicated: simply check the user's credentials against the database, save a session on the server, and return a cookie to the user. However, this traditional method of authentication isn't well-suited to single page apps that rely on data APIs because it necessitates that the API be stateful, which can have adverse effects. Instead, using stateless authentication methods like JSON Web Tokens is preferable, but comes at the cost of needing to keep various parts of the single page app synced up with some indication that the user is authenticated. This is typically done by checking whether the user's JWT is valid and then conditionally showing elements and restricting routes based on that result.
Social Authentication
People want to be able to authenticate with their existing credentials from social providers like Google, Twitter, Facebook and the like. This option is great for users because it means they don't need to remember yet another set of credentials and businesses love it because it gives them a way to find out more about their customers. The downside, however, is that it can be difficult and time-consuming to implement authentication for each of the social identity providers that might be requested by the application's user base. There are open source projects out there like PassportJS that can make things easier on the developer, but even with a library, this can still be a cumbersome task that requires a fair bit of maintenance.
Extra Security
Businesses and users alike are increasingly demanding heightened security in applications, and extra measures like multifactor authentication can be very effective. The problem is that this feature isn't trivial. It can be difficult to implement and prone to errors when coding it by hand, and is certainly something that needs to be done right.
Auth0 is the Easiest Way to Implement Authentication
Auth0 takes all of the complexity out of authentication and makes identity easy for developers. With Auth0, you can add authentication to any app in under 10 minutes and implement features like social login, mutlifactor auth, and single sign-on at the flip of a switch. It really is the easiest way to add authentication to your app!
With Auth0, you get a production-ready free tier that gives you 7,000 regular active users at no cost. A regular active user is one that has logged in at some point in the last 30 days, which is only about 15% of the user base for a lot of companies.
Using Auth0 in a React App
To get an idea of how easy it is to add authentication to a modern app, let's build a simple one using React. This small application will allow users to log in and access proteced resources with the JSON Web Token (JWT) they receive back from Auth0.
Sign Up for Auth0
To get started, sign up for a your free Auth0 account. Once you have signed up, head over to your management area and check out the Default App that gets created for you under the Applications link. This is where you can find some of the details that you'll need to make Auth0 work in your app, including your domain, client ID, and secret key.
You'll also need to enter an allowed origin as you test out your app. To do this, simply enter http://localhost:<your-port> in the Allowed Origins area within your app's settings.
While you're in the management area, create a new user under the Users link so that you'll have some credentials to log in with later on.
Add Auth0Lock to the App
Lock is the login box widget provided by Auth0 that allows you to have a fully-featured authentication screen by just dropping in a script tag. You can get Lock from Auth0's CDN and add it to your index.html file.
  <!-- index.html -->

  <!-- Auth0Lock script -->
  <script src="//cdn.auth0.com/js/lock-9.0.min.js"></script>

  <!-- Setting the right viewport -->
  <meta name="viewport" content="width=device-width, initial-scale=1.0, maximum-scale=1.0, user-scalable=no" />
Instantiate Lock in a Component
The best place to configure Lock is in the componentWillMount lifecycle hook. Add an instance of Lock to a root App component and pass in your Auth0 details.
// App.jsx

var App = React.createClass({
  // ...
  componentWillMount: function() {
      this.lock = new Auth0Lock('YOUR_CLIENT_ID', 'YOUR_CLIENT_DOMAIN');
  },
  render: function() {
    return (<Home lock={this.lock} />);
  }
});
Show the Lock widget
The lock instance has been passed down to a component called Home. To open up the Lock widget on a button click, create a new method called showLock which calls lock.show().
// Home.jsx

var Home = React.createClass({
  // ...
  showLock: function() {
    // Show the Auth0Lock widget
    this.props.lock.show();
  },

  render: function() {
    return (
    <div className="login-box">
      <a onClick={this.showLock}>Sign In</a>
    </div>);
  }
});
Now when the user clicks the Sign In button, they will see the Lock widget and be able to enter their credentials.
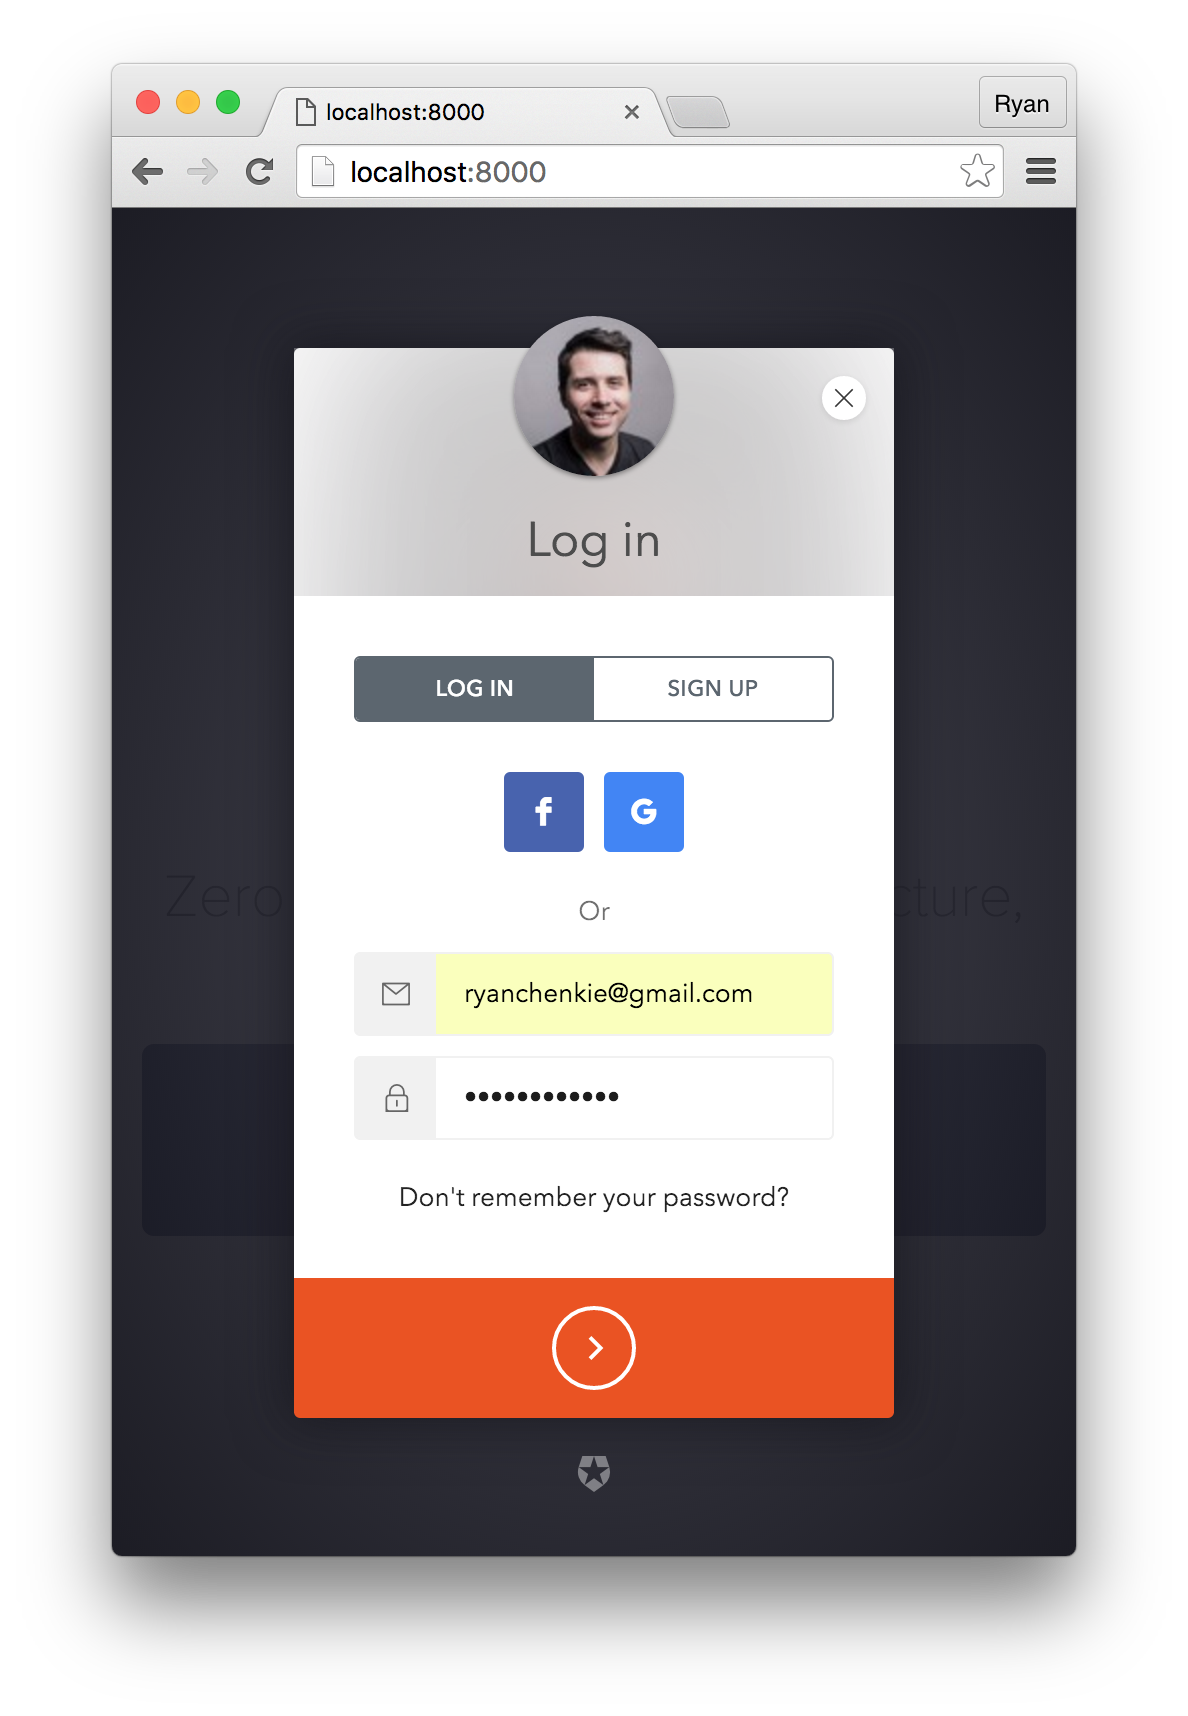
If the user successfully authenticates, they are redirected back to the app with their JWT (named id_token) as a hash. This JWT is signed with the secret key that is set in the application's settings and can now be used to gain access to protected resources on your server. But first, it needs to be set in local storage.
Save the User's JWT
To use the JWT later on, it needs to be saved and accessed somehow. For that, a method that checks the URL hash for a token and saves it if one is present is needed.
// App.jsx

var App = React.createClass({
  componentWillMount: function() {
    ...
    // Set the state with a property that has the token
    this.setState({idToken: this.getIdToken()})
  },
  createLock: function() {
    this.lock = new Auth0Lock(this.props.clientId, this.props.domain);
  },
  getIdToken: function() {
    // First, check if there is already a JWT in local storage
    var idToken = localStorage.getItem('id_token');
    var authHash = this.lock.parseHash(window.location.hash);
    // If there is no JWT in local storage and there is one in the URL hash,
    // save it in local storage
    if (!idToken && authHash) {
      if (authHash.id_token) {
        idToken = authHash.id_token
        localStorage.setItem('id_token', authHash.id_token);
      }
      if (authHash.error) {
        // Handle any error conditions
        console.log("Error signing in", authHash);
      }
    }
    return idToken;
  },
  render: function() {
    if (this.state.idToken) {
      return (<LoggedIn lock={this.lock} idToken={this.state.idToken} />);
    } else {
      return (<Home lock={this.lock} />);
    }
  }
});
This function checks for the presence of a JWT in local storage and also for one in the URL hash. If there's nothing in local storage and there is something in the URL hash, it saves the id_token from the hash to local storage so that it can be used later.
Note: This implementation uses
redirectmode, but you can also usepopupmode which gives you the user's profile and token in a callback instead of redirecting and providing it in a hash. See the Auth0Lock documentation for more detail.
Display the User's Profile
Auth0Lock comes with a method that accepts the user's JWT and returns his or her profile. The profile object that gets returned has some useful information like the user's nickname, email, and avatar URL, and we can use this to make a profile page. Let's do this in a component called LoggedIn.
// LoggedIn.jsx

var LoggedIn = React.createClass({
  getInitialState: function() {
    return {
      profile: null
    }
  },

  componentDidMount: function() {
    // The token is passed down from the App component
    // and used to retrieve the profile
    this.props.lock.getProfile(this.props.idToken, function (err, profile) {
      if (err) {
        console.log("Error loading the Profile", err);
        return;
      }
      this.setState({profile: profile});
    }.bind(this));
  },

  render: function() {
    if (this.state.profile) {
      return (
        <img src={this.state.profile.picture} />
        <h2>Welcome {this.state.profile.nickname}</h2>
      );
    } else {
      return (
        <div className="loading">Loading profile</div>
      );
    }
  }
});

Make Secure Calls to an API
Of course, one of the biggest reasons for authentication is to access protected resources. The first step in protecting API endpoints is to set up a middleware on your server that uses your app's secret key to check incoming JWTs. With the user's JWT saved in local storage, you can then make calls to your protected endpoints and send the token along to be checked for validity.
Check out this seed project for a quick example of how to set up an Express app up with JWT middleware.
The method for sending XHR requests to the backend is up to you, as long as you can attach a custom header. Using the fetch API, it's as simple as passing in an object with some configuration.
 // LoggedIn.jsx

 ...
 callApi: function() {
  var getFoos = fetch('/api/foos', {
    headers: {
      'Authorization': 'Bearer ' + localStorage.getItem('id_token')
    },
    method: 'GET',
    cache: false
  });

  getFoos.then(function (response) {
    response.json().then(function (foos) {
      // Put the results on a property
      // to be displayed in the view
      console.log('the foos:', foos);
    });
  });
}
...
The user's JWT gets sent as an Authorization header with the Bearer scheme.
Logging the User Out
Logging out is as simple as removing the user's JWT from local storage.
localStorage.removeItem('id_token');
// Redirect to the home route
Note: Even though the token is removed from local storage, it is still valid until it expires. Keep your token lifetimes short to avoid security breaches and consider using a JTI to blacklist tokens. Token expiry can be controlled in your application's settings in the management area.
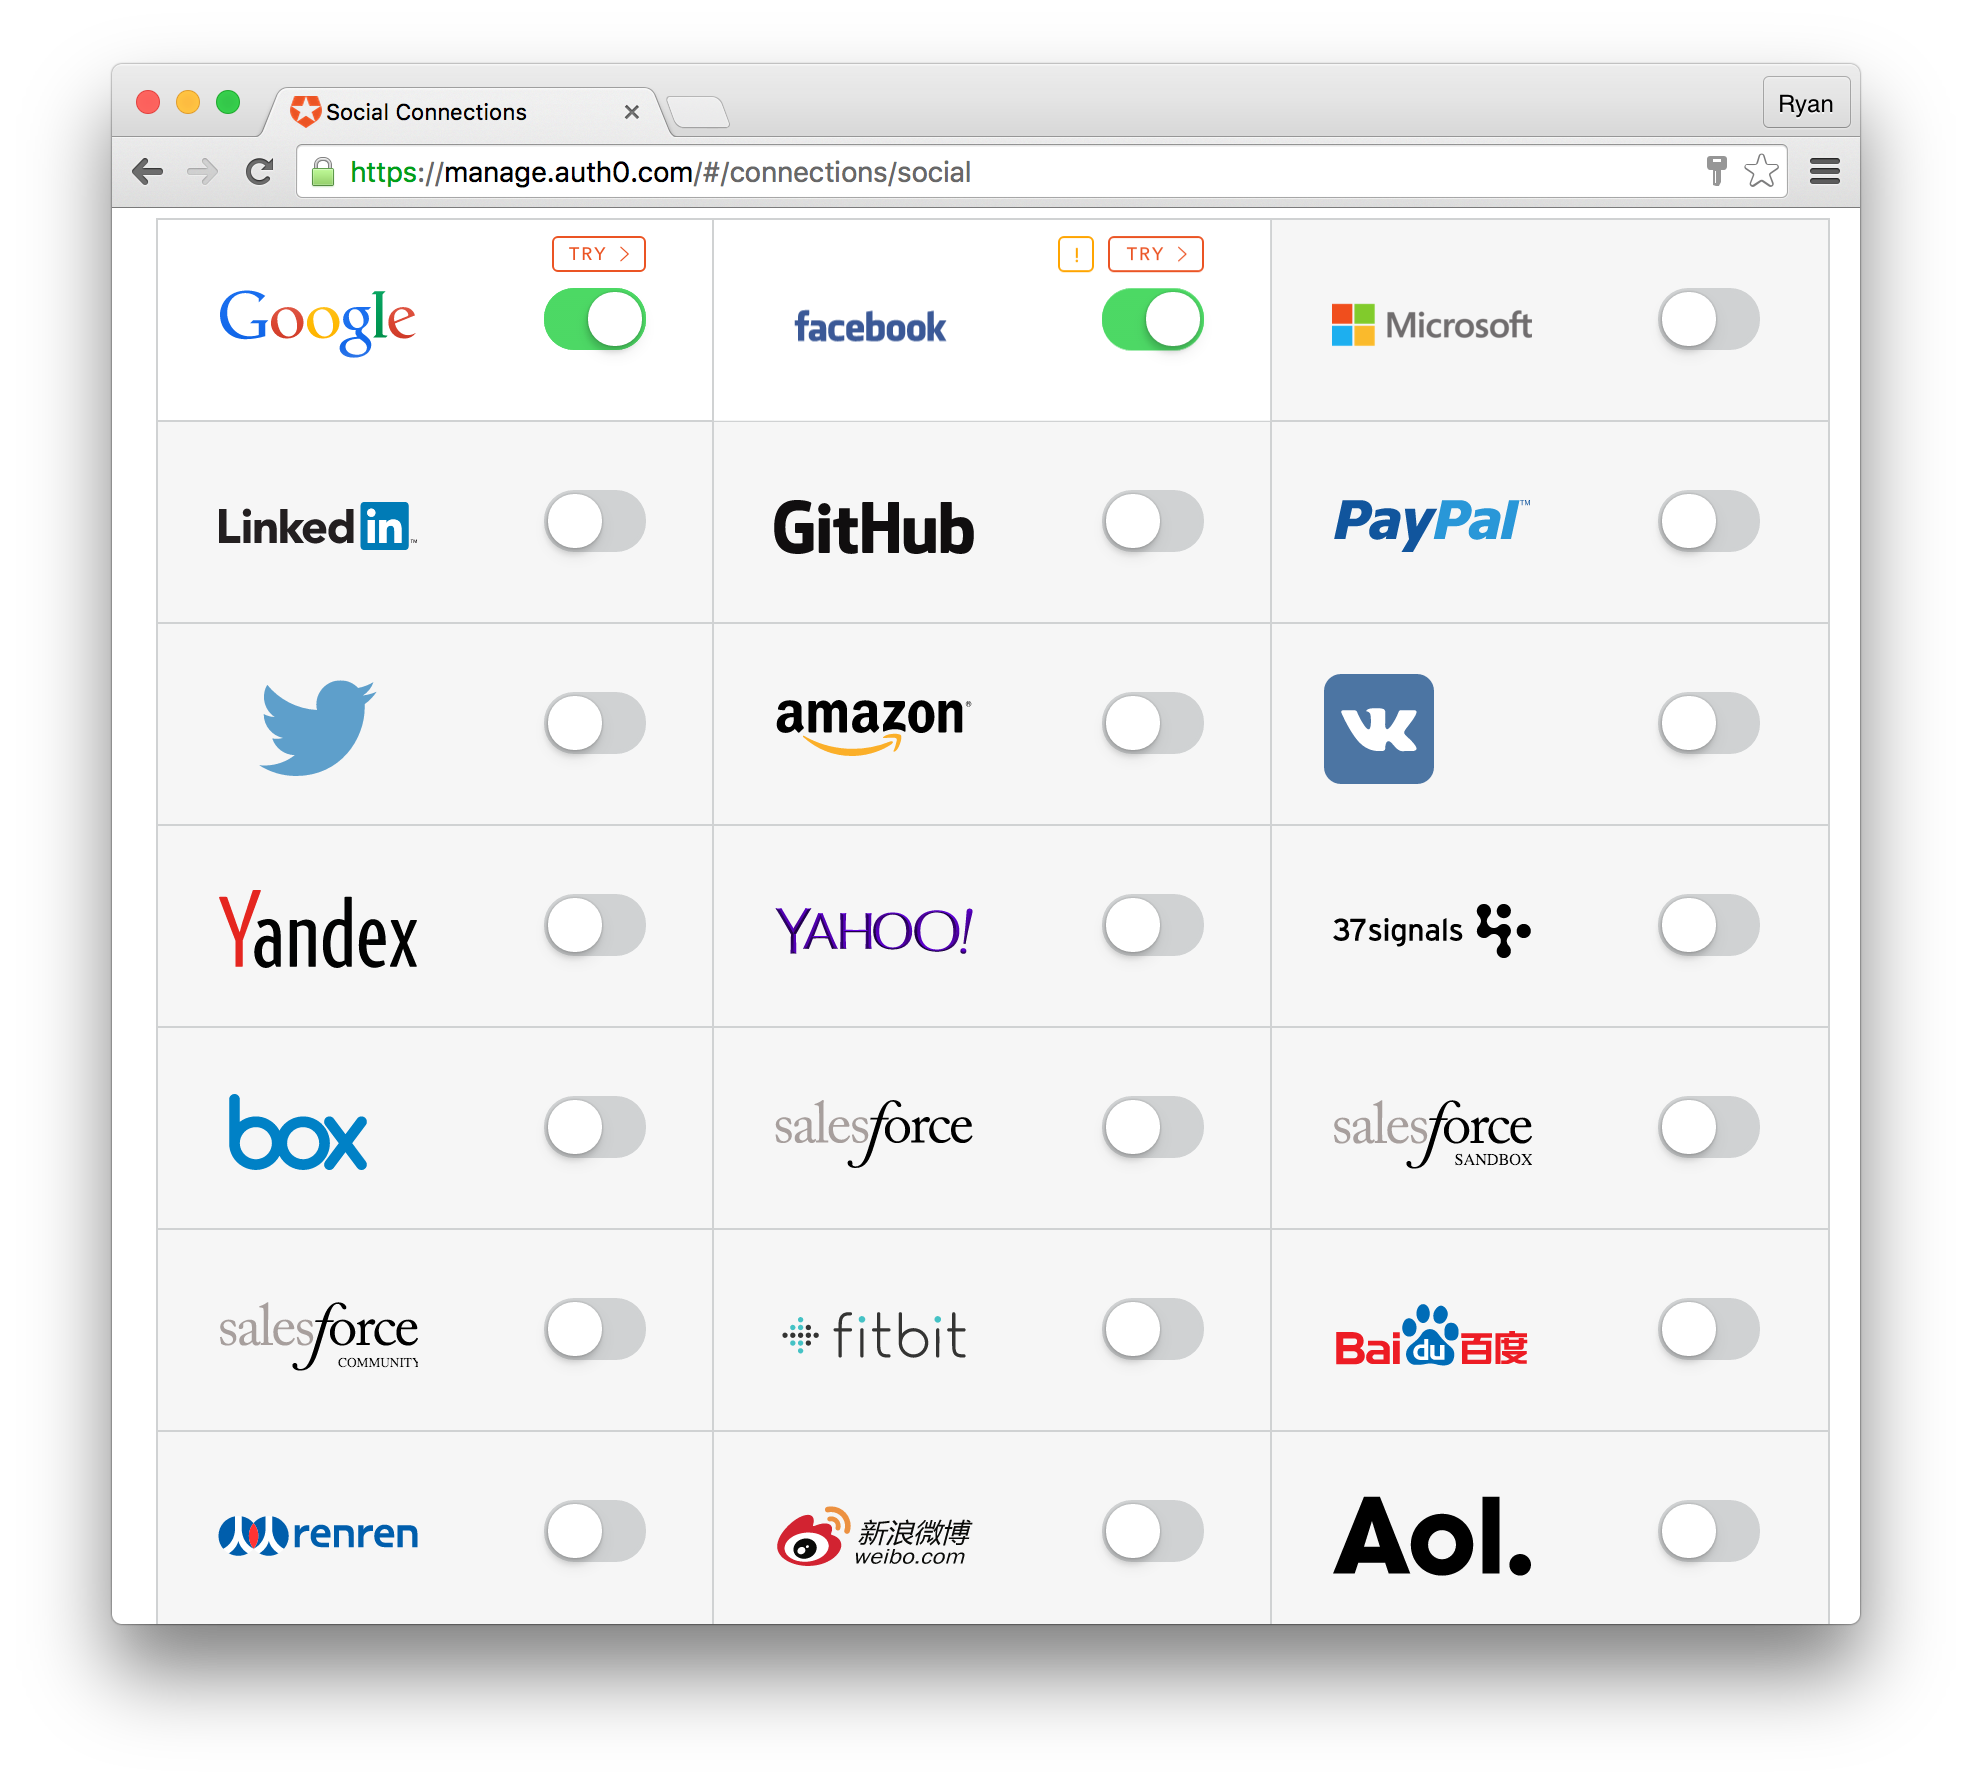
Example of Extra Features: Enable Social Providers and Multifactor Auth
With Auth0 it's easy to use any social identity provider and enable extra security features like multifactor authentication.
From your management area, head over to the Connections > Social link and flip the switch to the on position for any that you like.
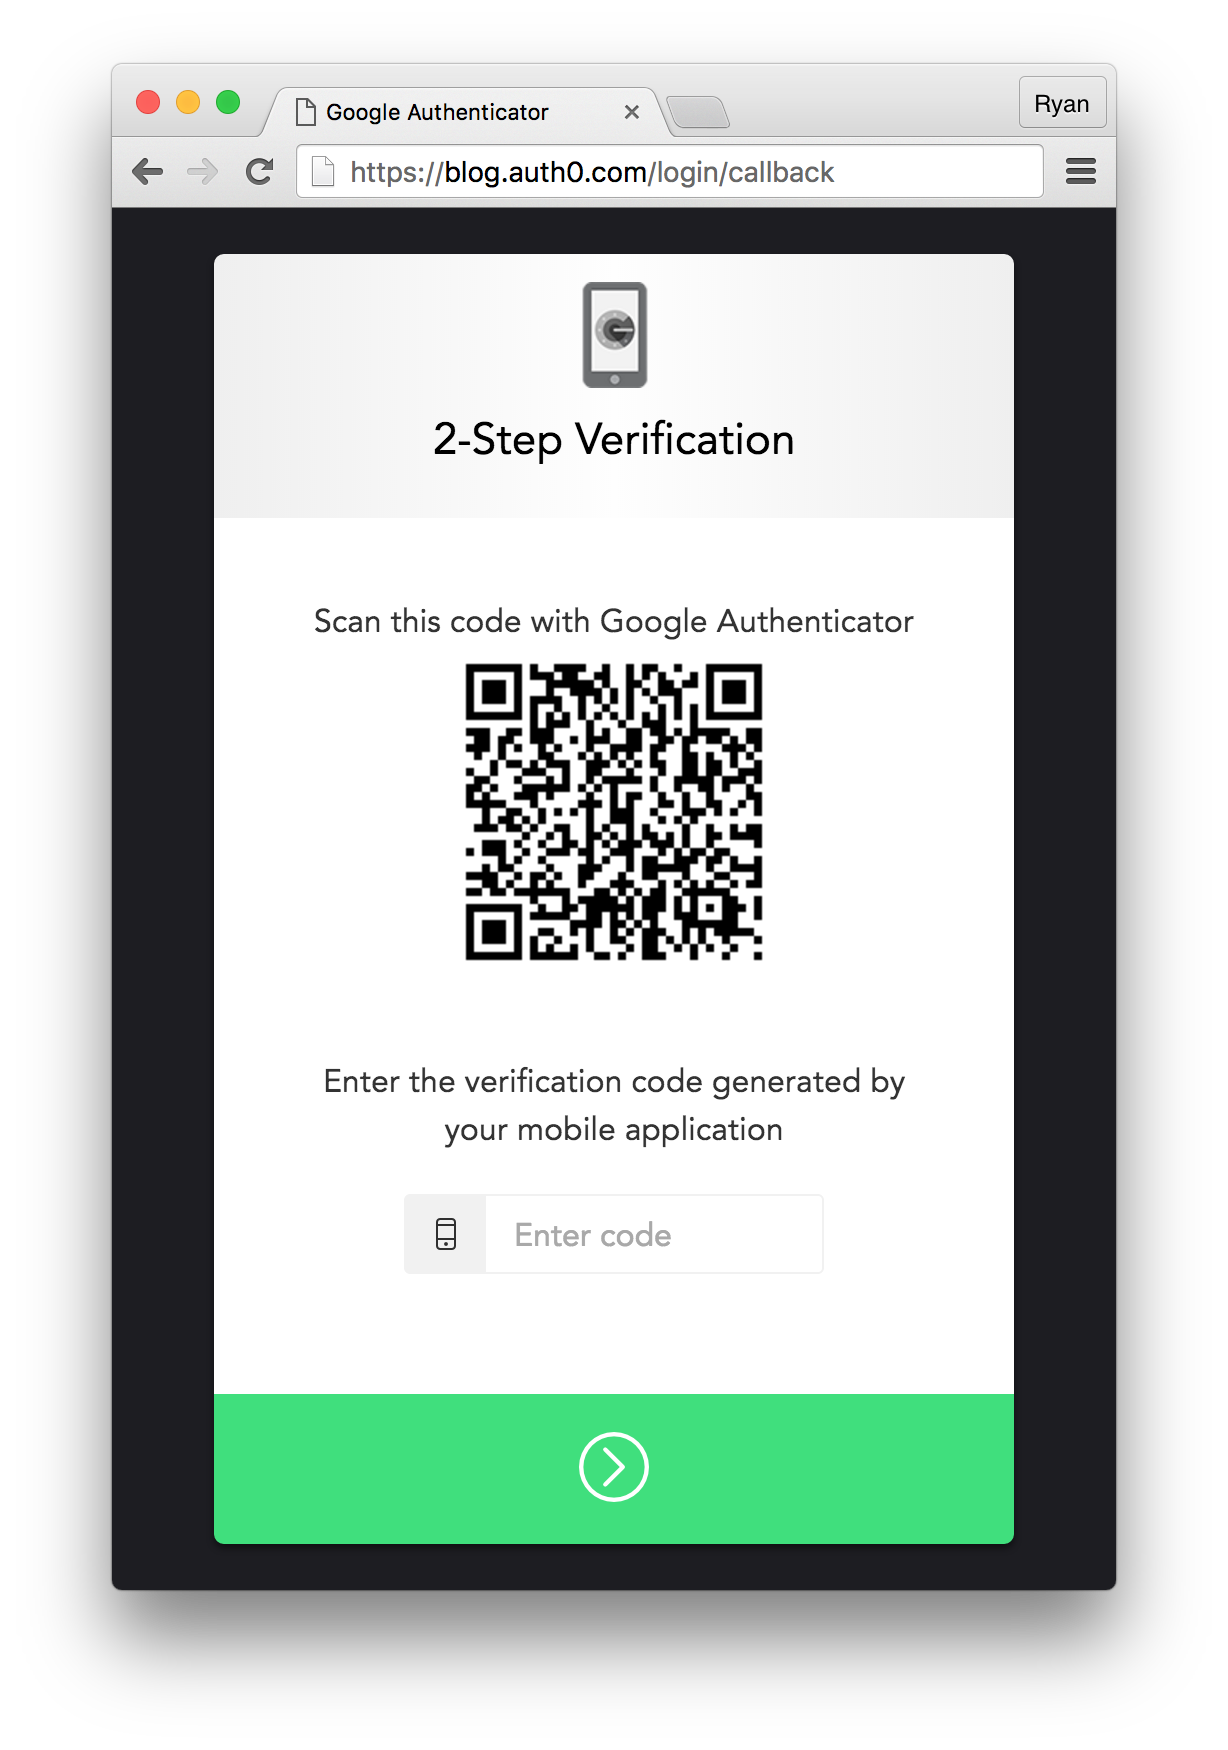
You can also enable multifactor authentication from the Multifactor Auth link. Once you select either Google Authenticator or Duo as your MFA provider, simply drop the client ID for your app into the CLIENTS_WITH_MFA array that comes up in the code snippet. Now when your users log in, they will be required to go through the two-step authentication process once every 30 days.
What About Redux?
Auth0 is totally agnostic about how you construct your applications--as long as it's JavaScript for the front end, you're good to go. To get an idea of how to add Auth0 to your Redux application, checkout this article on the subject, as well as the corresponding repo.
Wrapping Up
Implementing a proper authentication system for modern apps and including extra features like social login, multifactor authentication, and others can be tricky and is often time consuming. Fortunately, Auth0 provides a drop-in solution that takes out all the complexity and allows you to focus your effort on developing your actual application. JSON Web Tokens offer a stateless method of authenticating users and protecting API endpoints, and this is the perfect solution for single page apps like those built with React.
For further details on implementing Auth0 in a React app, head over to the documentation. You can also checkout the quickstart docs to find SDKs and samples for all popular front-end, backend, and mobile libraries and frameworks. Here's a sample of what's available:
Front End
Backend
Mobile


About Ryan Chenkie
Ryan is a full-stack developer from Canada who creates content for Auth0, including in-depth tutorials and seed projects for the newest frameworks and technologies such as Angular 2, React, and Aurelia. When not coding, he can be found hanging out with his wife, playing guitar, or nerding out about outer space.


Very nice post Ryan.
Can I have the full project source code of this post?
I cut and pasted but somehow it does not work.
Thanks
Hi there
I see you are storing token into the web storage(localStorage), shouldn’t this be a security hole?
thank
@dongshi I was wondering, too, and here is an answer: http://stackoverflow.com/questions/35291573/csrf-protection-with-json-web-tokens
You’ve taken a different approach here than the Auth0 quickstart for React, by instantiating the new Auth0Lock in a React component. In the quickstart, they instantiate the service in their routes.js file, so that they can pass the service to React Router, to take advantage of the router’s onEnter, which can be used to block the route from loading if the user is not authenticated, ie.:
I’m trying to weigh the tradeoffs of each approach. The main problem I have with the quickstart design is that once the user authenticates and my app reloads (I’m using redirect, not popup), I need to make an API call with the user’s new JWT to get their roles. But with the Lock object not in a React component, when the event fires (ie. lock.on(‘authenticated’, …), it’s not clear how this can trigger a React action to call the API and update state.
With your approach, do you have a good way to replicate React Router’s onEnter functionality, which seems a clean way to declare which routes are protected by authorization?
Hi! i have a question about the frontend / backend integration, i’m about to start the front with React and the Back end using .NET, according to the docs, these are in independent categories so i’m failing to understand how exactly should i go on to do that, i don’t know if you could give me a light on this issue i´m having? Great article btw, cheers!
Storing tokens in localStorage is not secure
https://auth0.com/docs/security/store-tokens#don-t-store-tokens-in-local-storage